One of the most common questions I get asked before an expedition is:
"Is it safe?"
The destination changes.
Sometimes it's Mexico.
Sometimes it's Brazil.
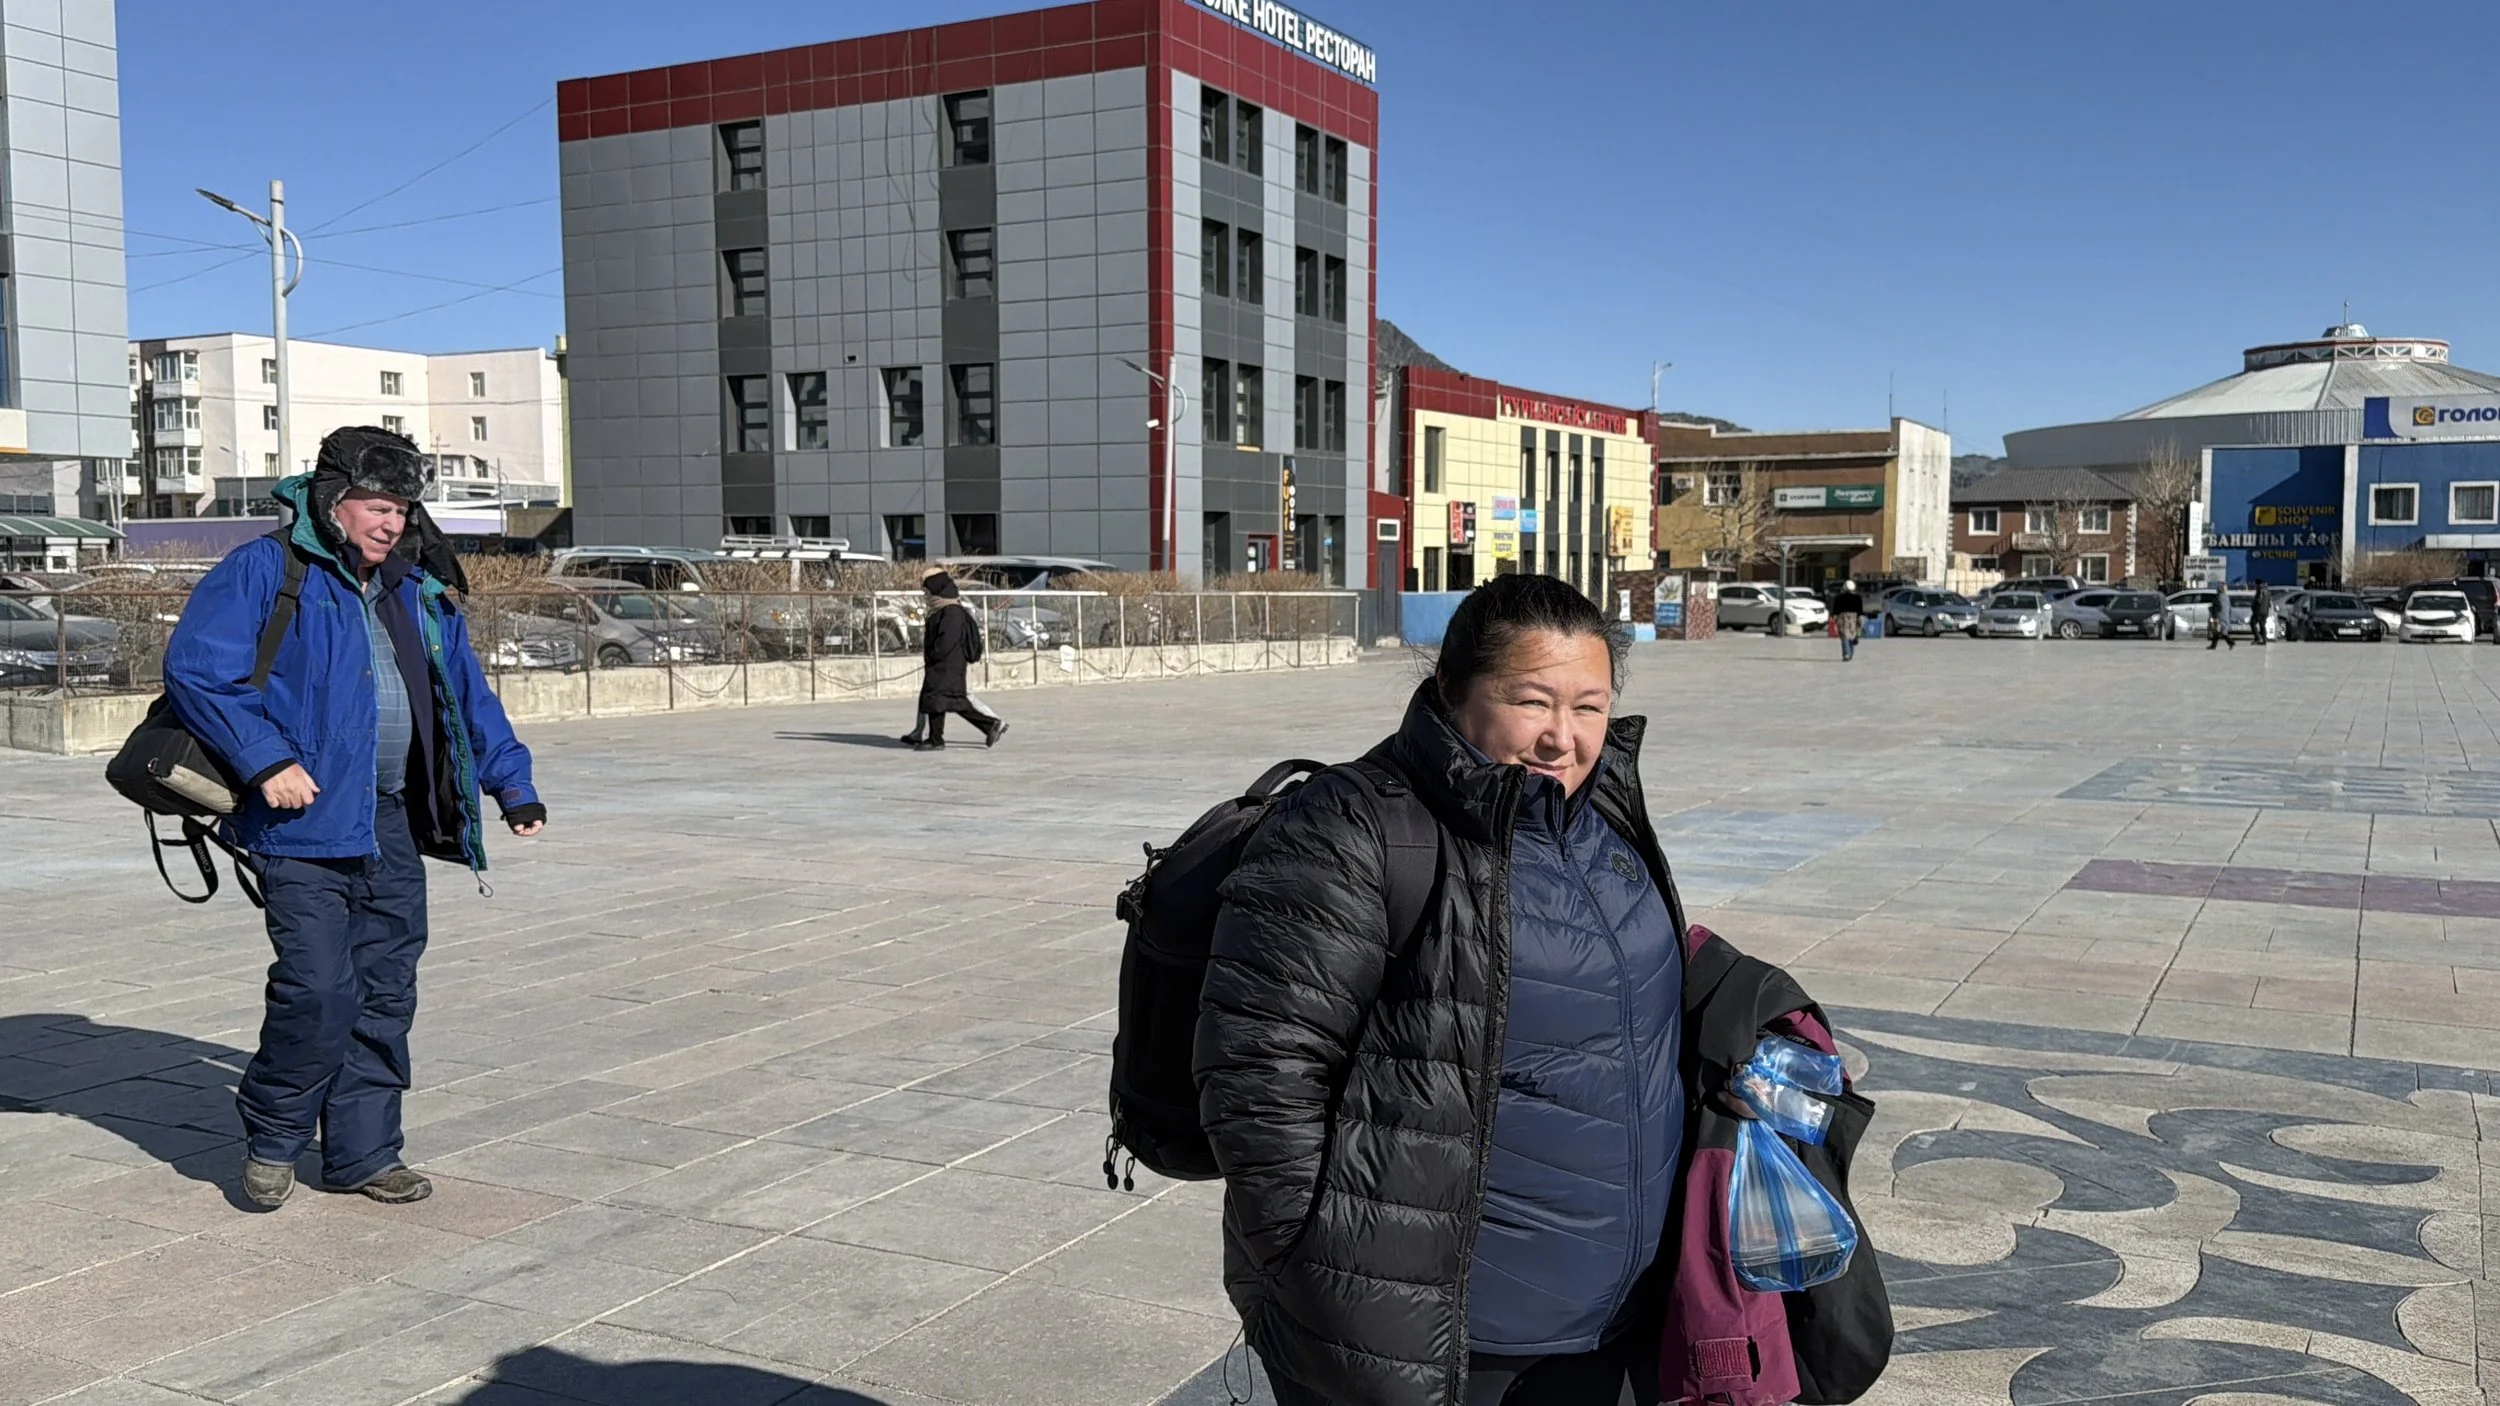
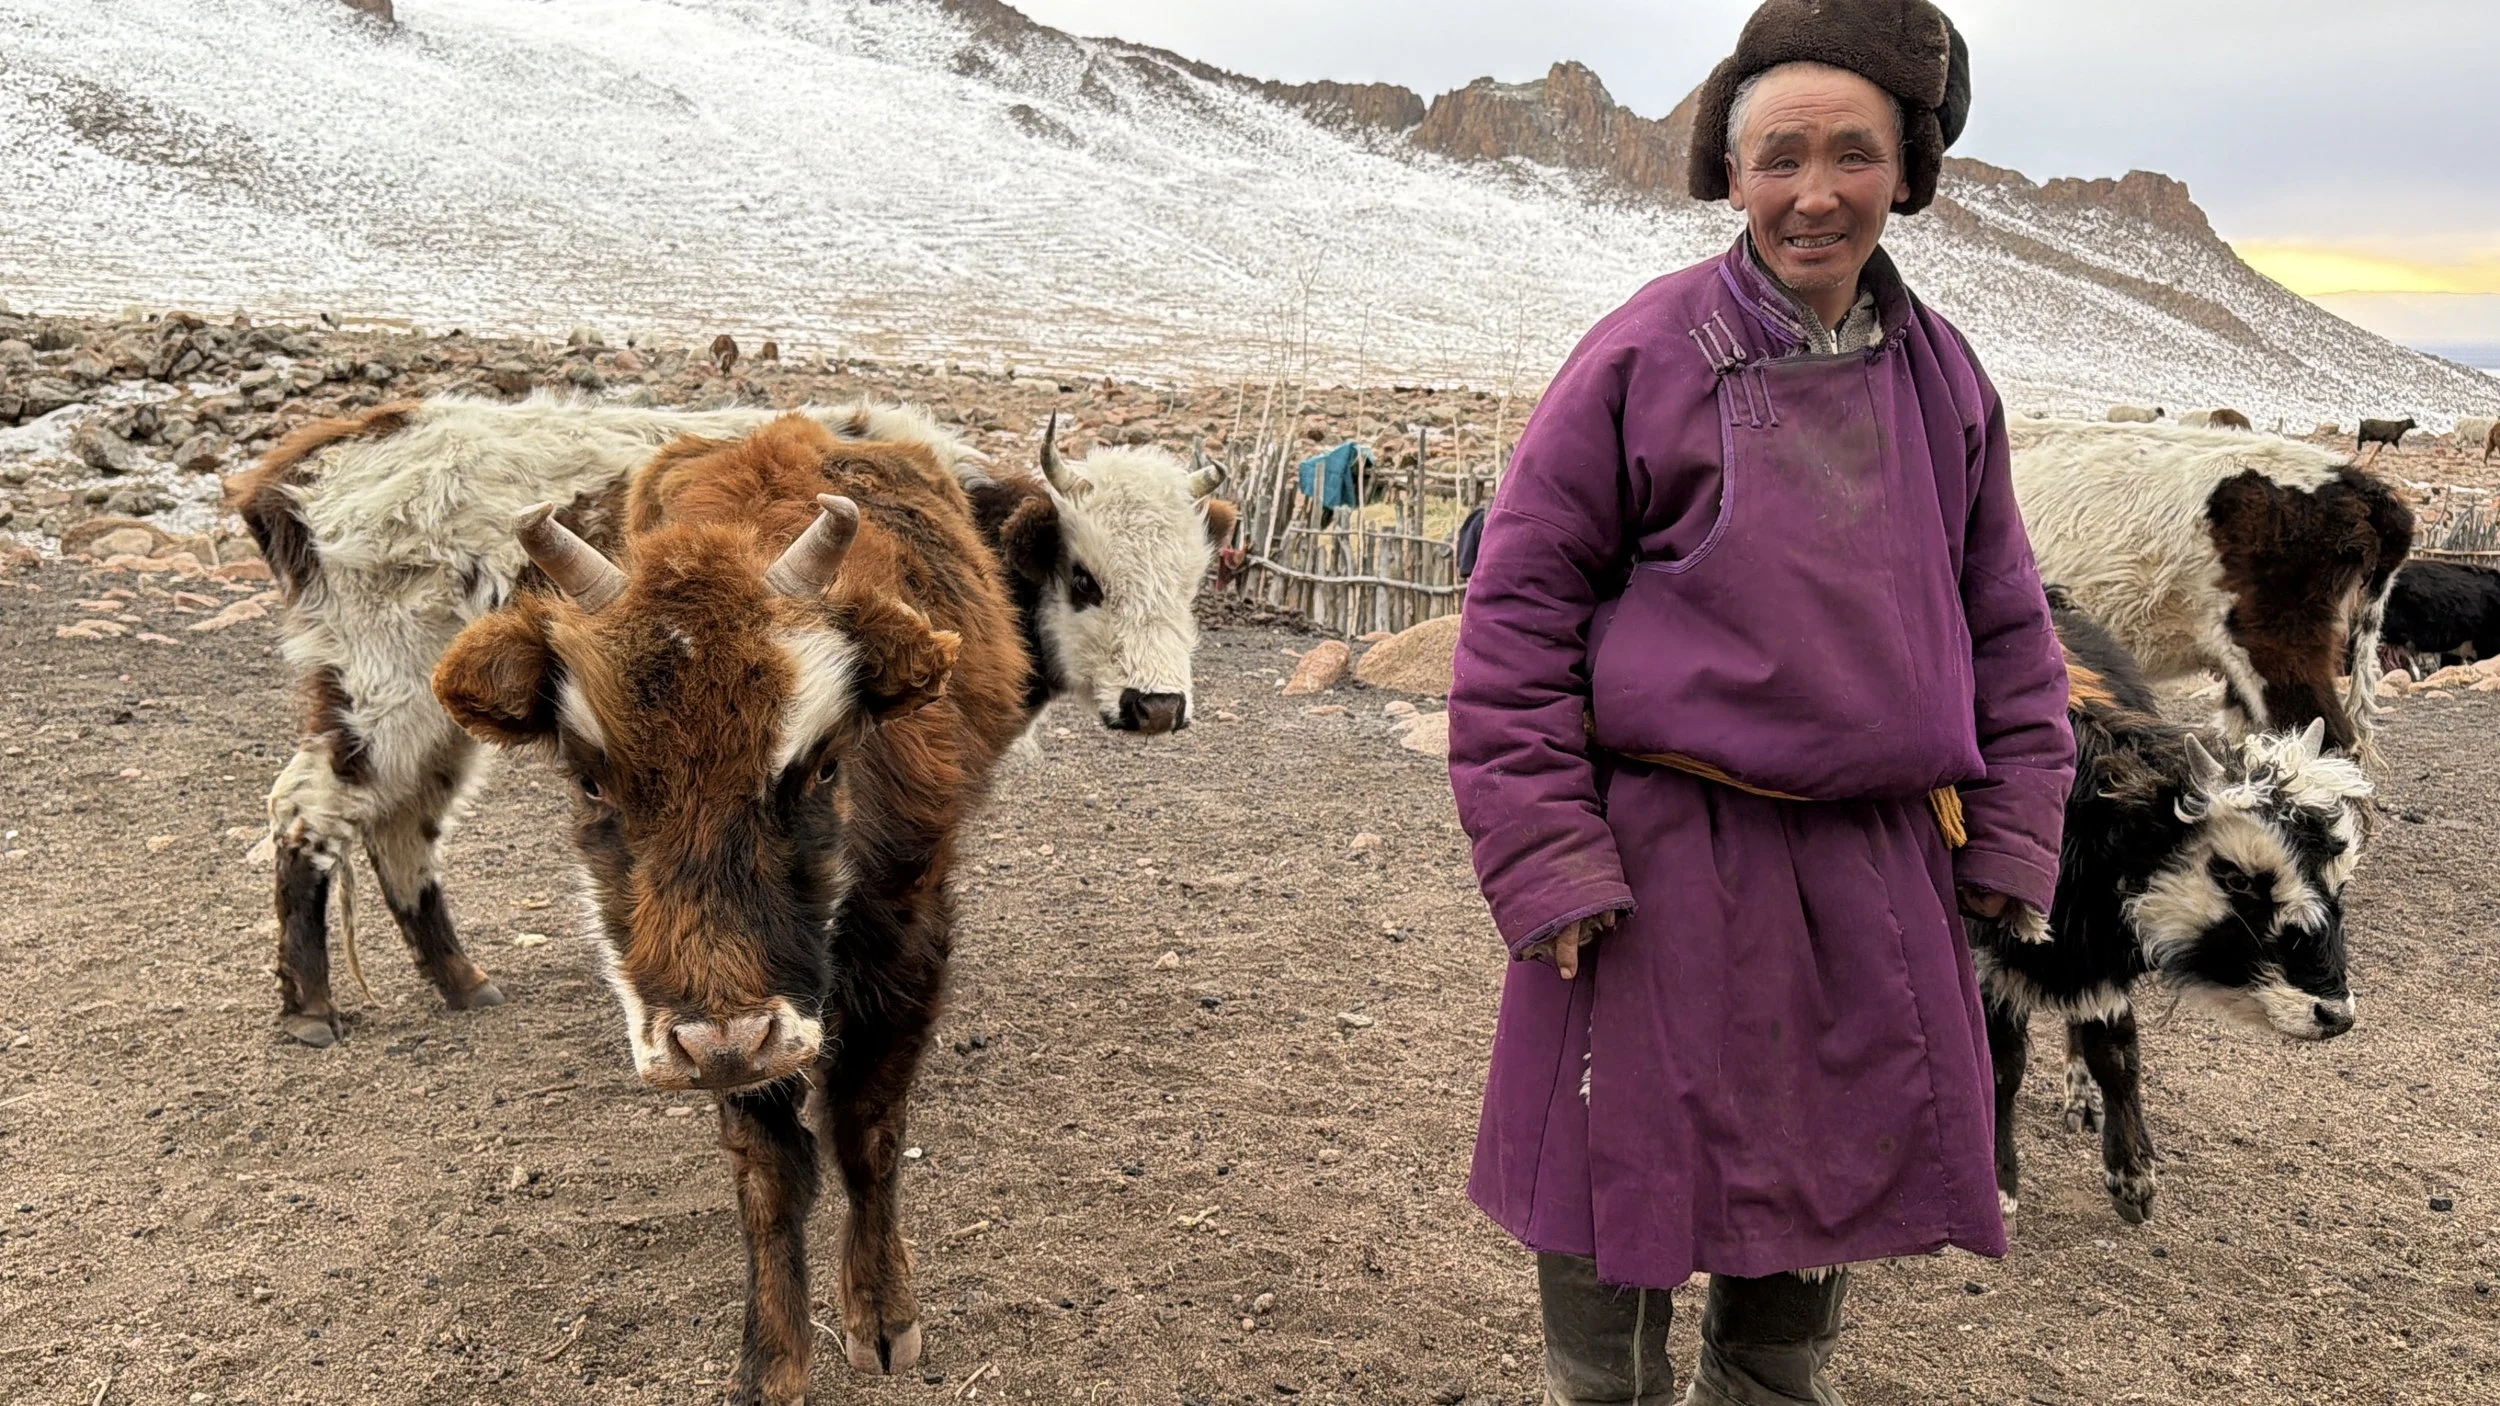
Sometimes it's Mongolia, South Africa, or the Bahamas.
But the question is always the same.
Is it safe to travel there?
And after more than twenty-three years of traveling the world, my answer is usually the same.
Yes of course it is, we wouldn’t be going there if it wasn’t.
But… you find what you're looking for.
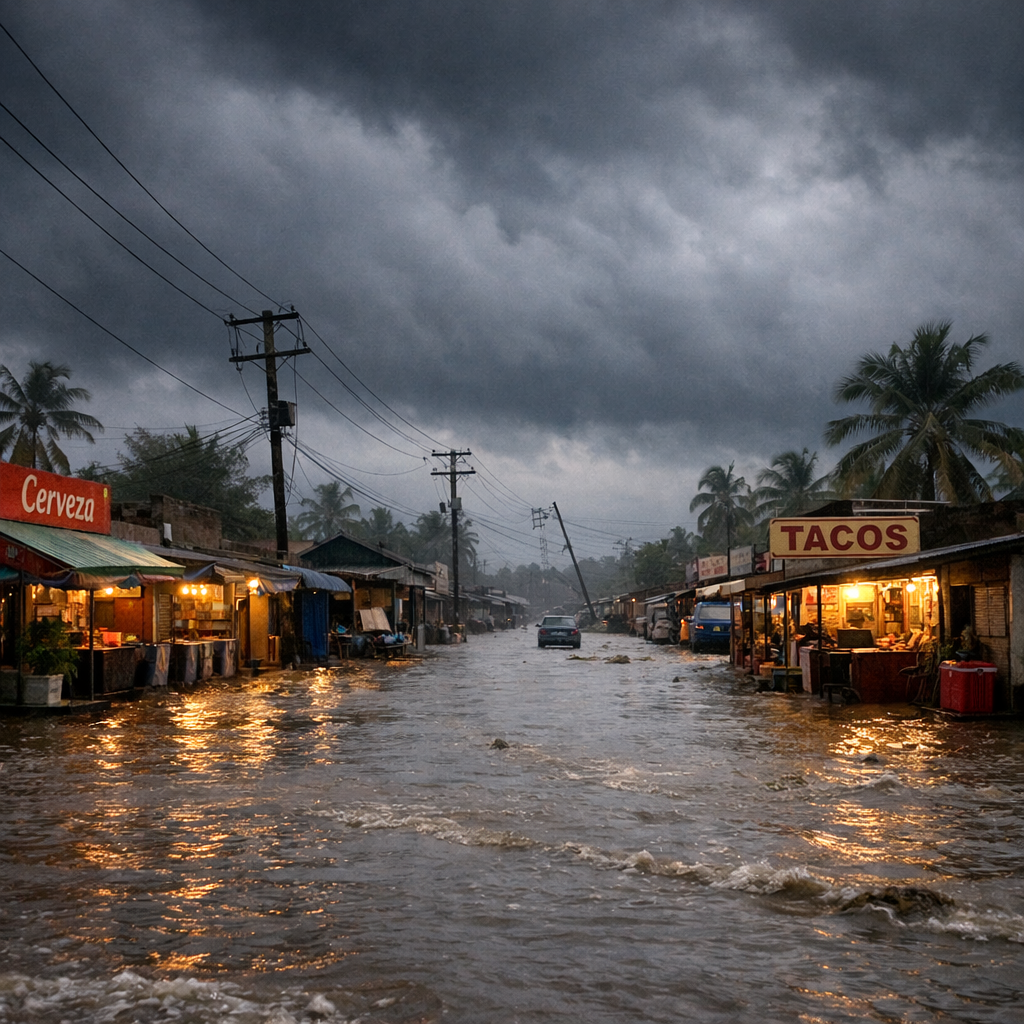
Now let me be clear. Bad things happen. Crime exists. Common sense matters. There are places in every country that are best avoided.
But most people asking this question aren't really asking about crime statistics.
They're asking if the locations we are visiting are dangerous.
The truth is this.
If you're looking for trouble, you’re probably going to find it.
If you're wandering unfamiliar cities at three in the morning, looking for the next bar, the next party, or the next bad decision, eventually trouble has a way of introducing itself.
The world has never struggled to provide opportunities for poor choices.
But that's not what I'm looking for.
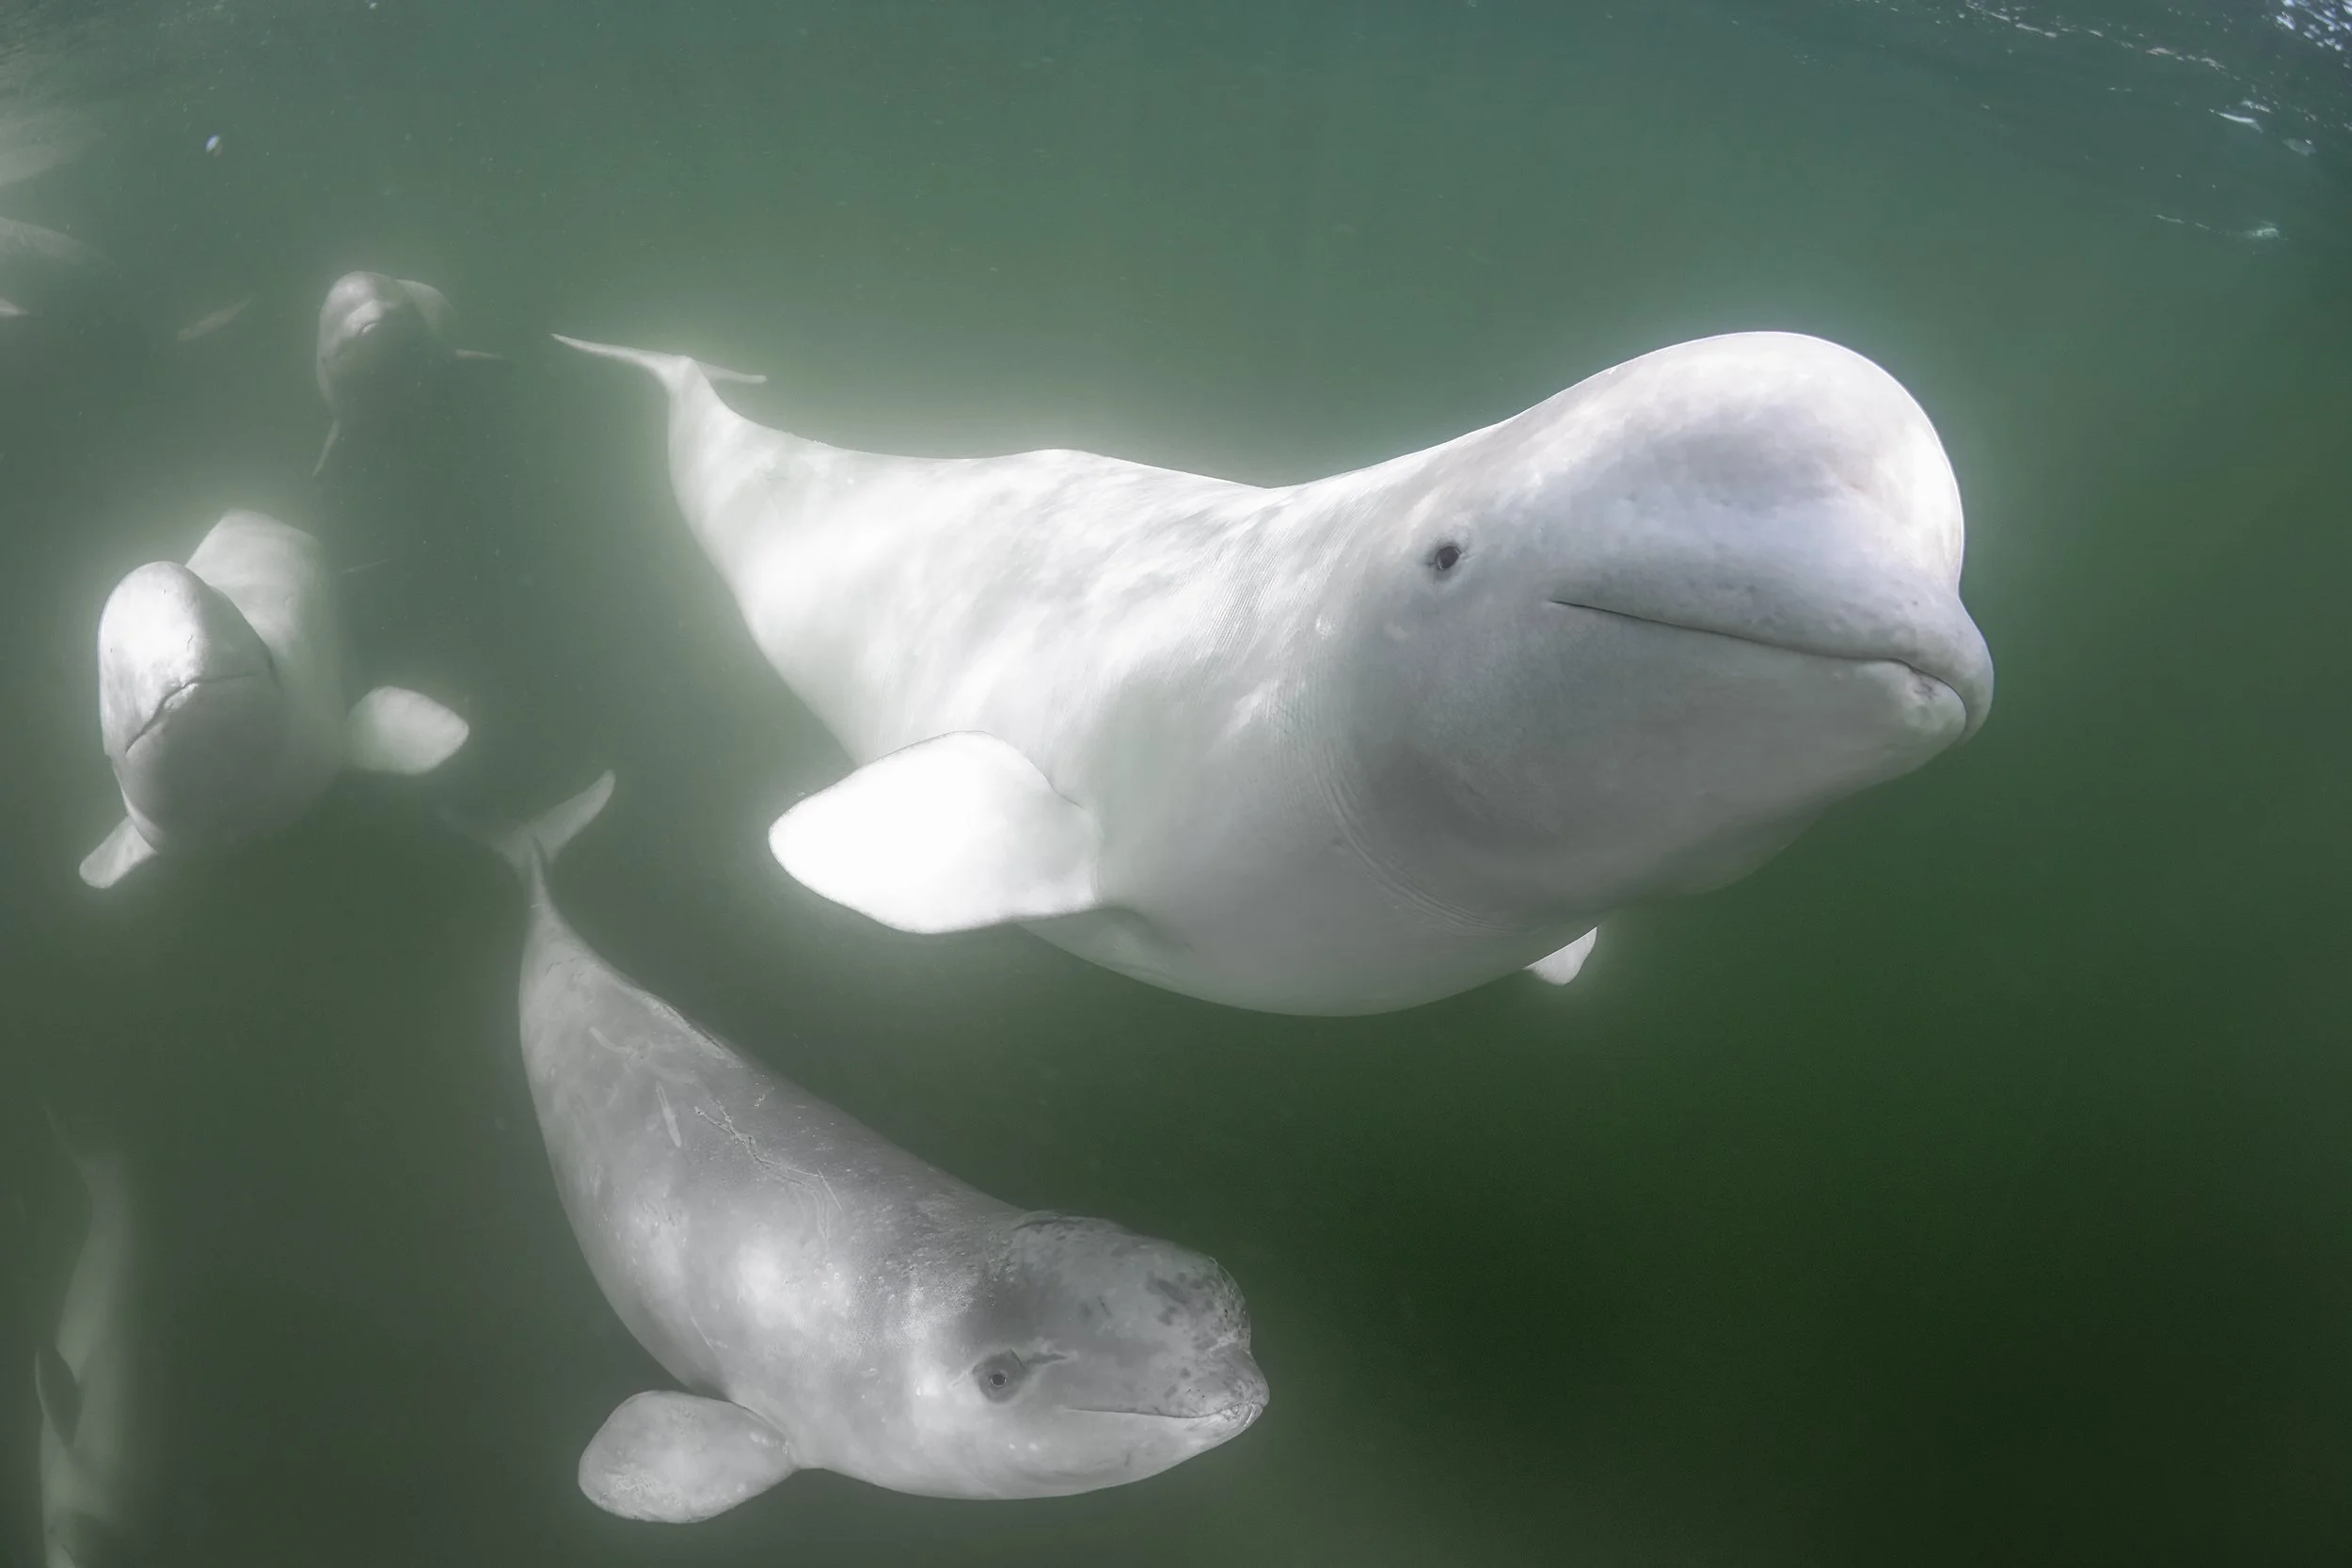
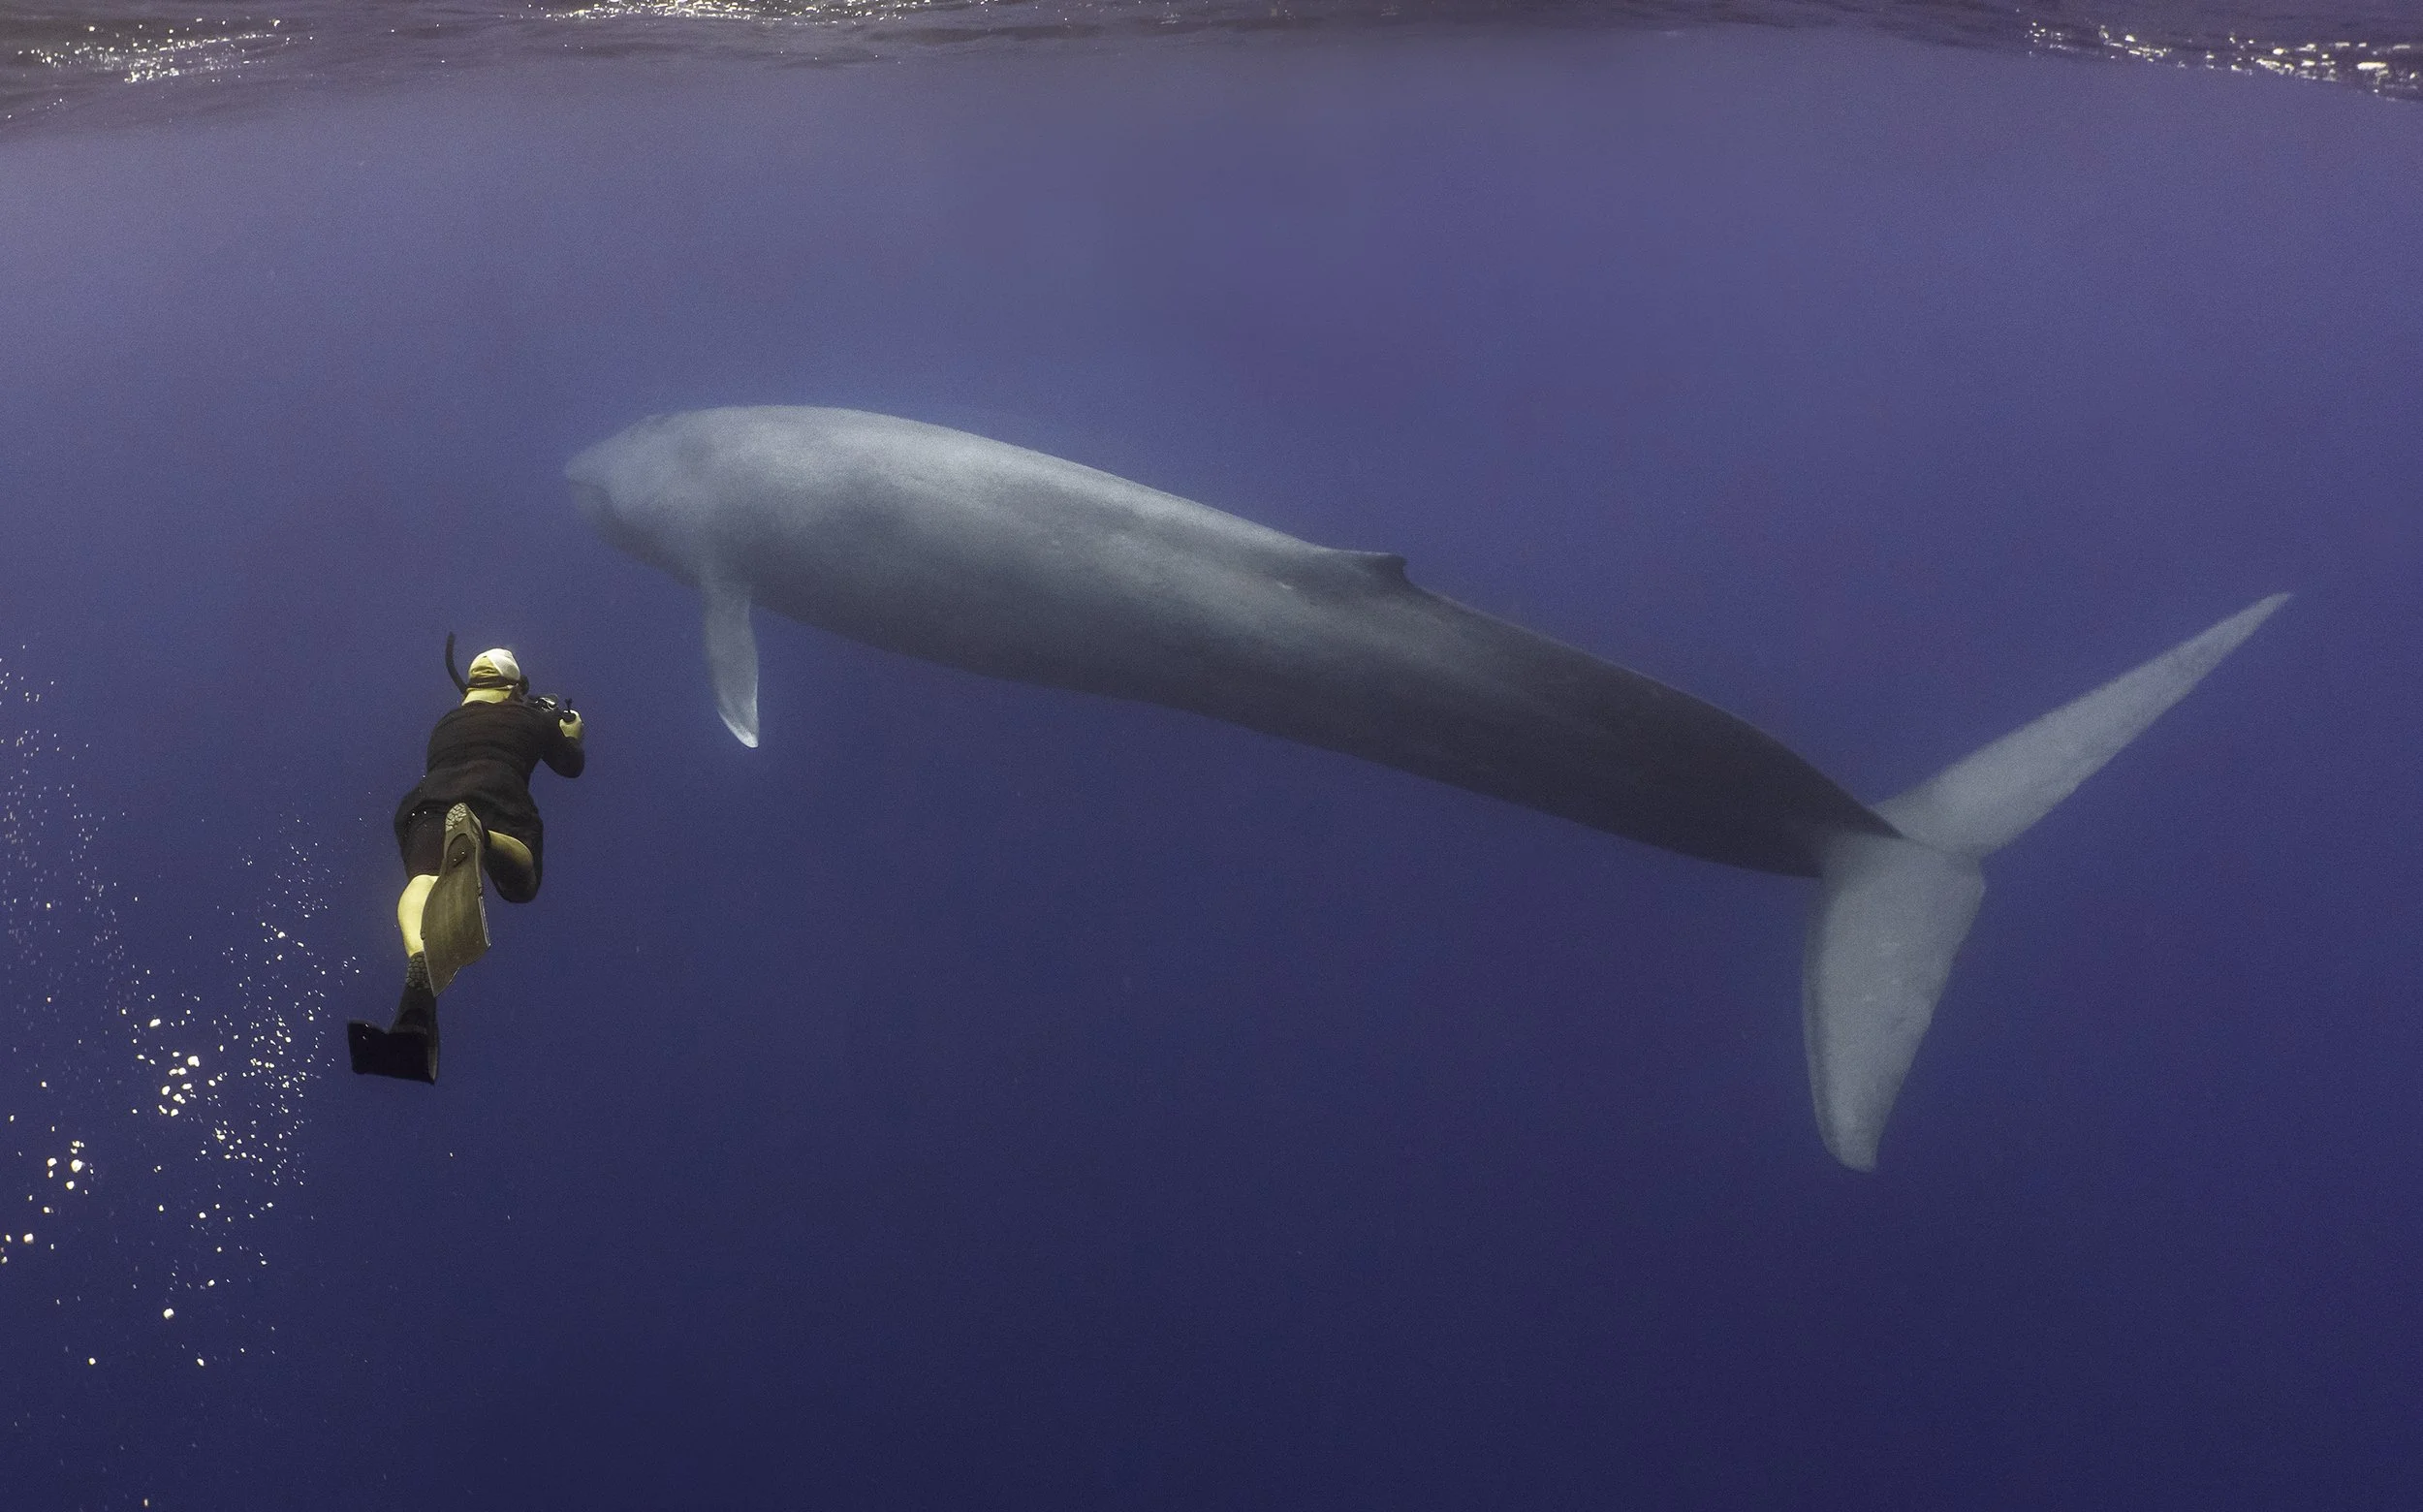
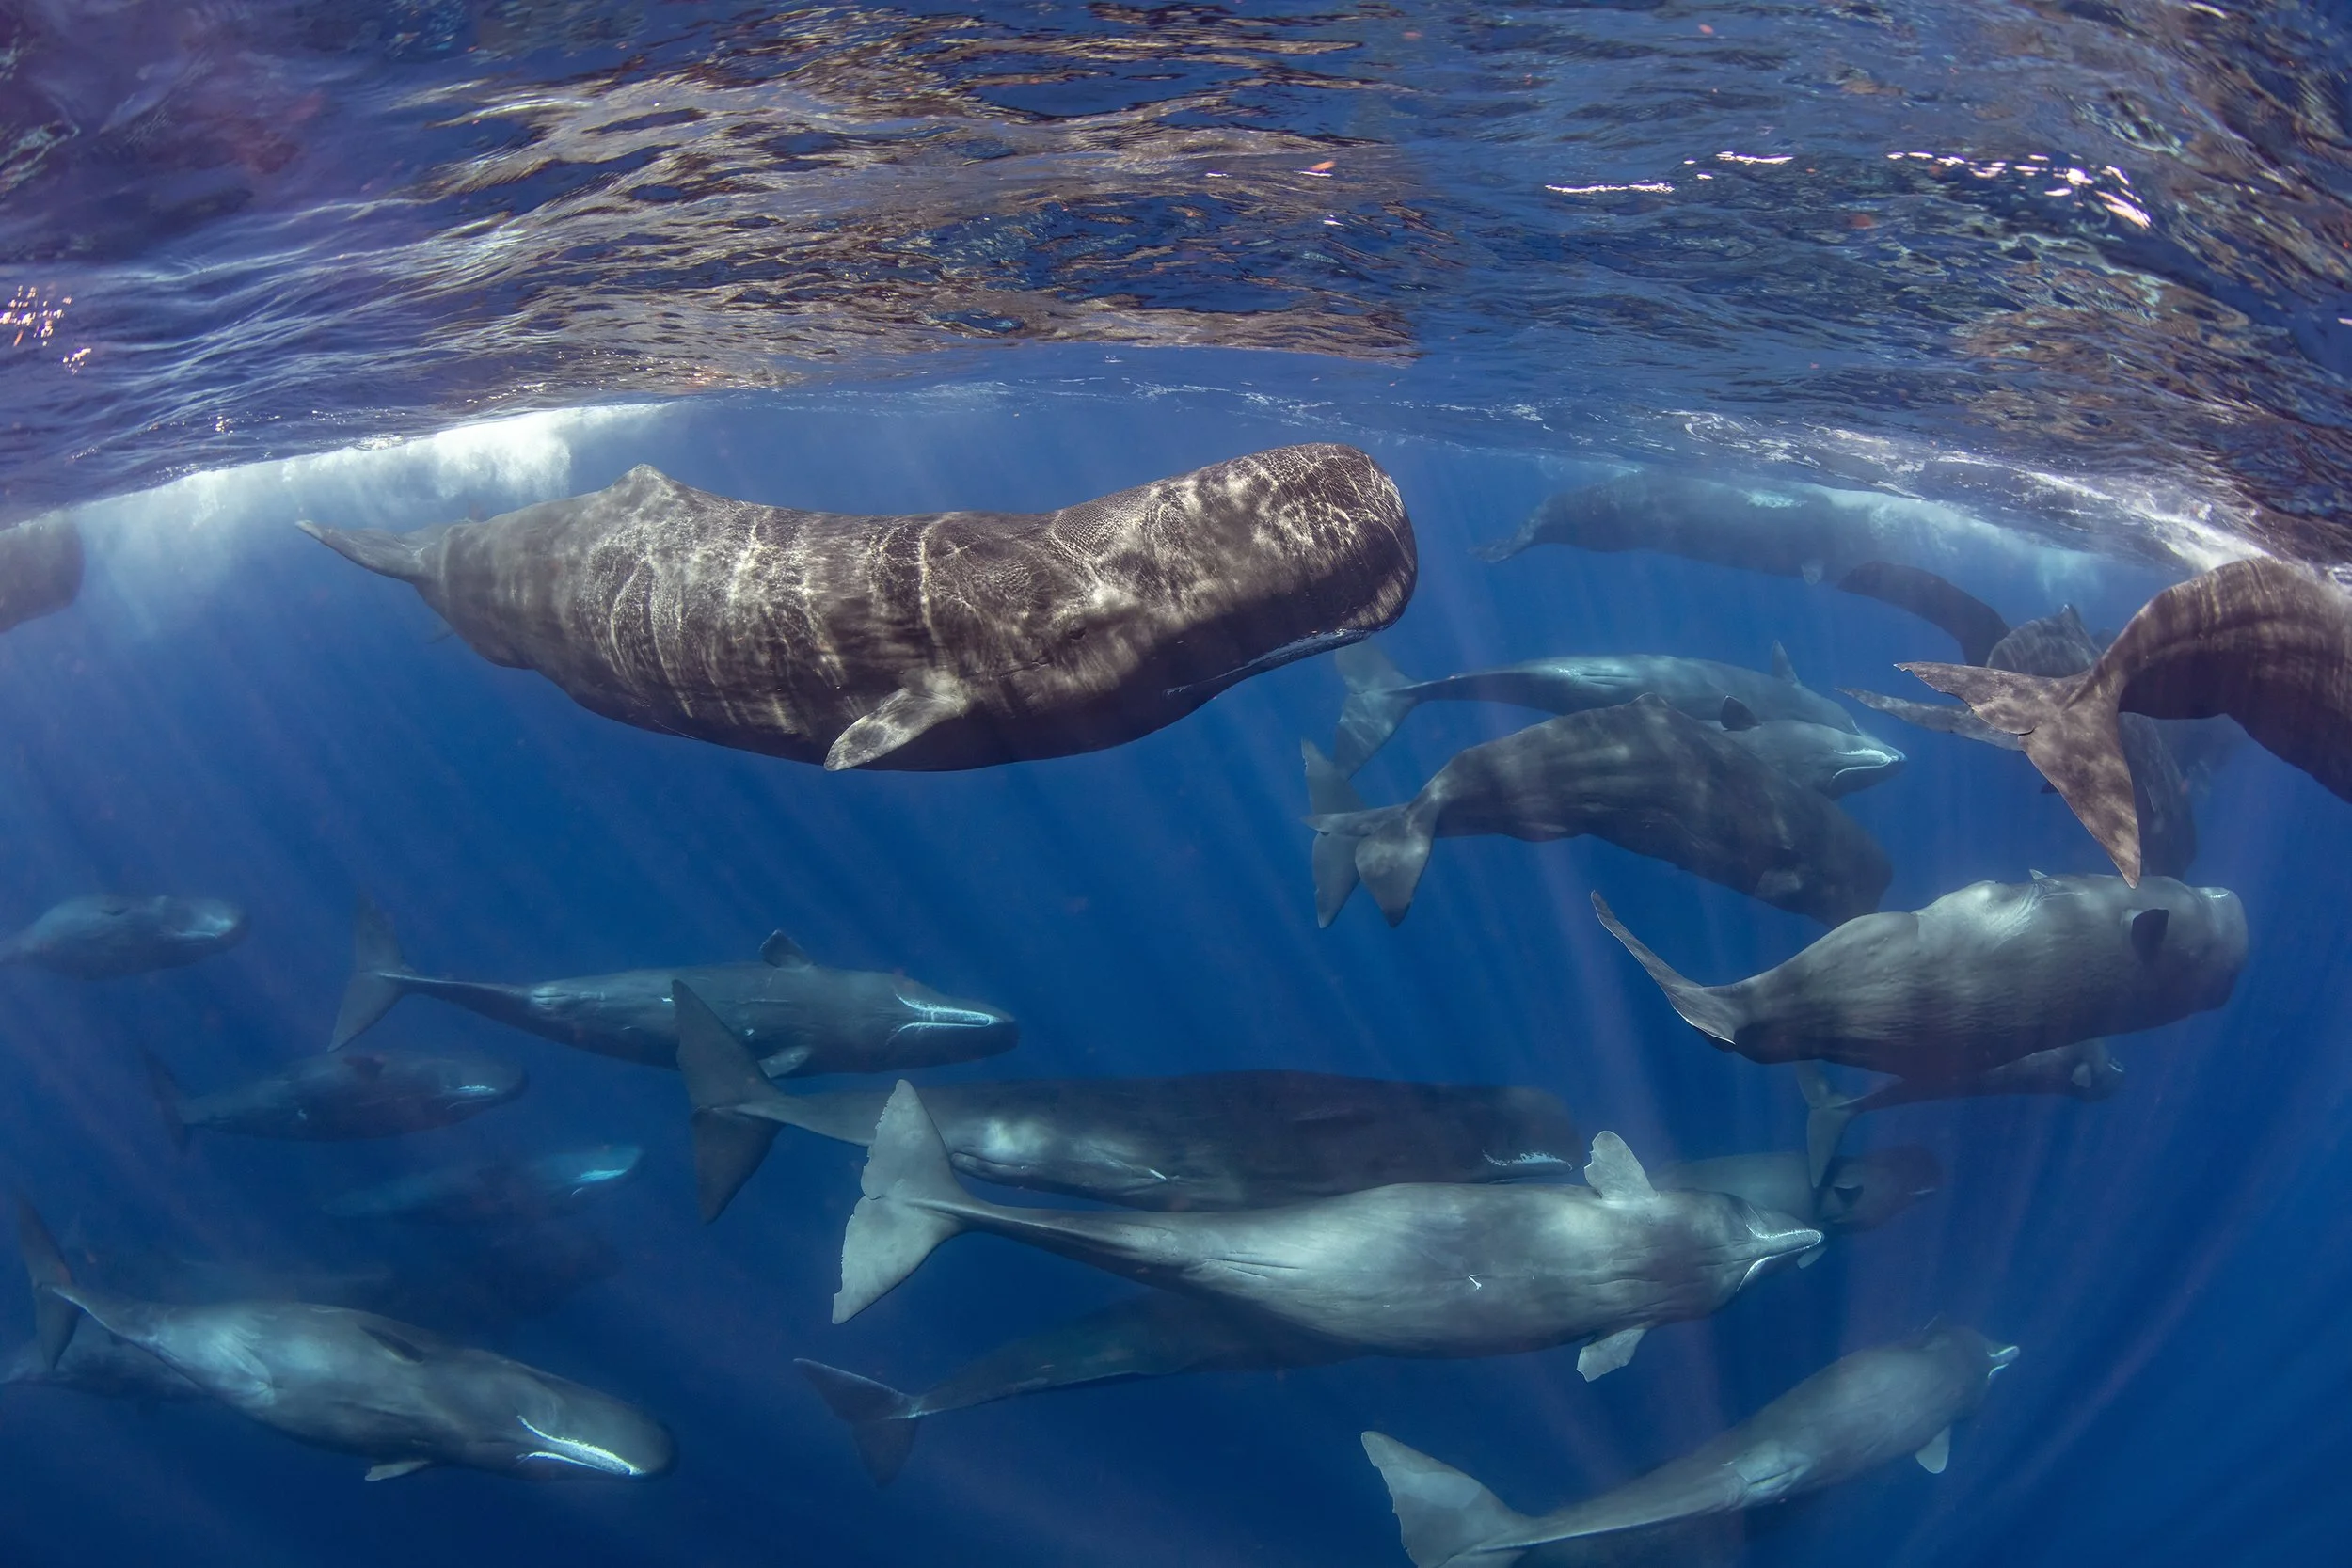
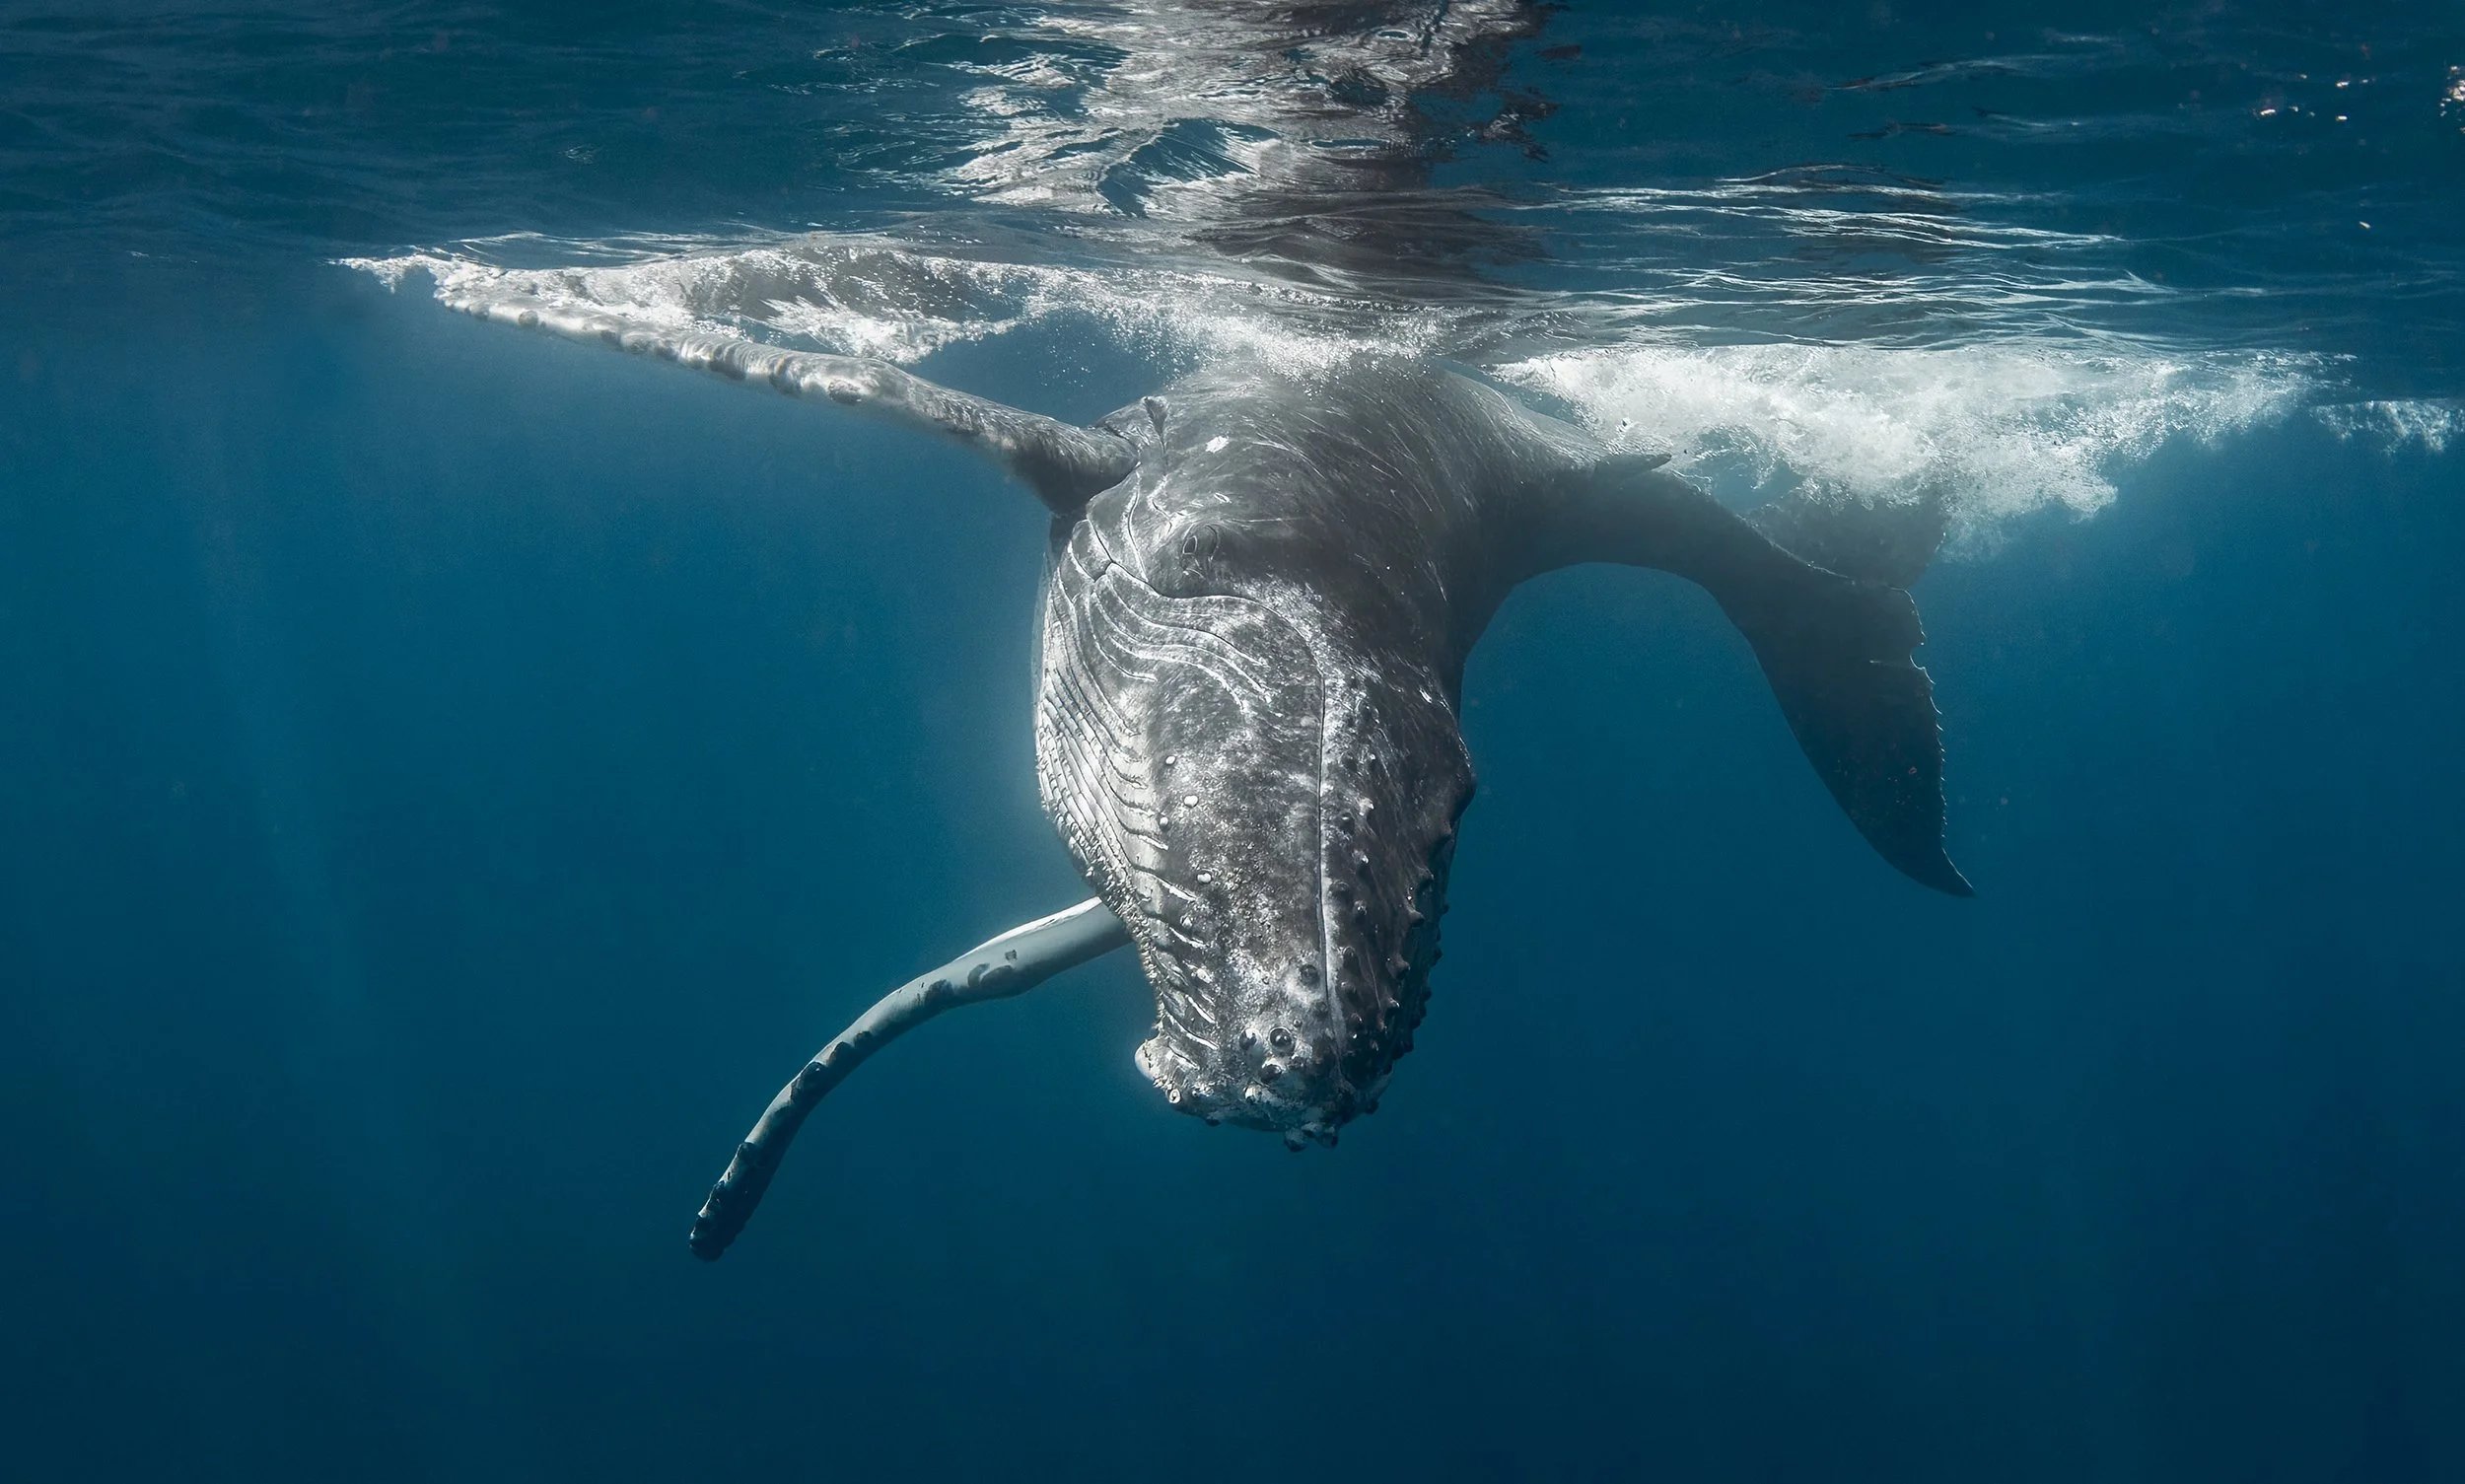
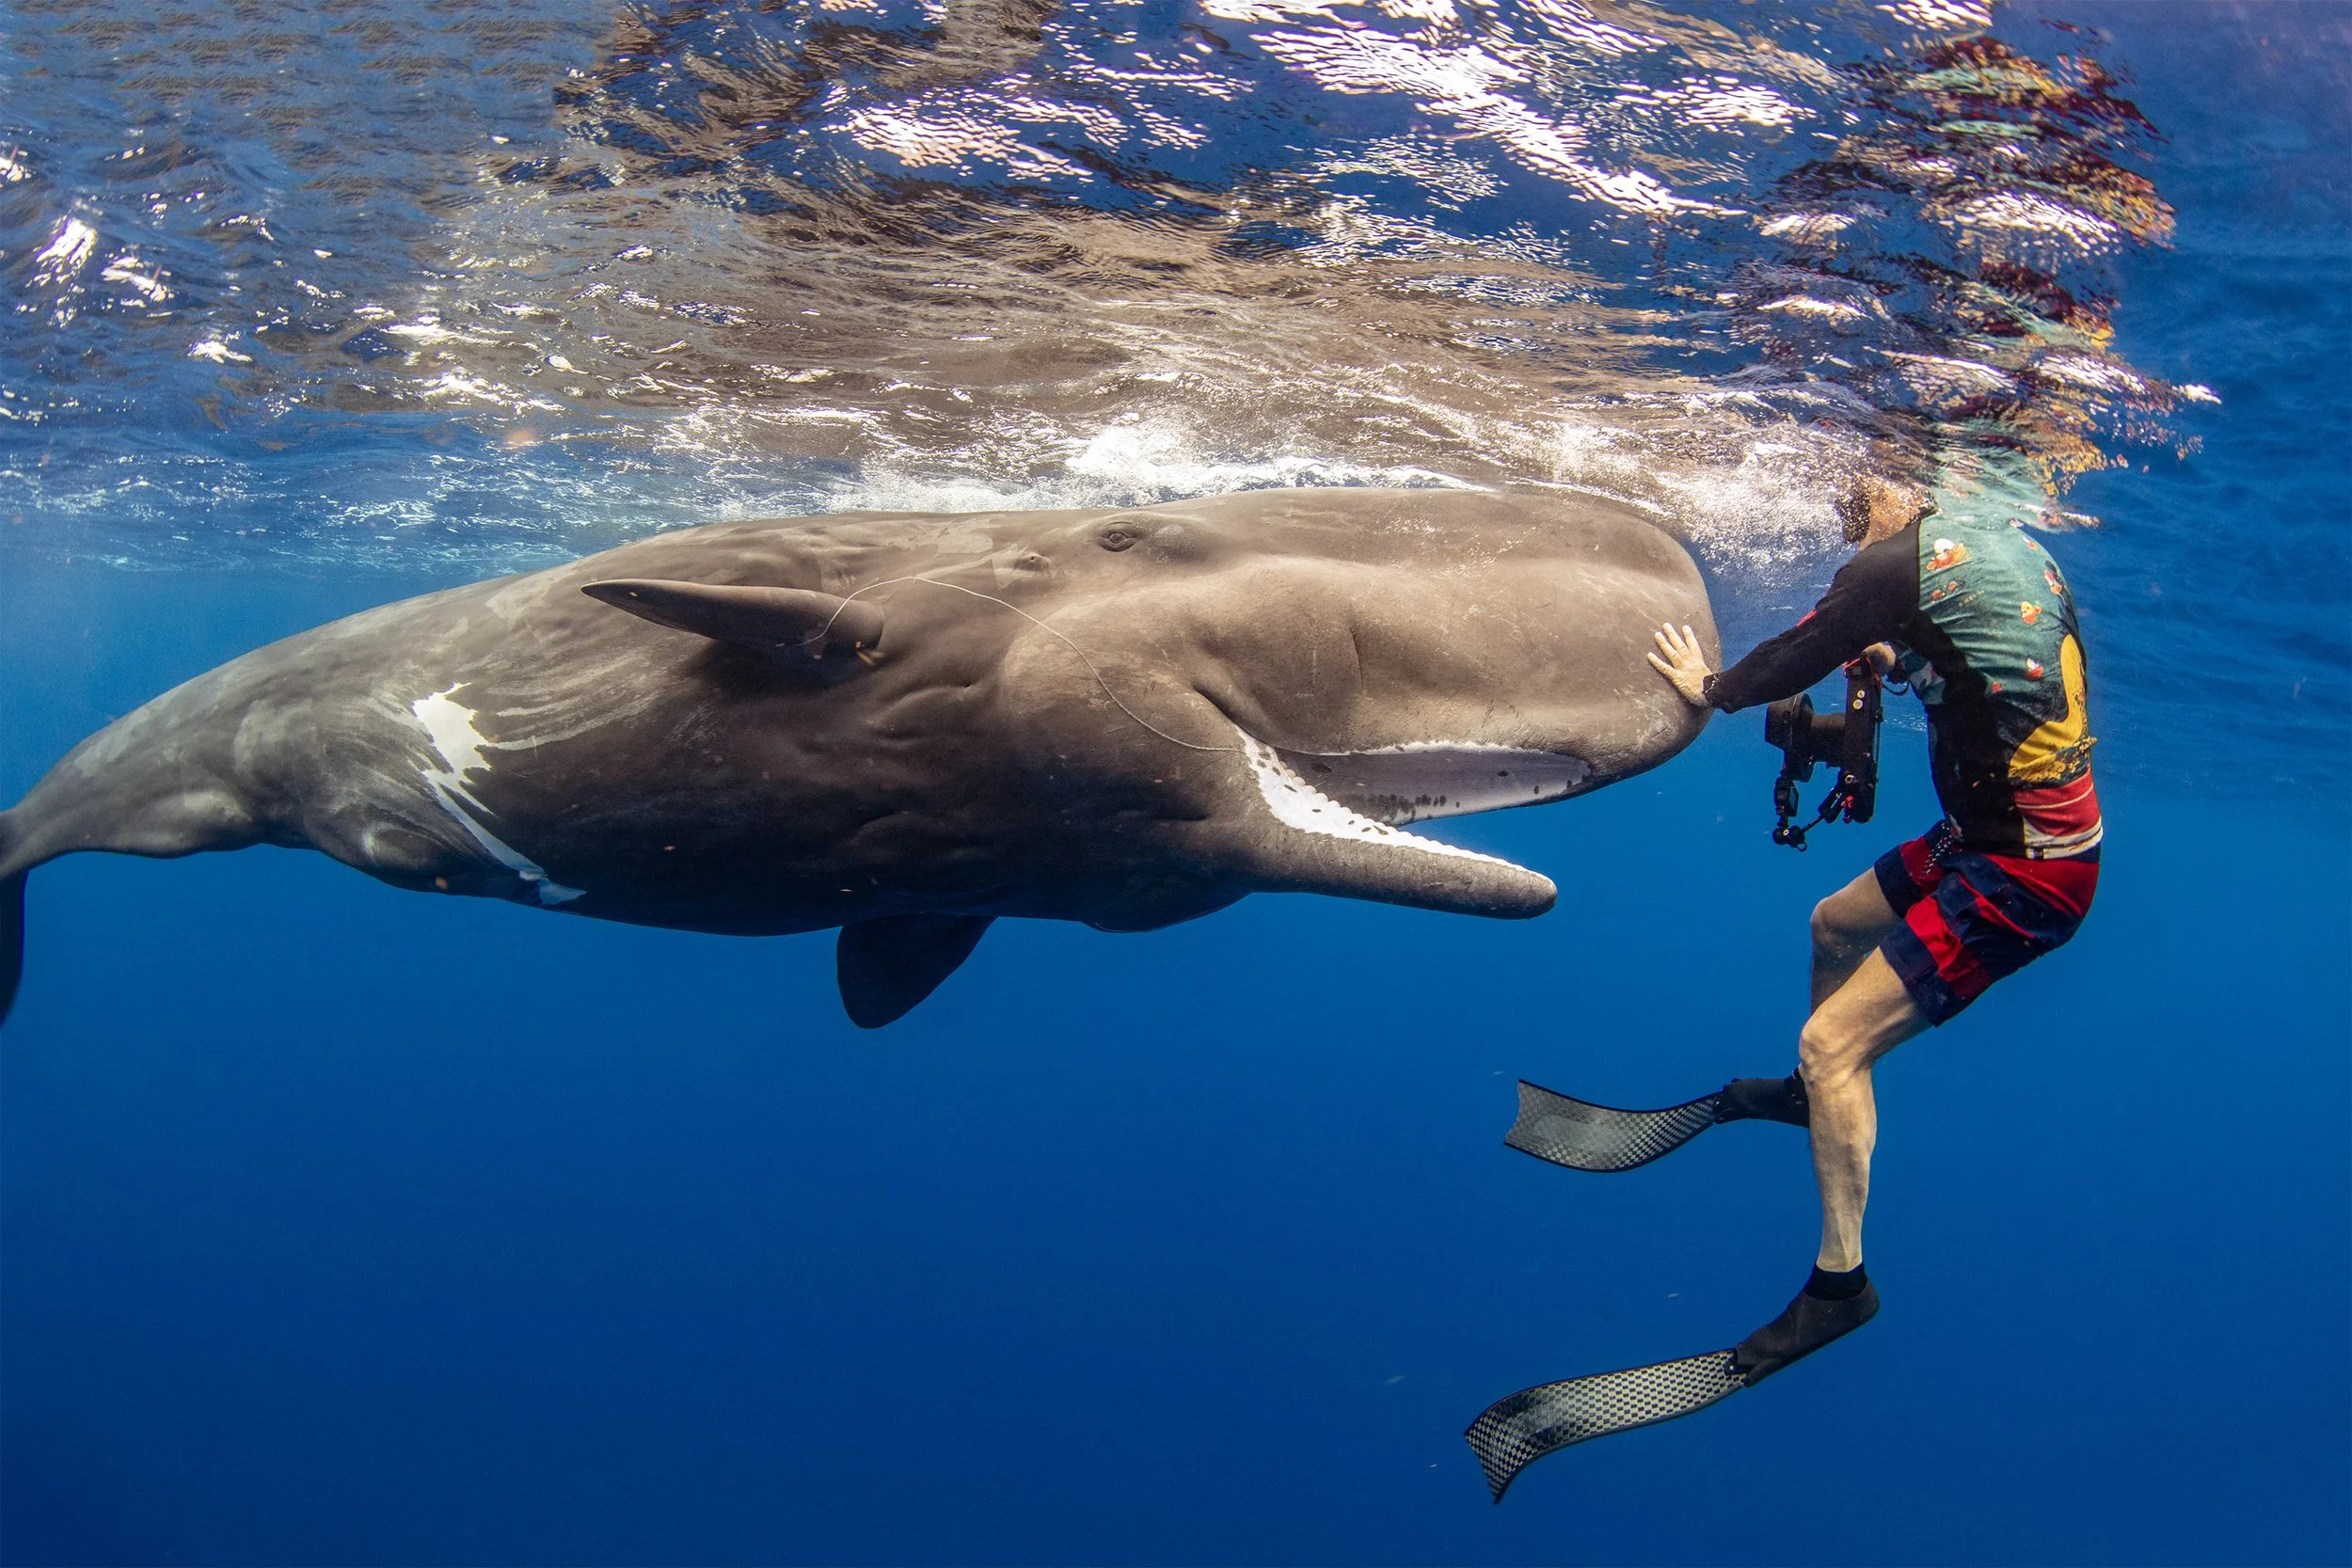
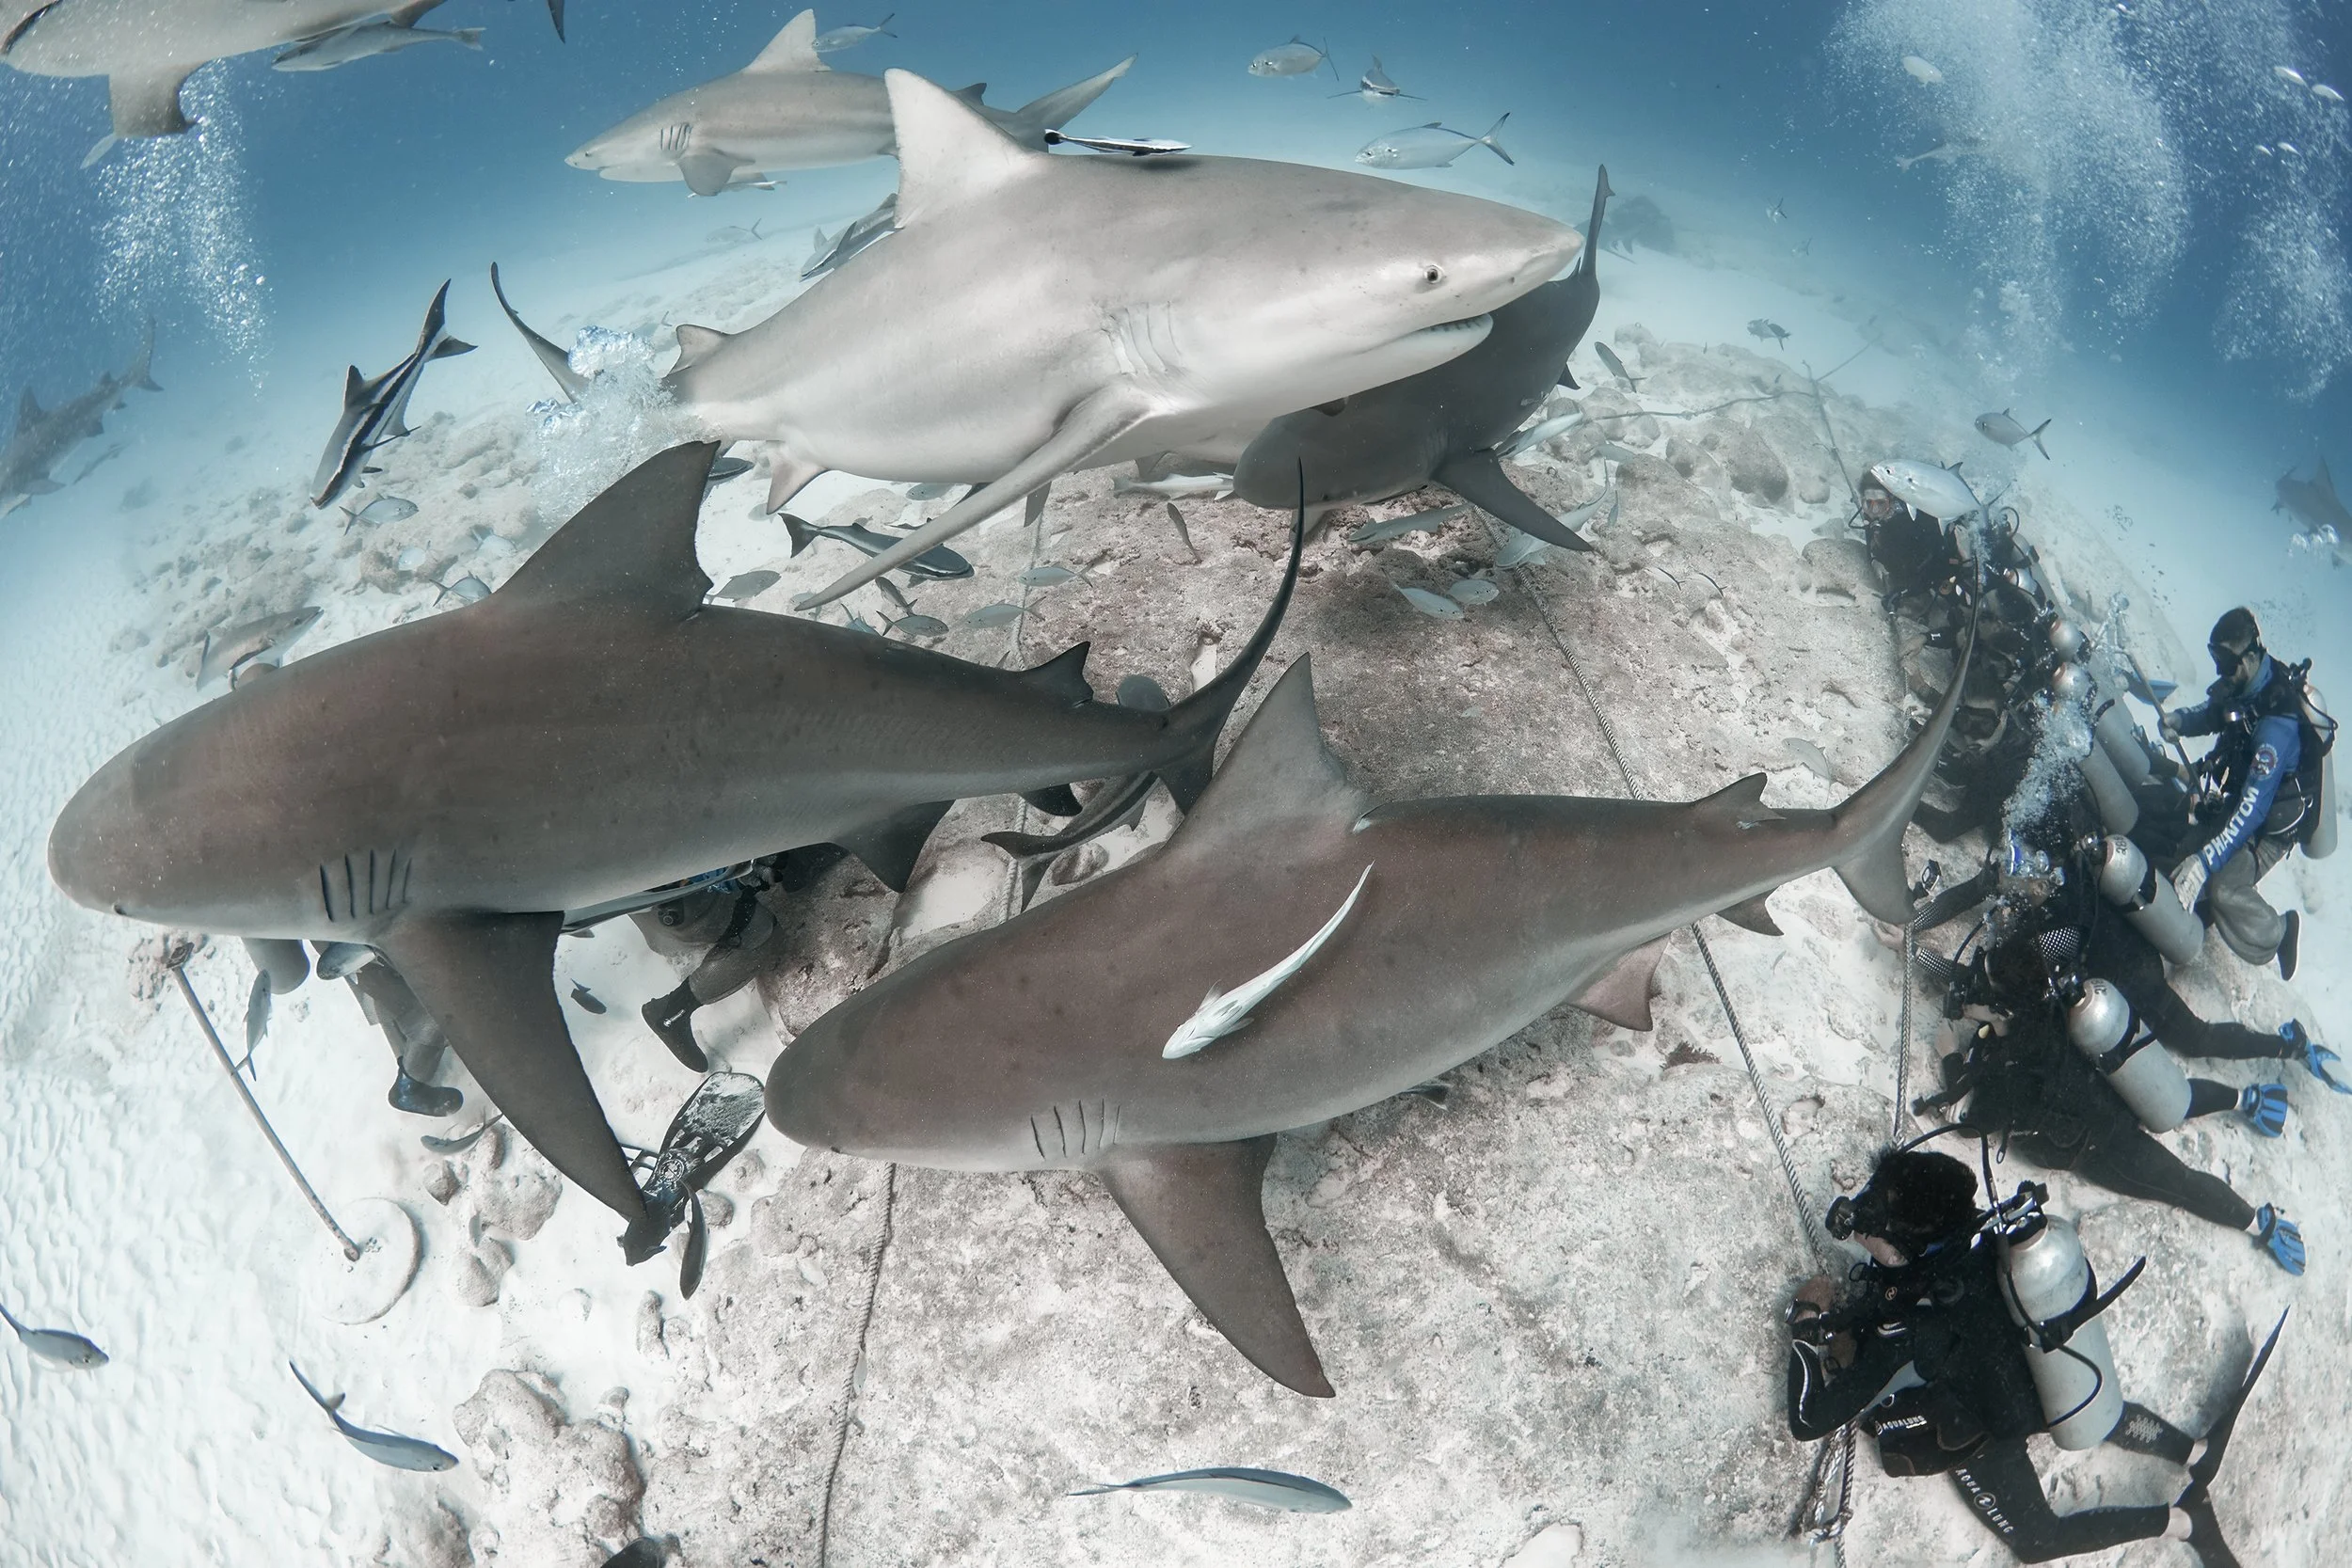
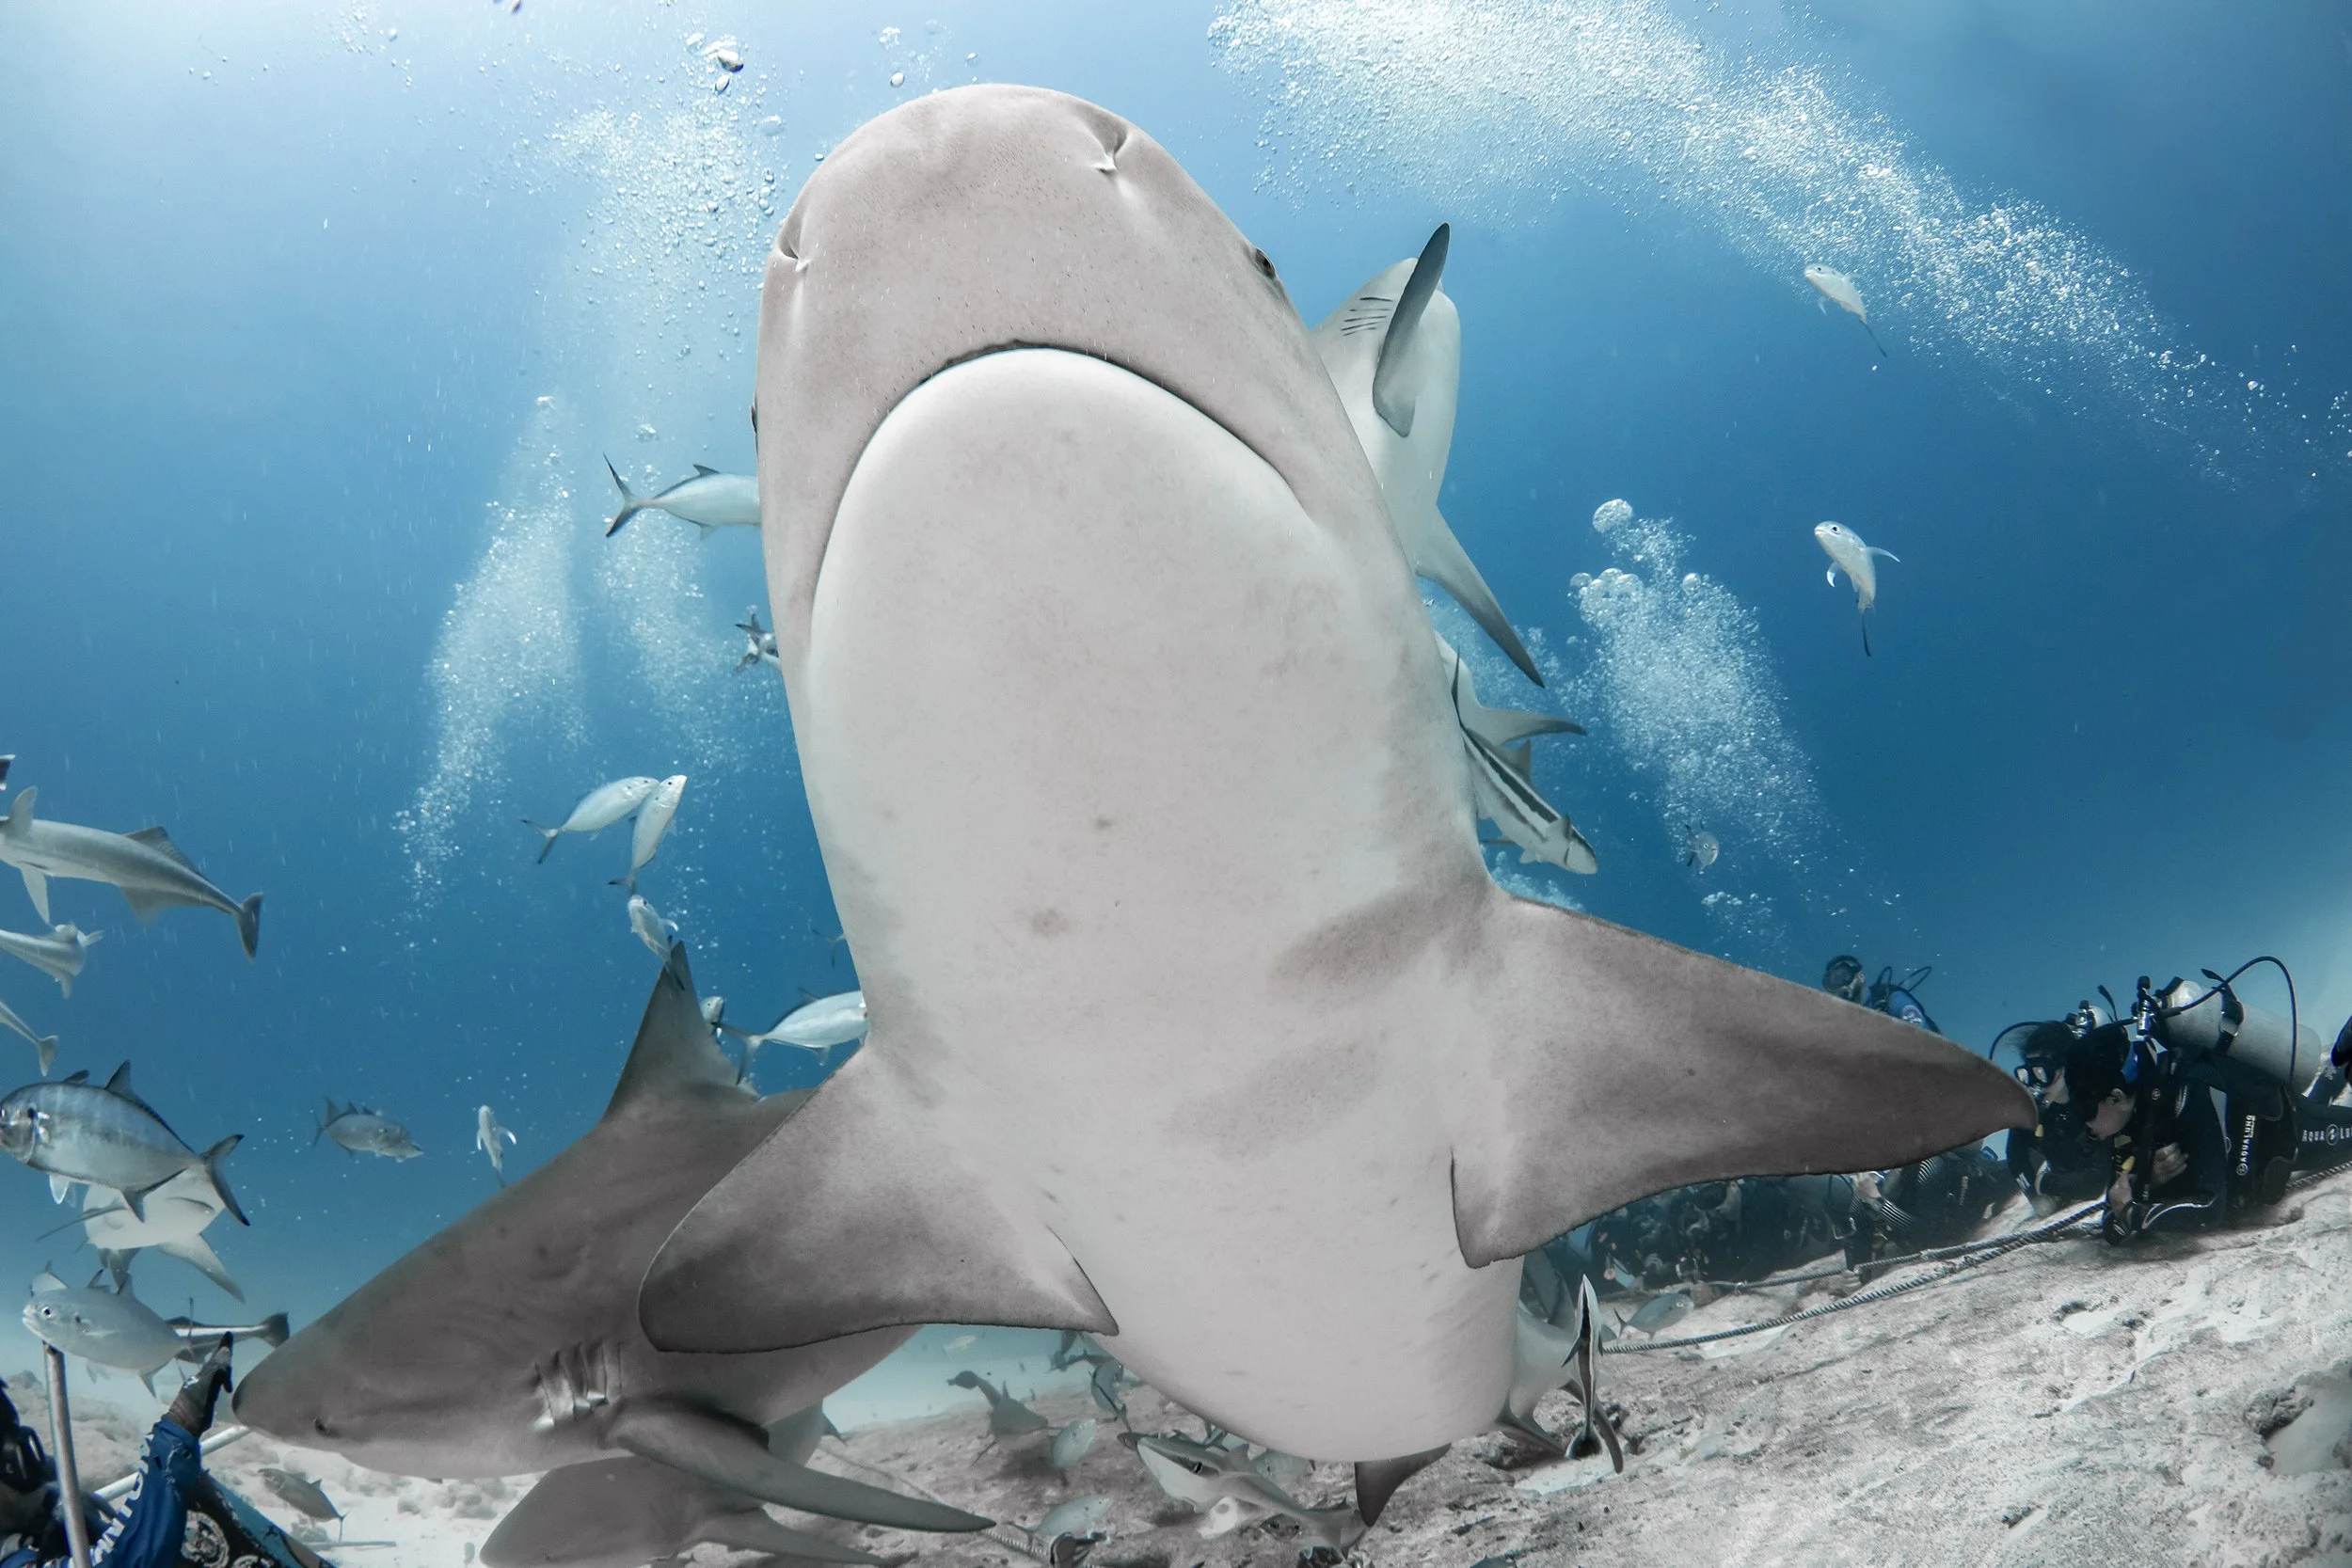
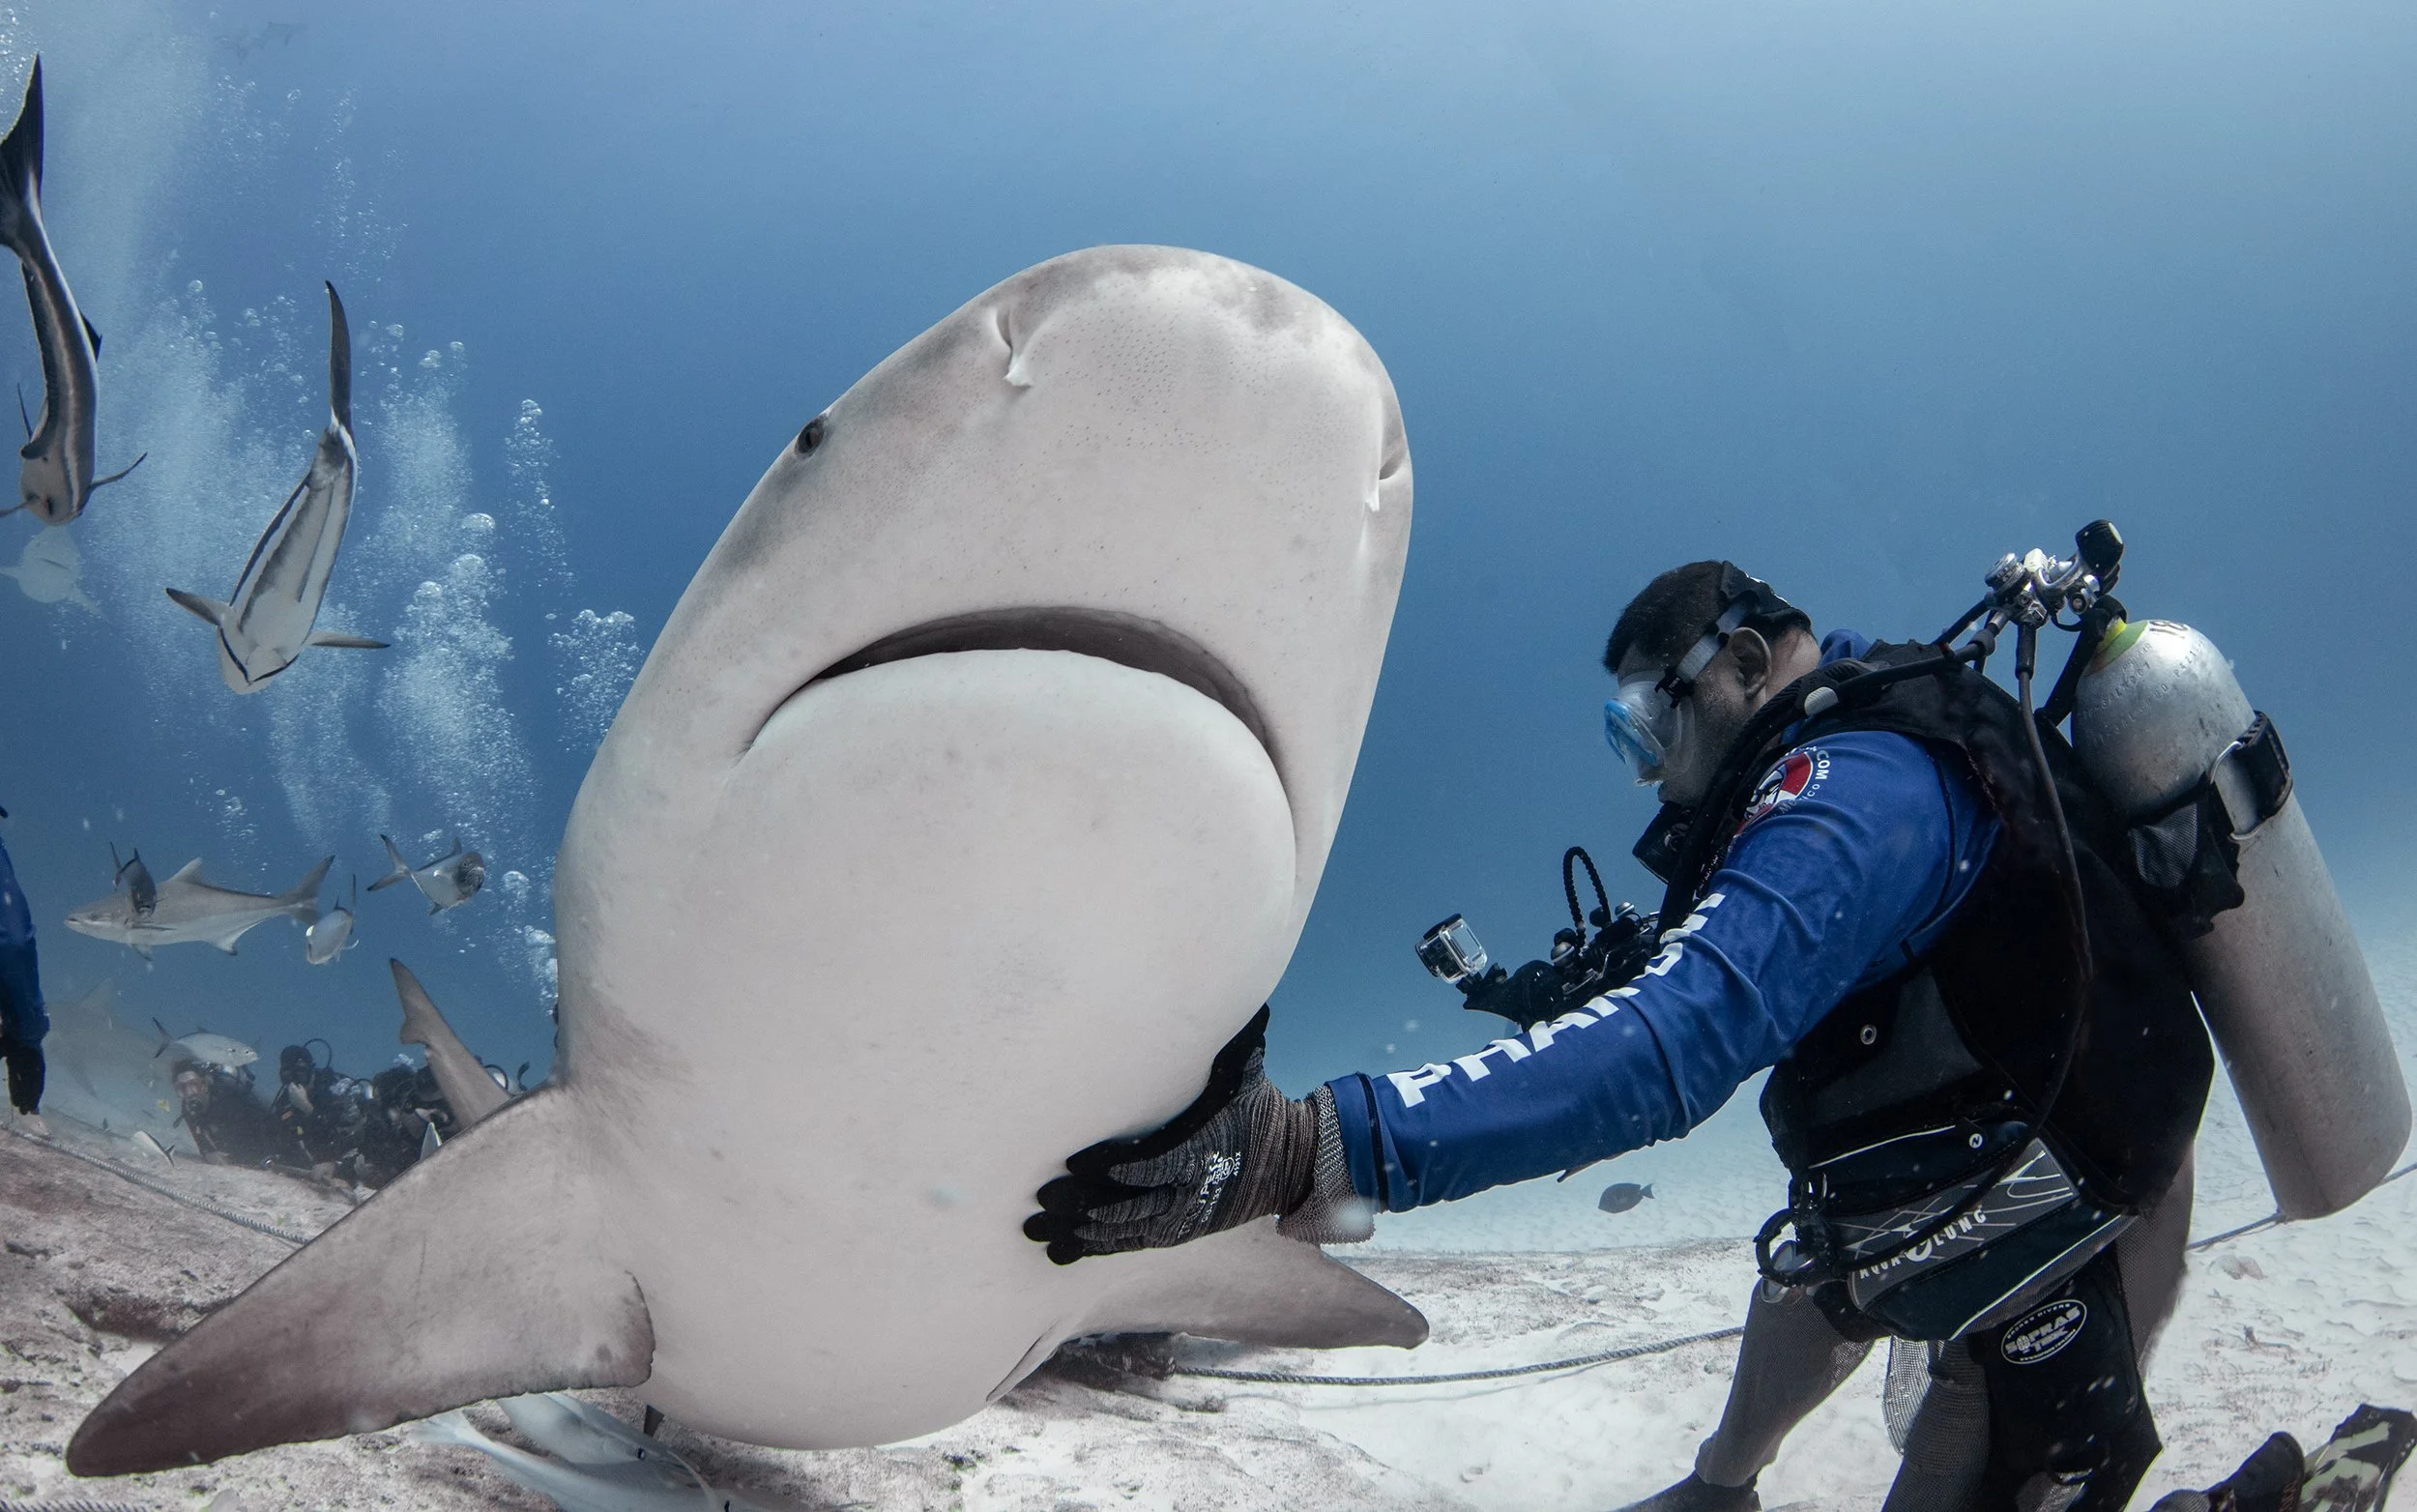
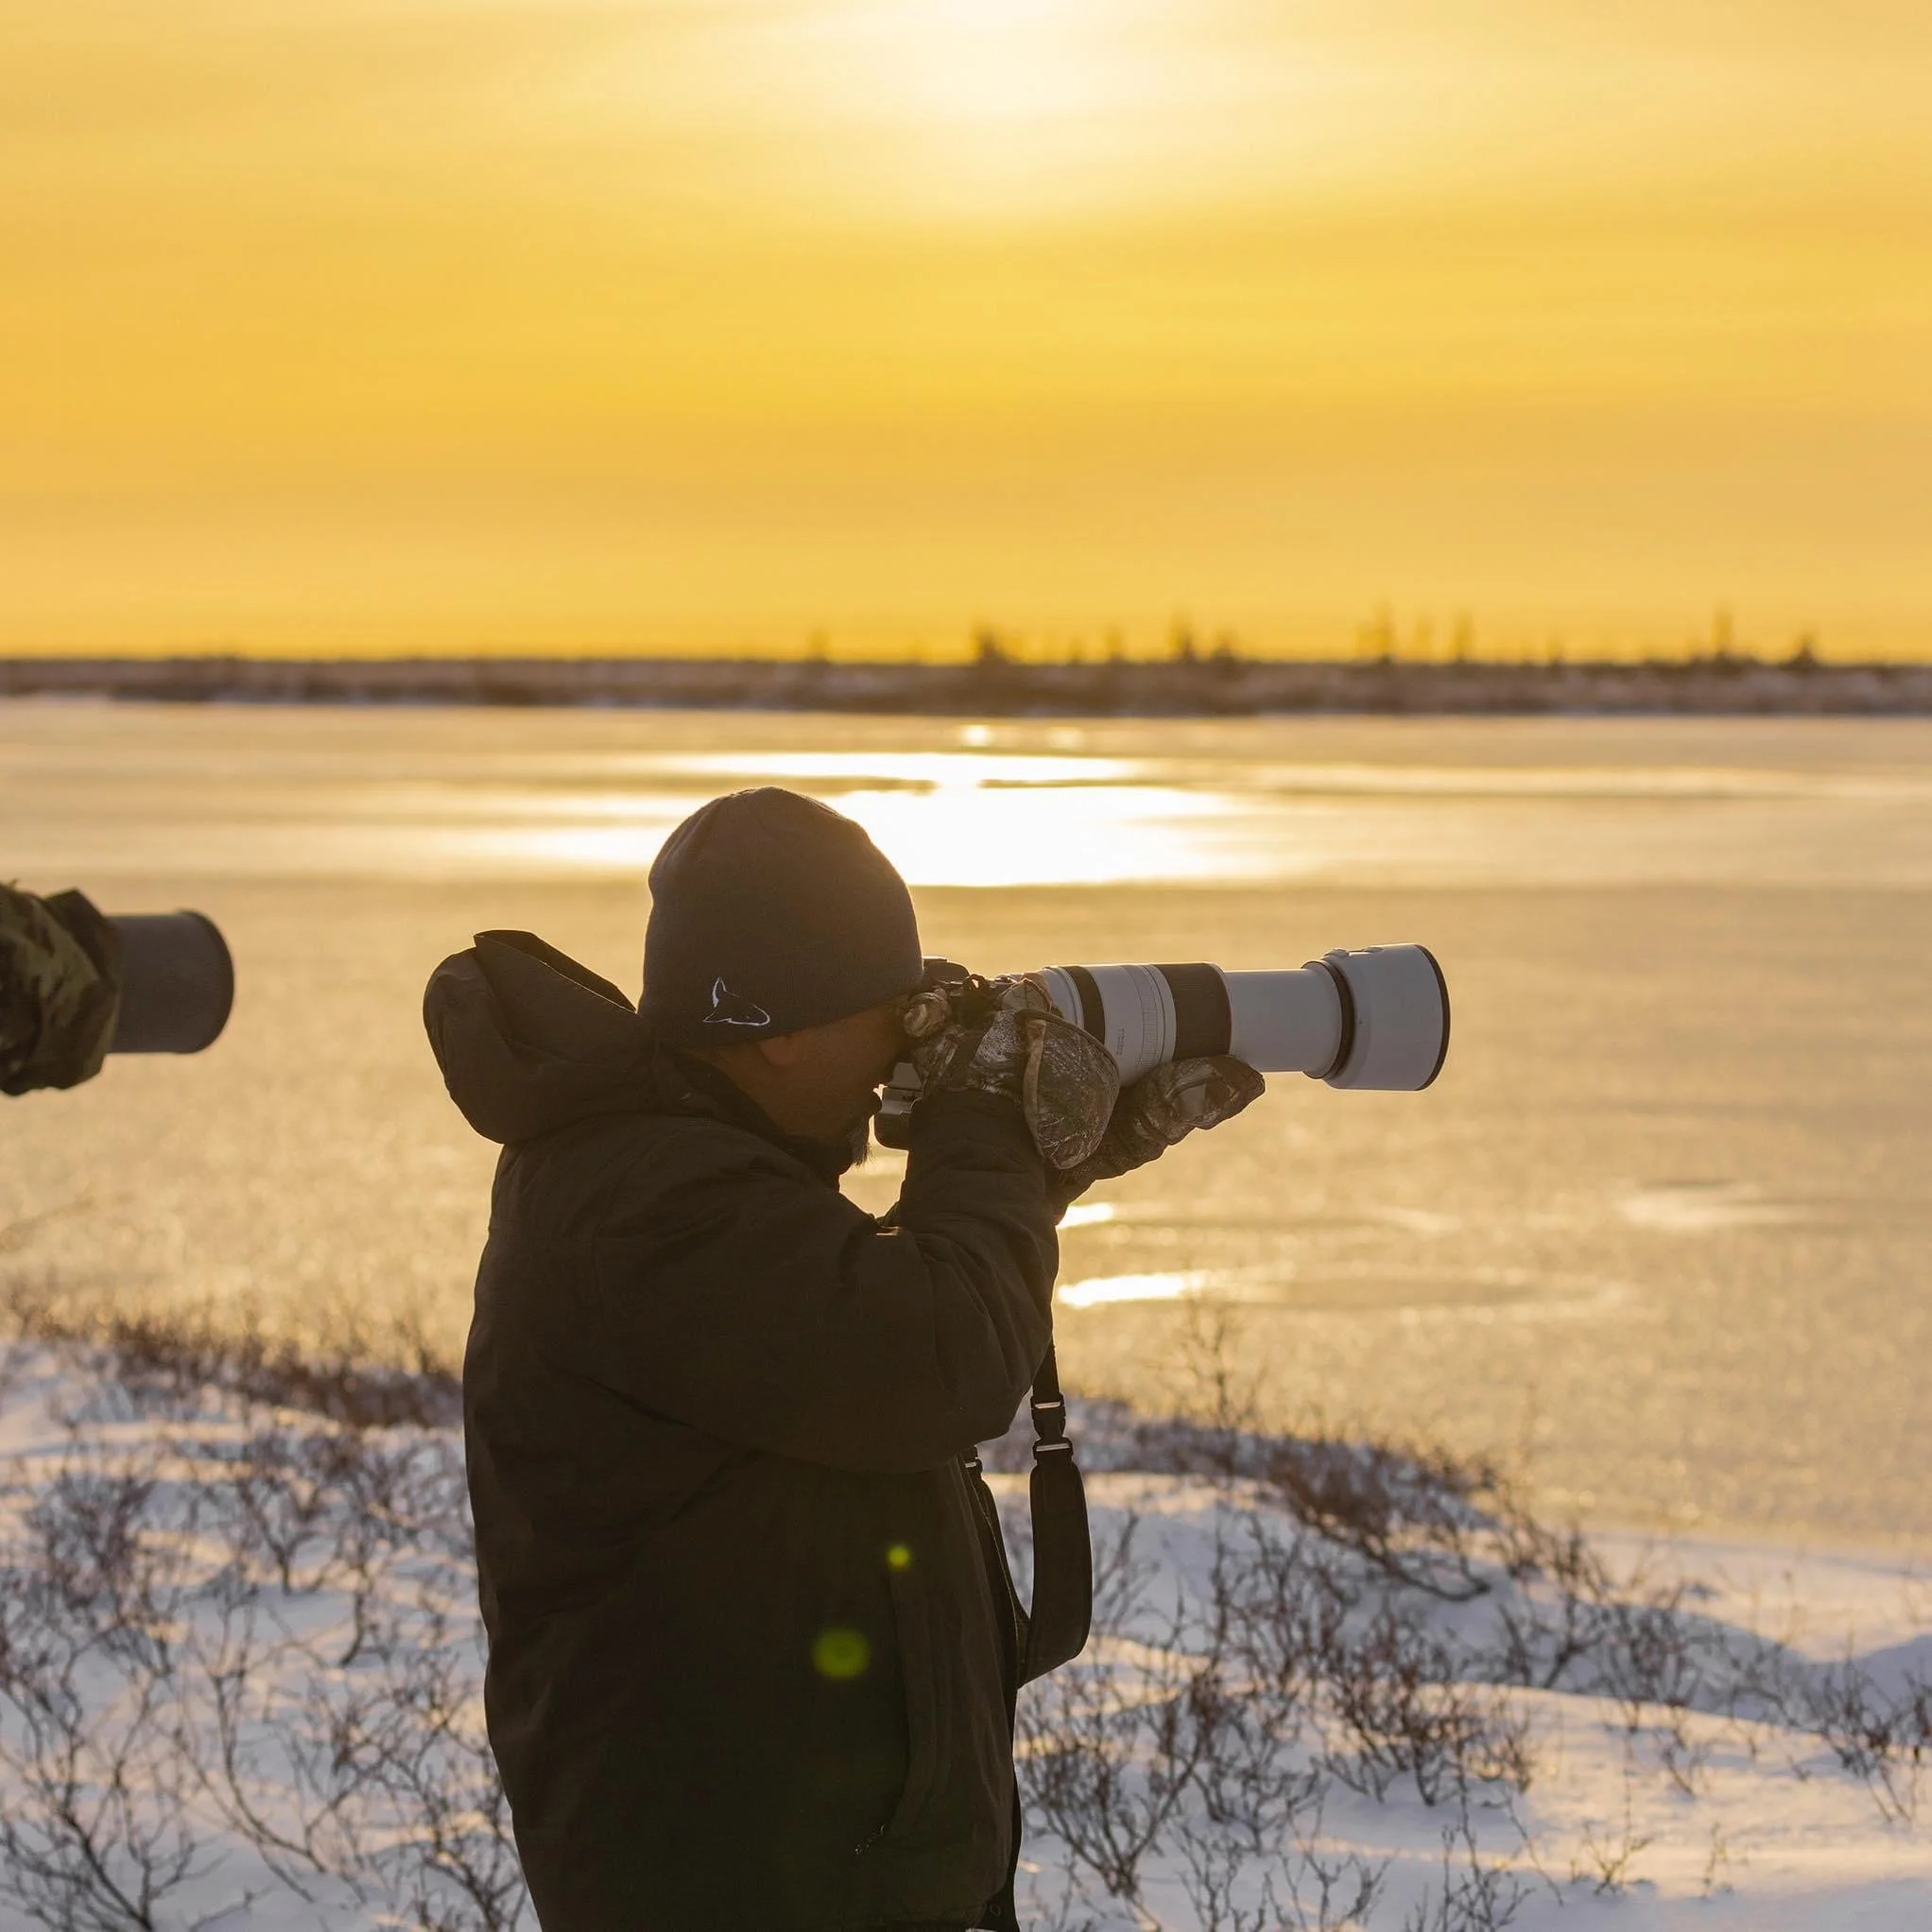
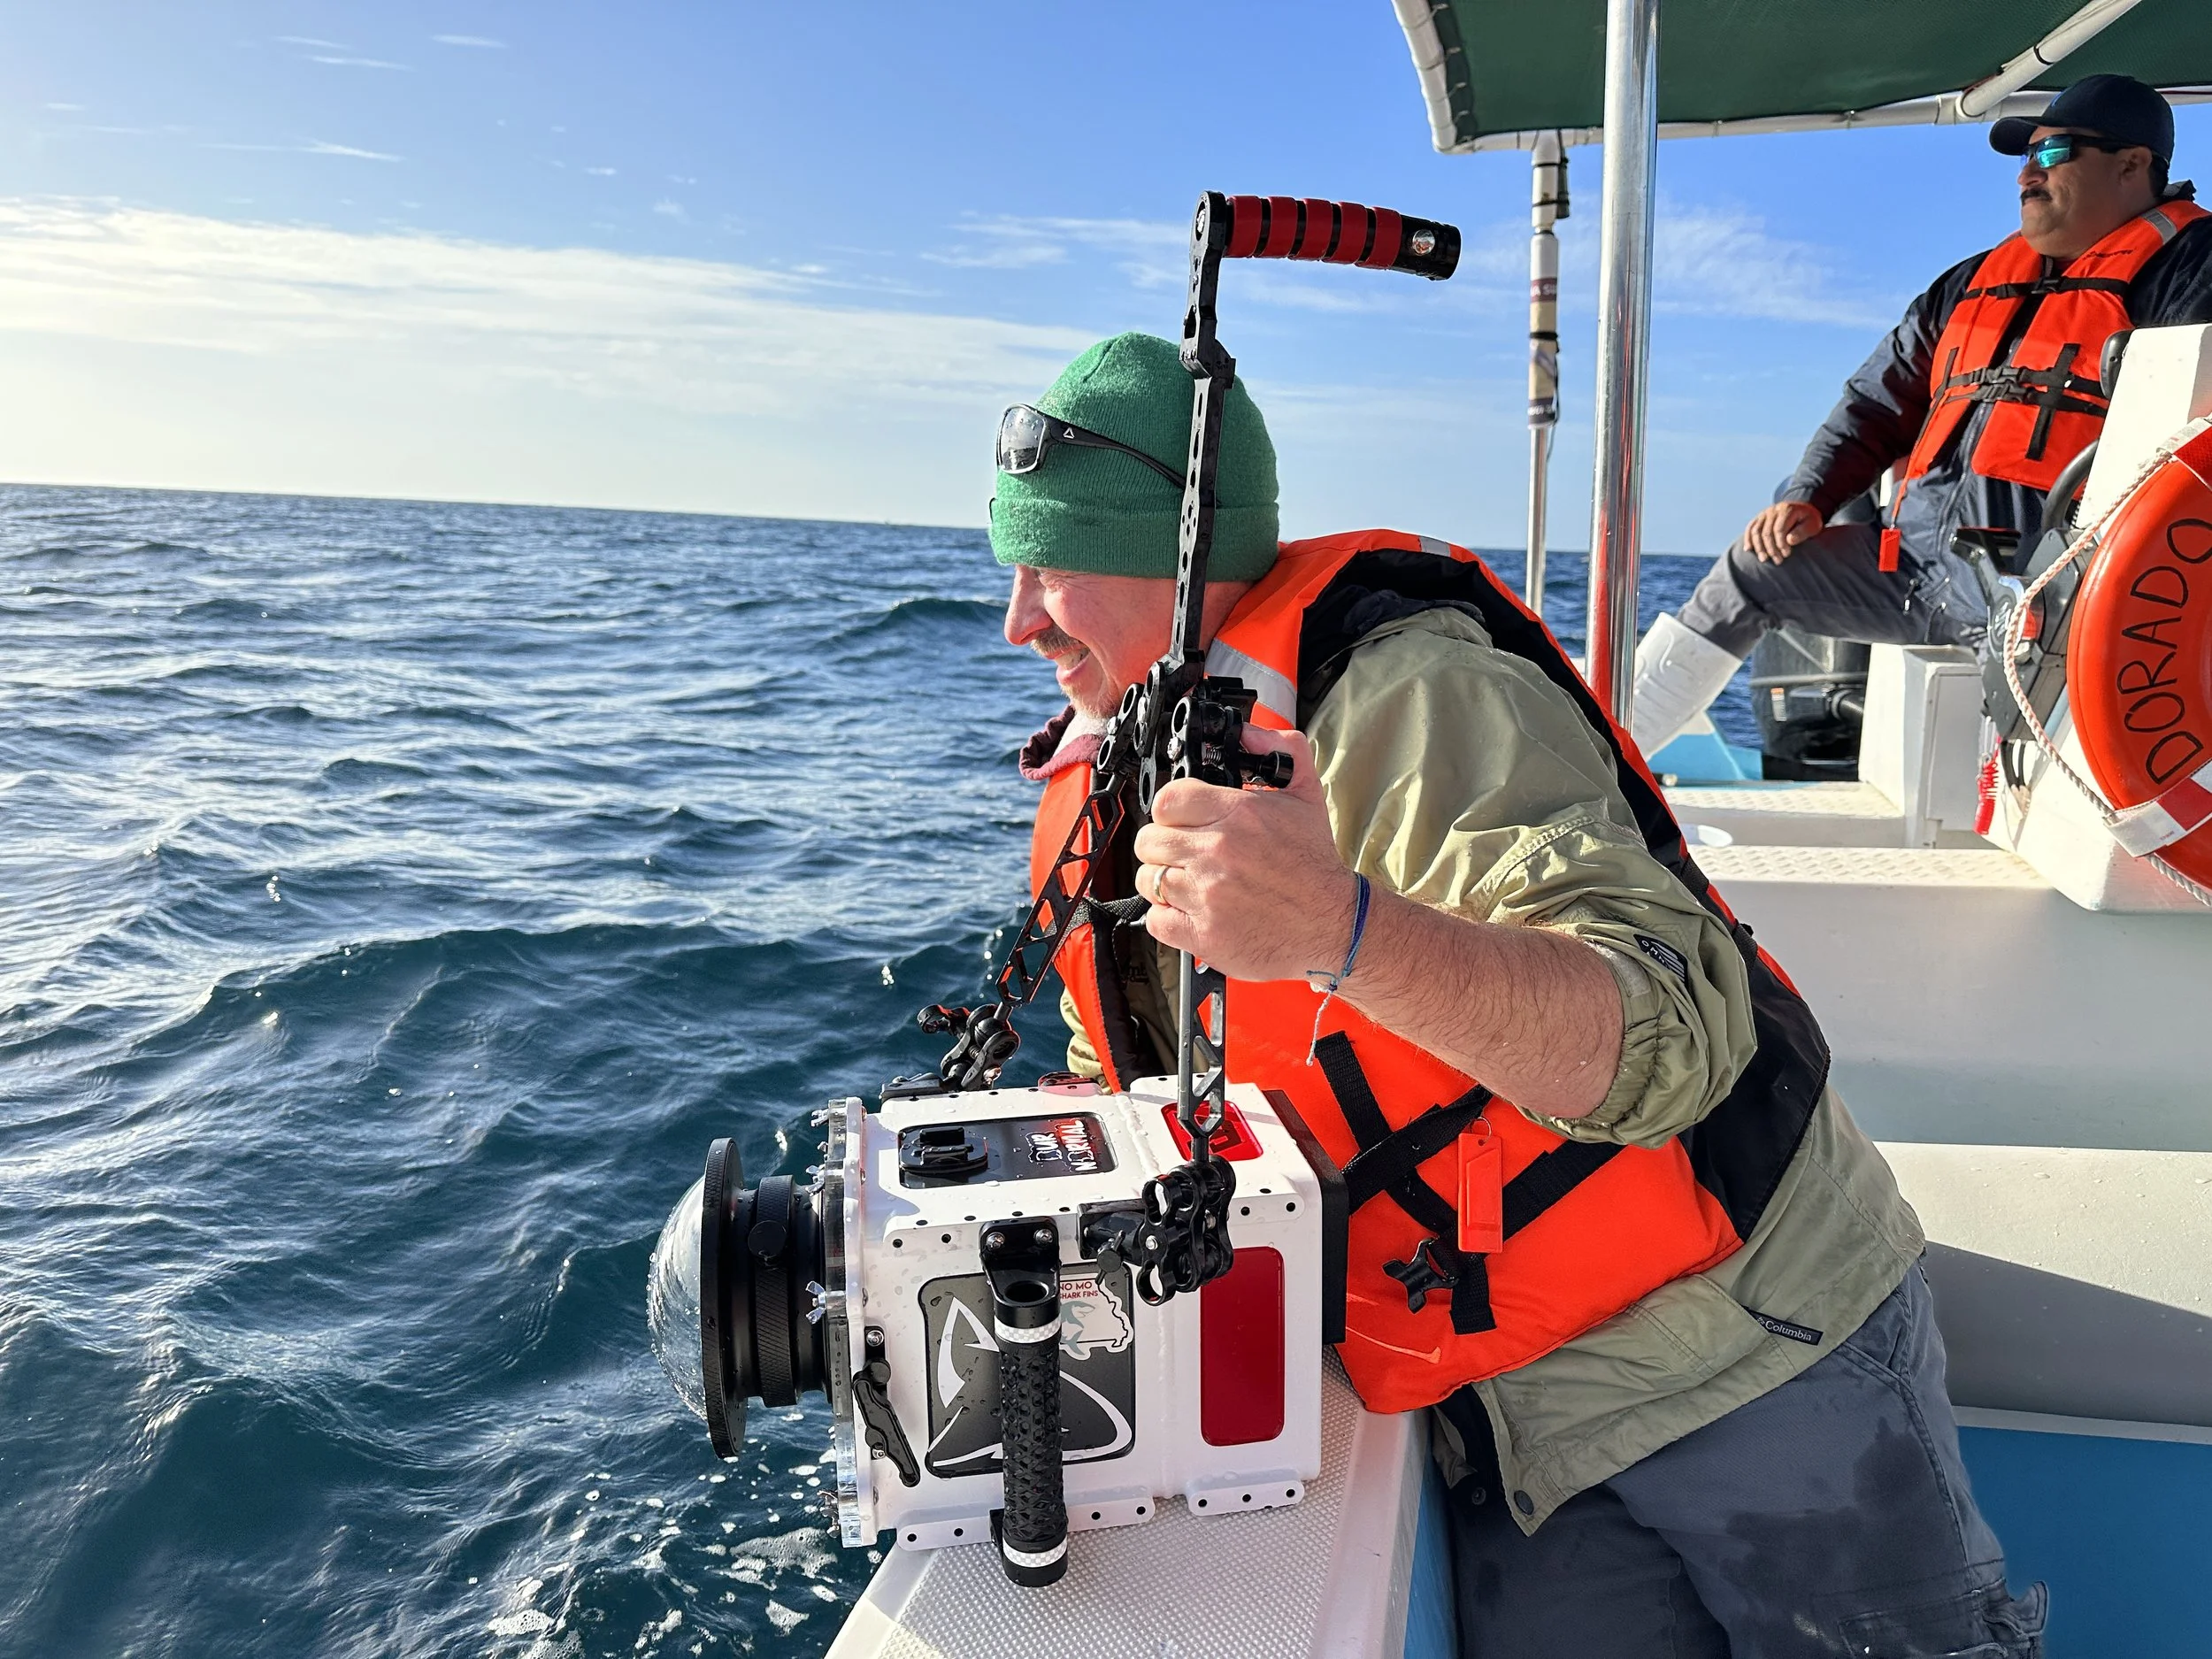
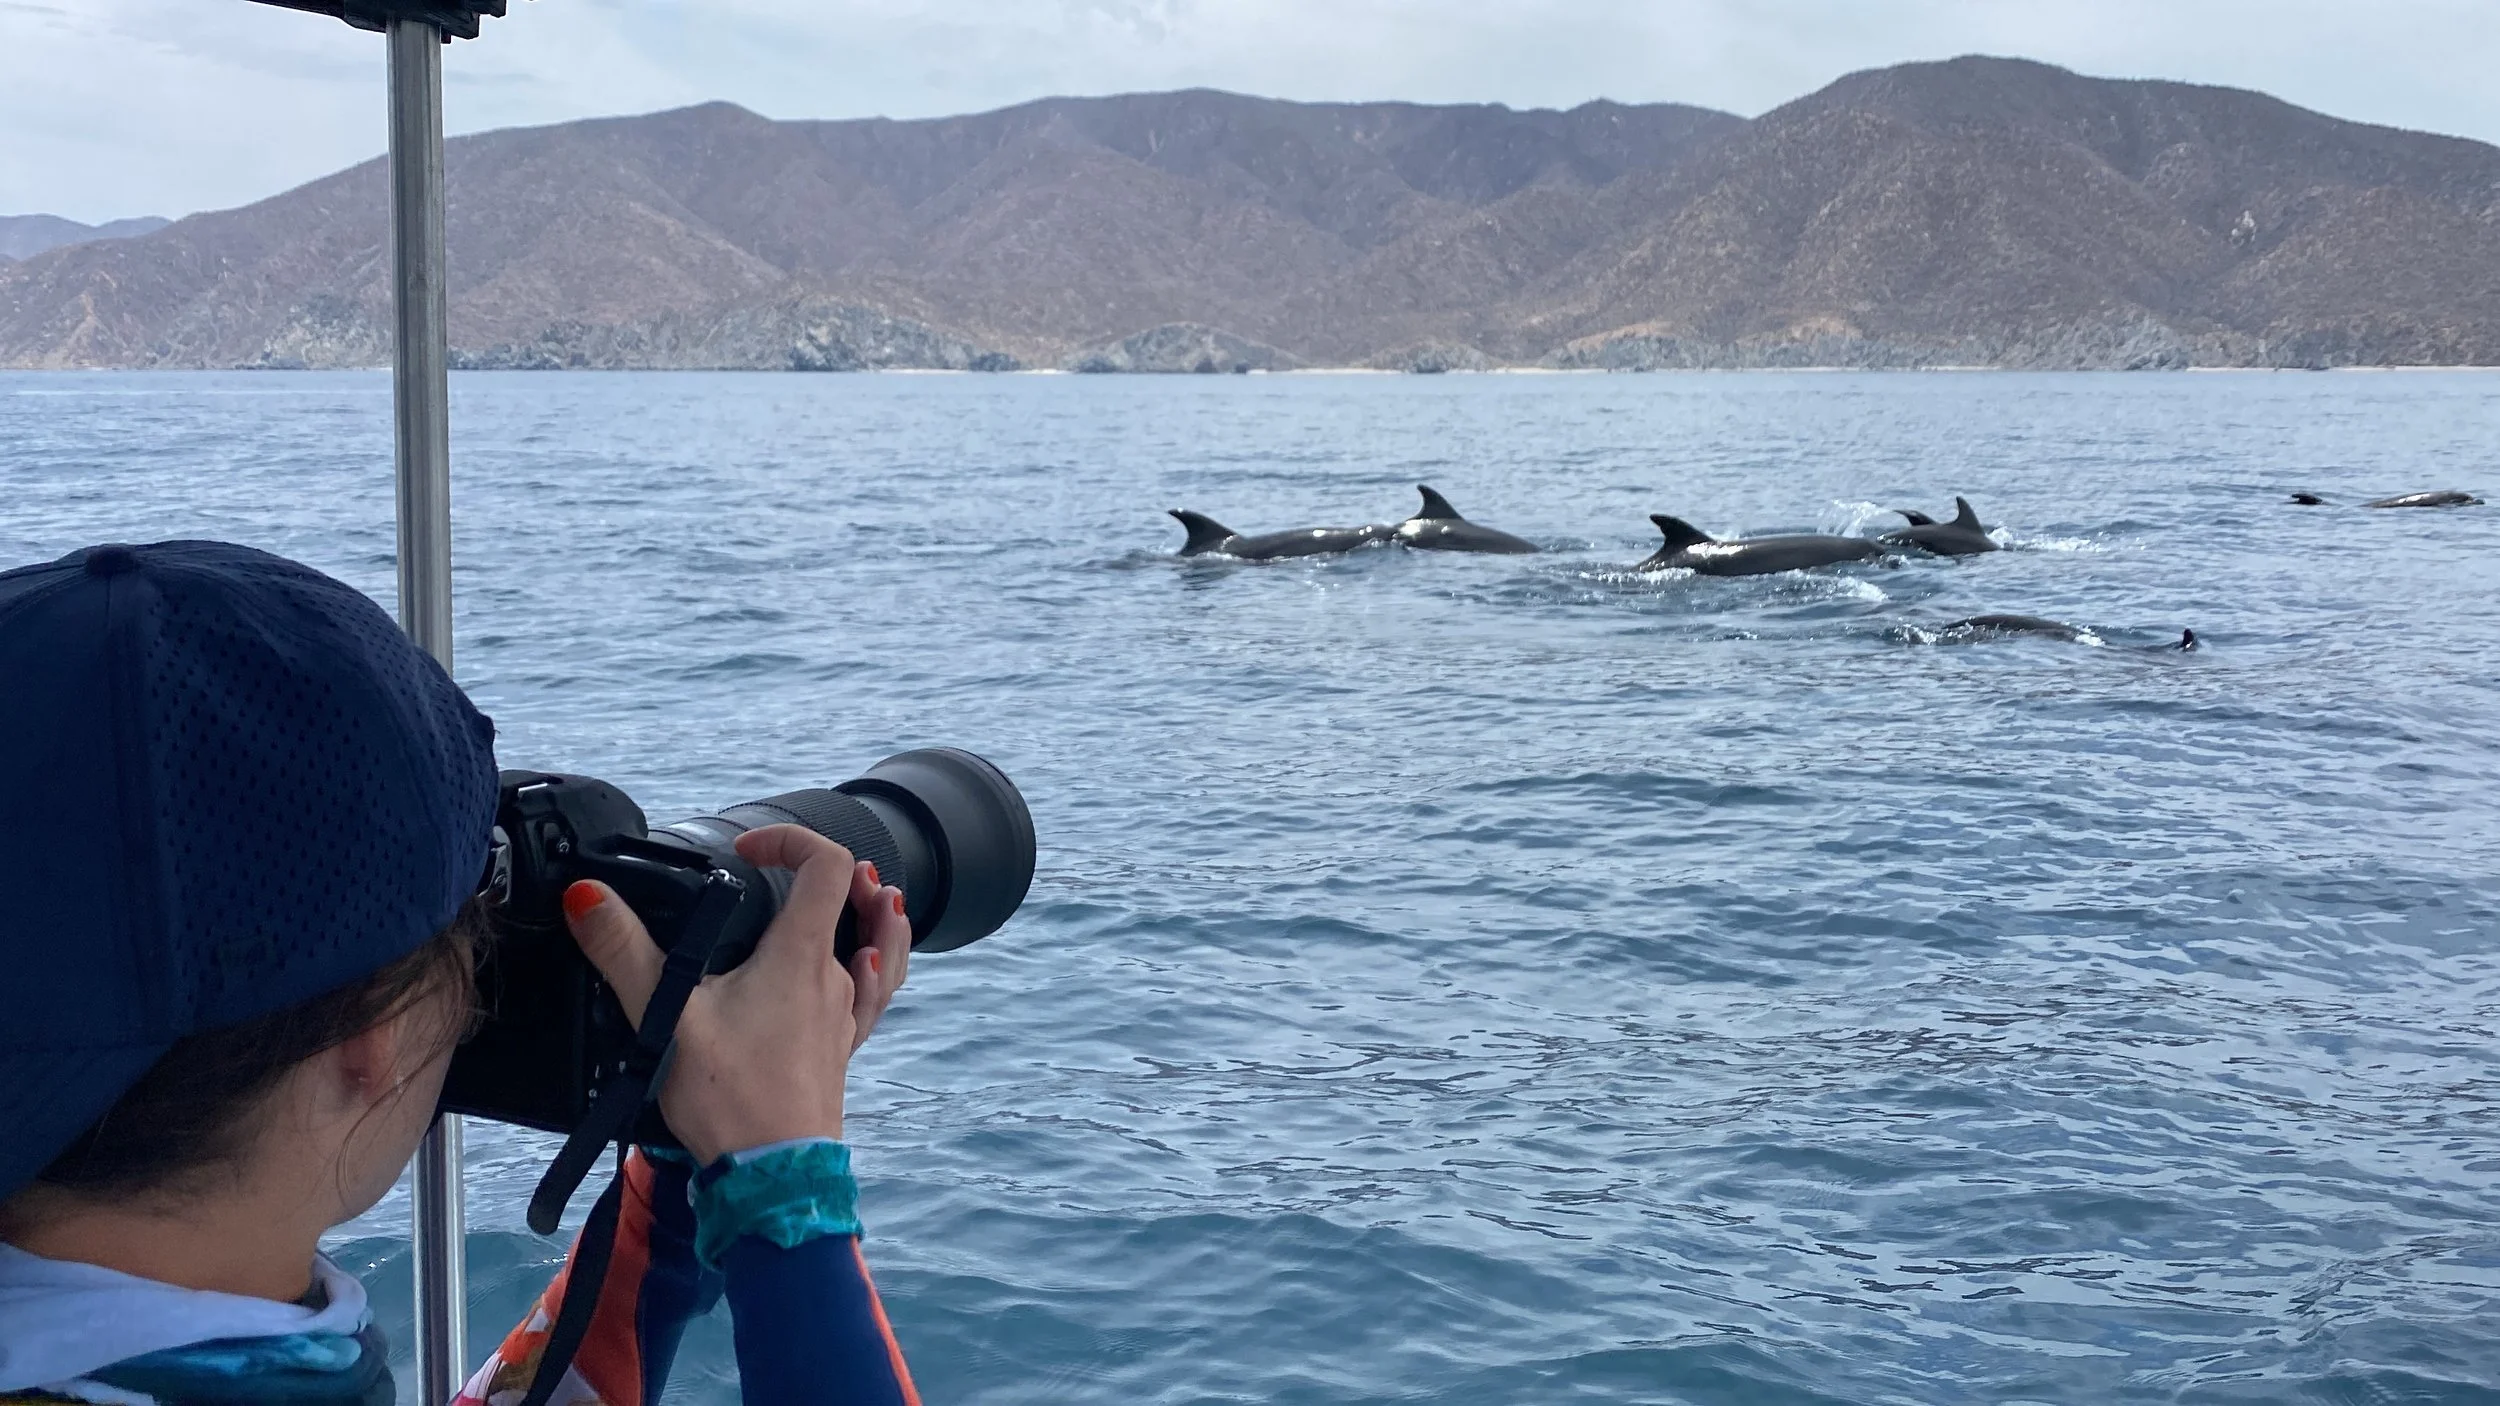
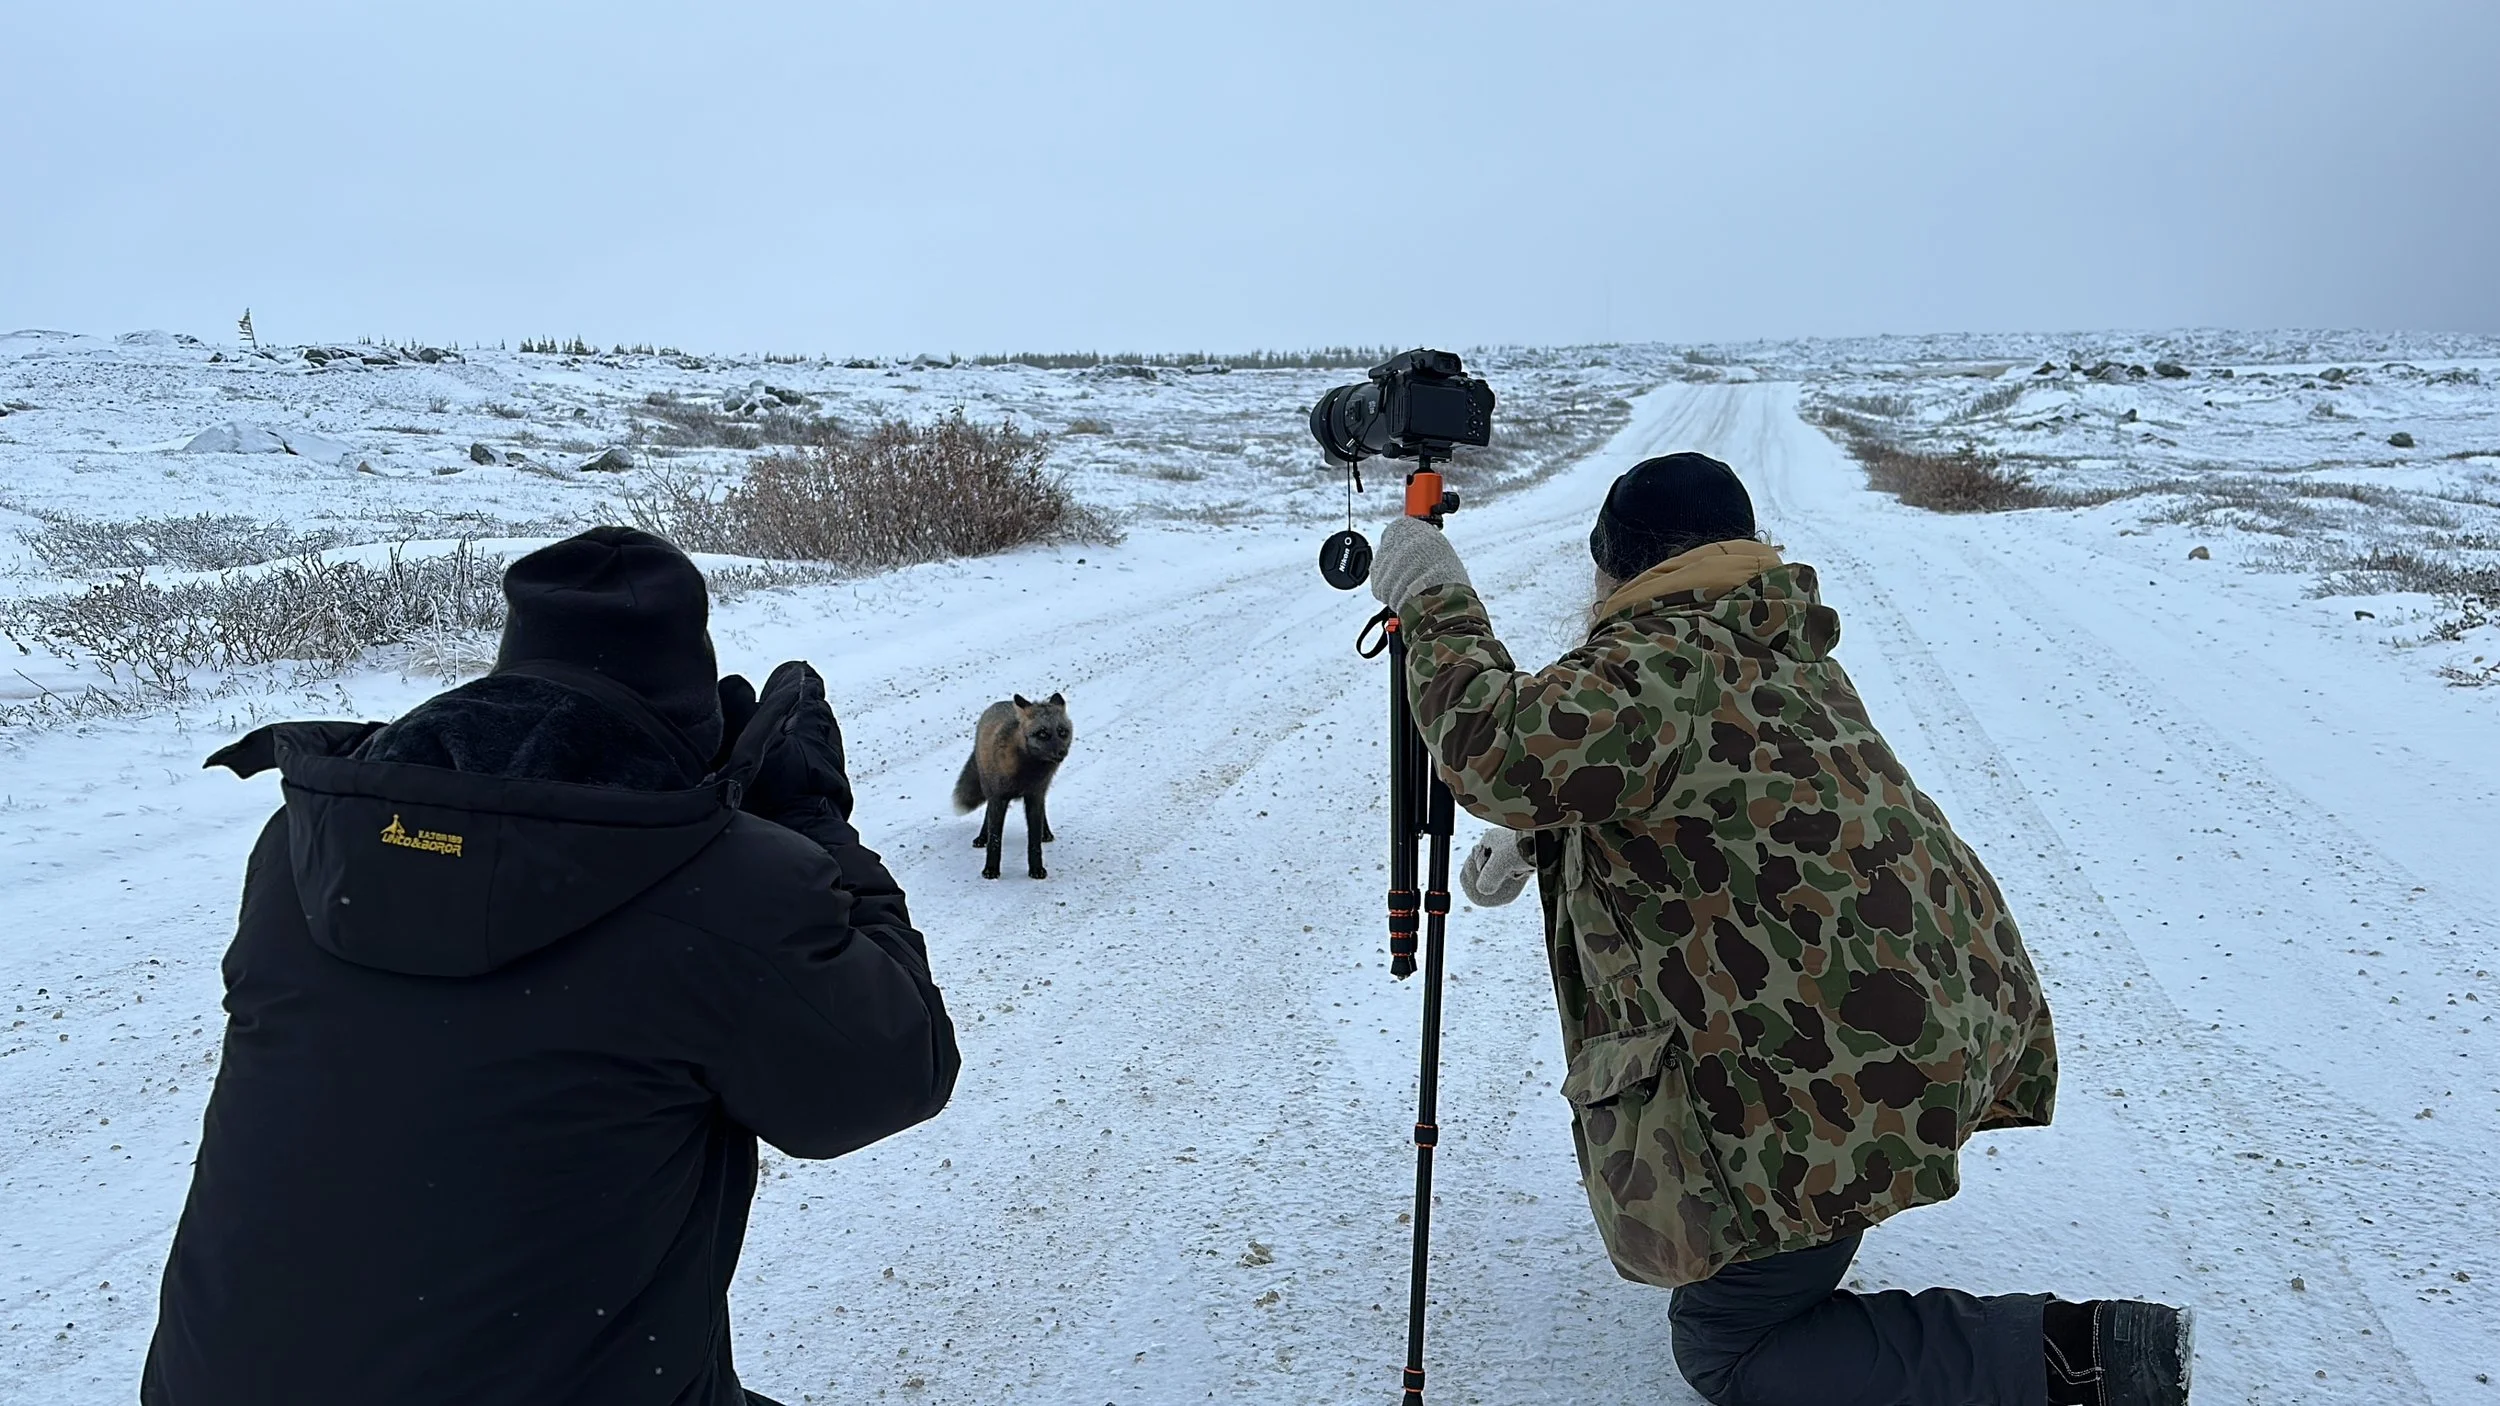
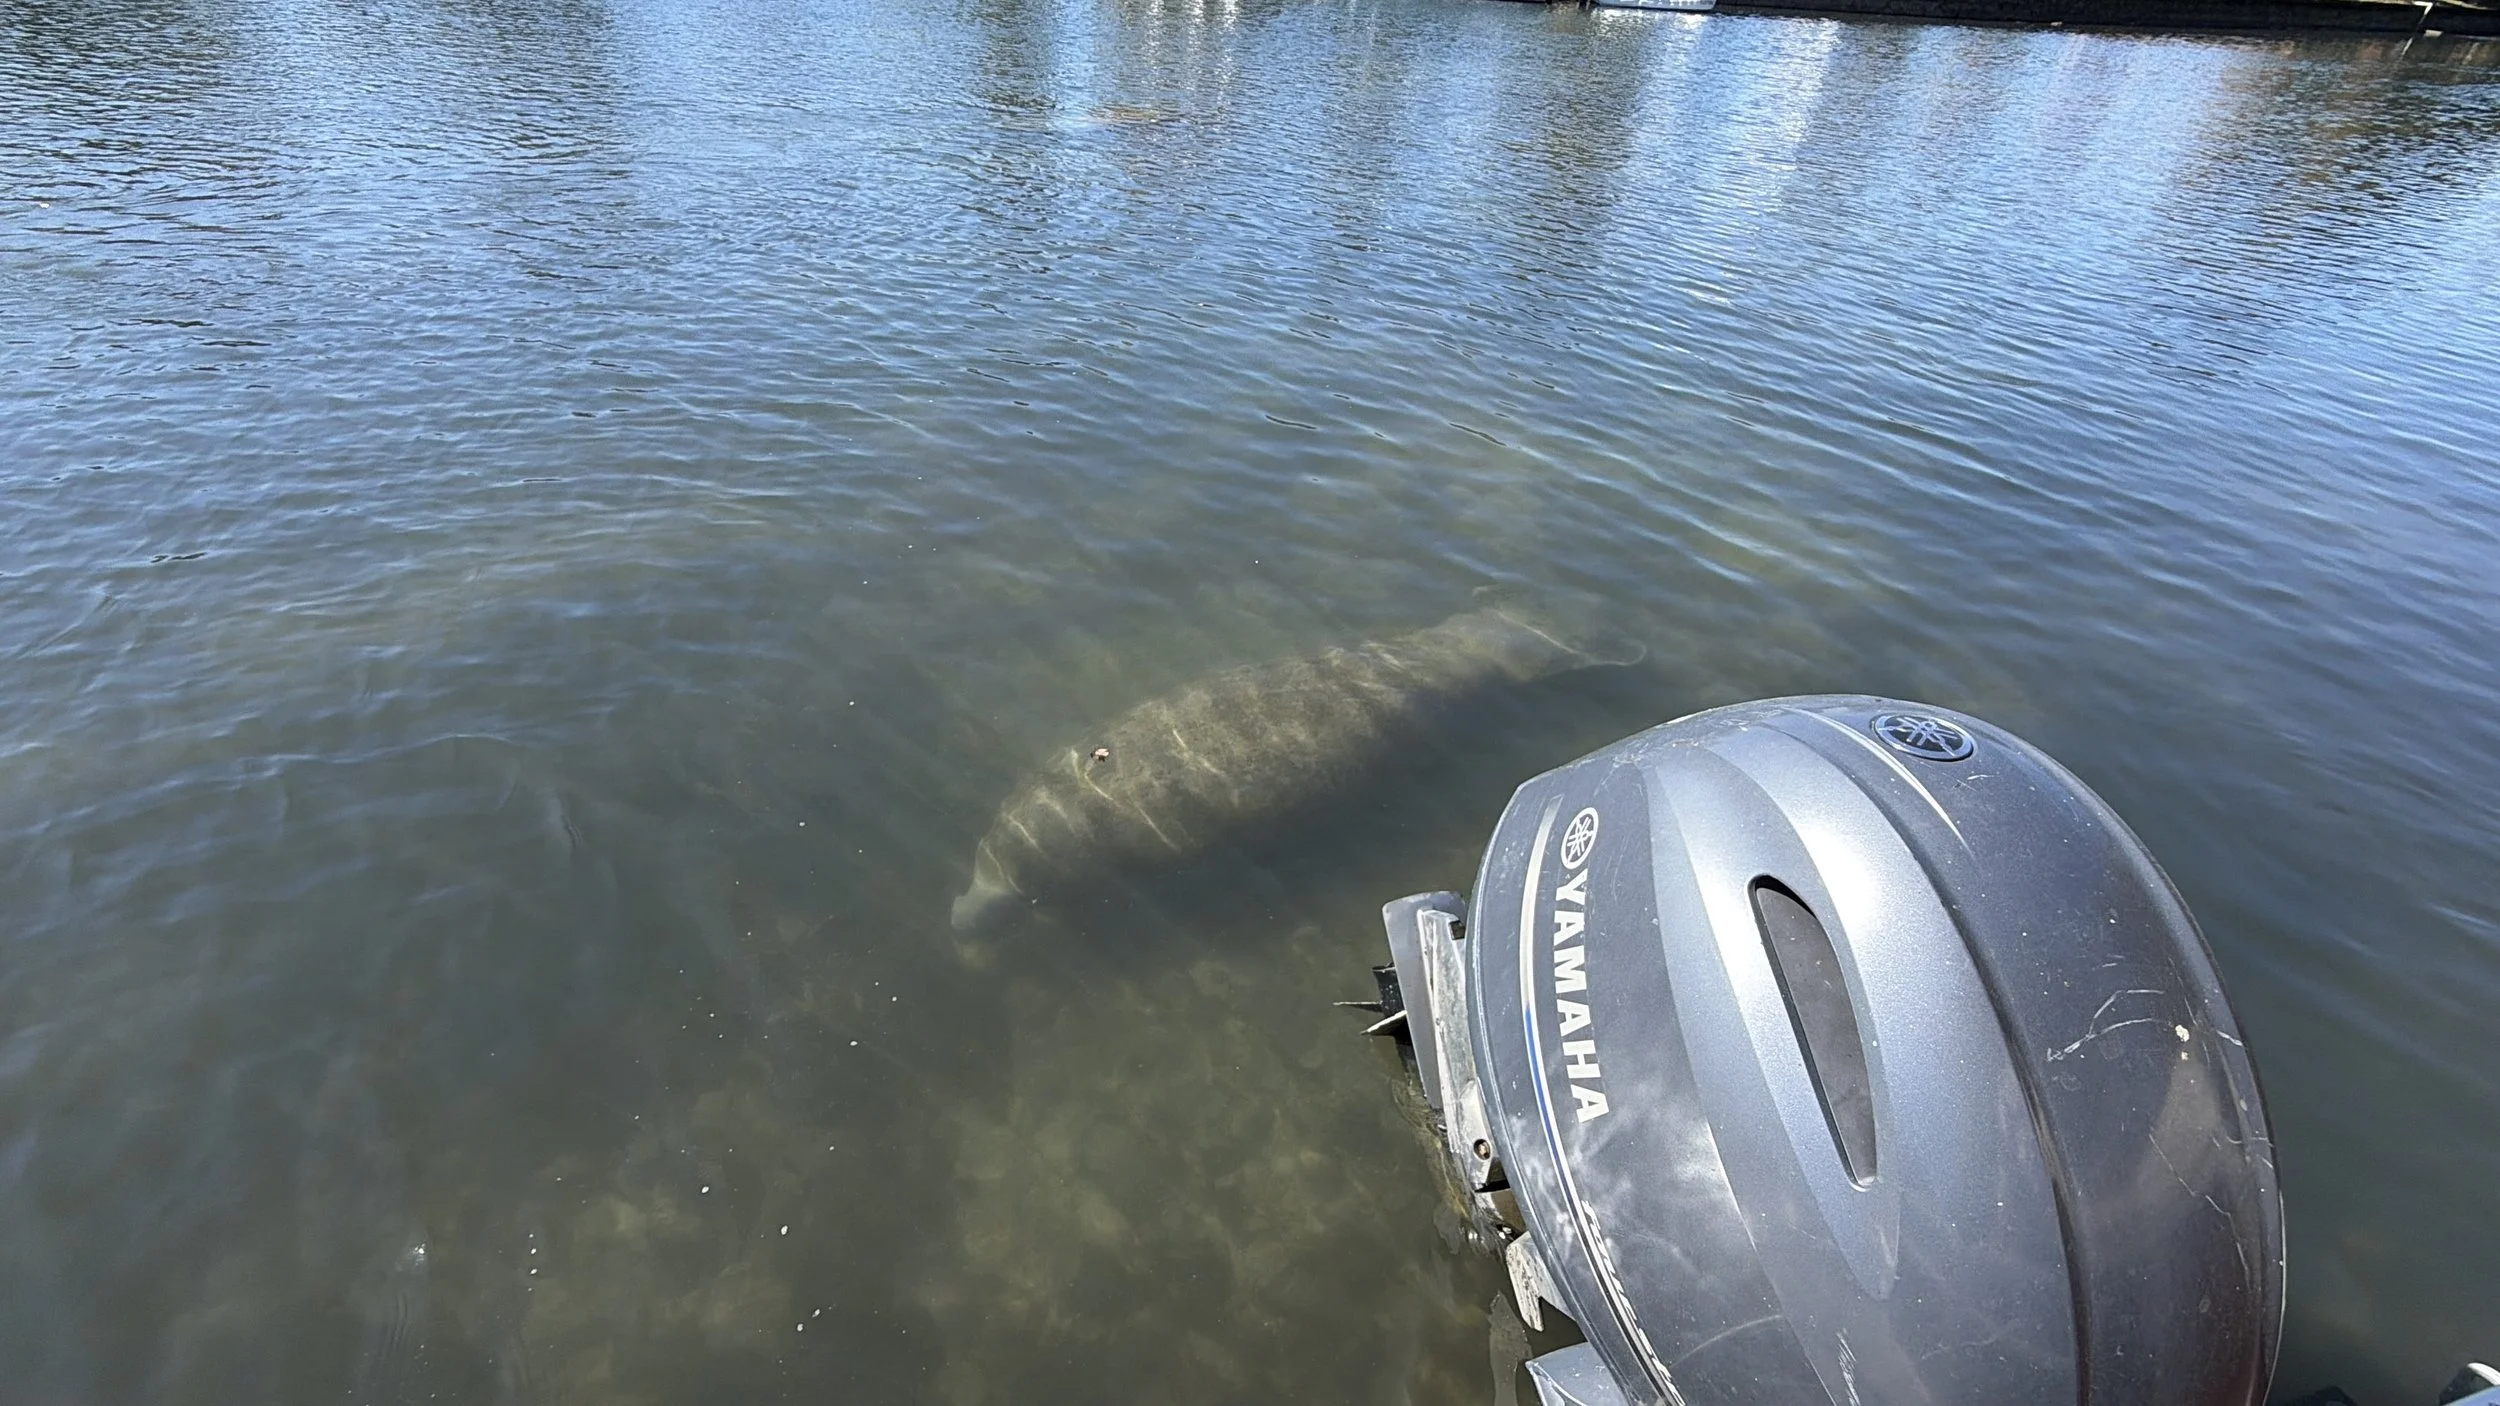
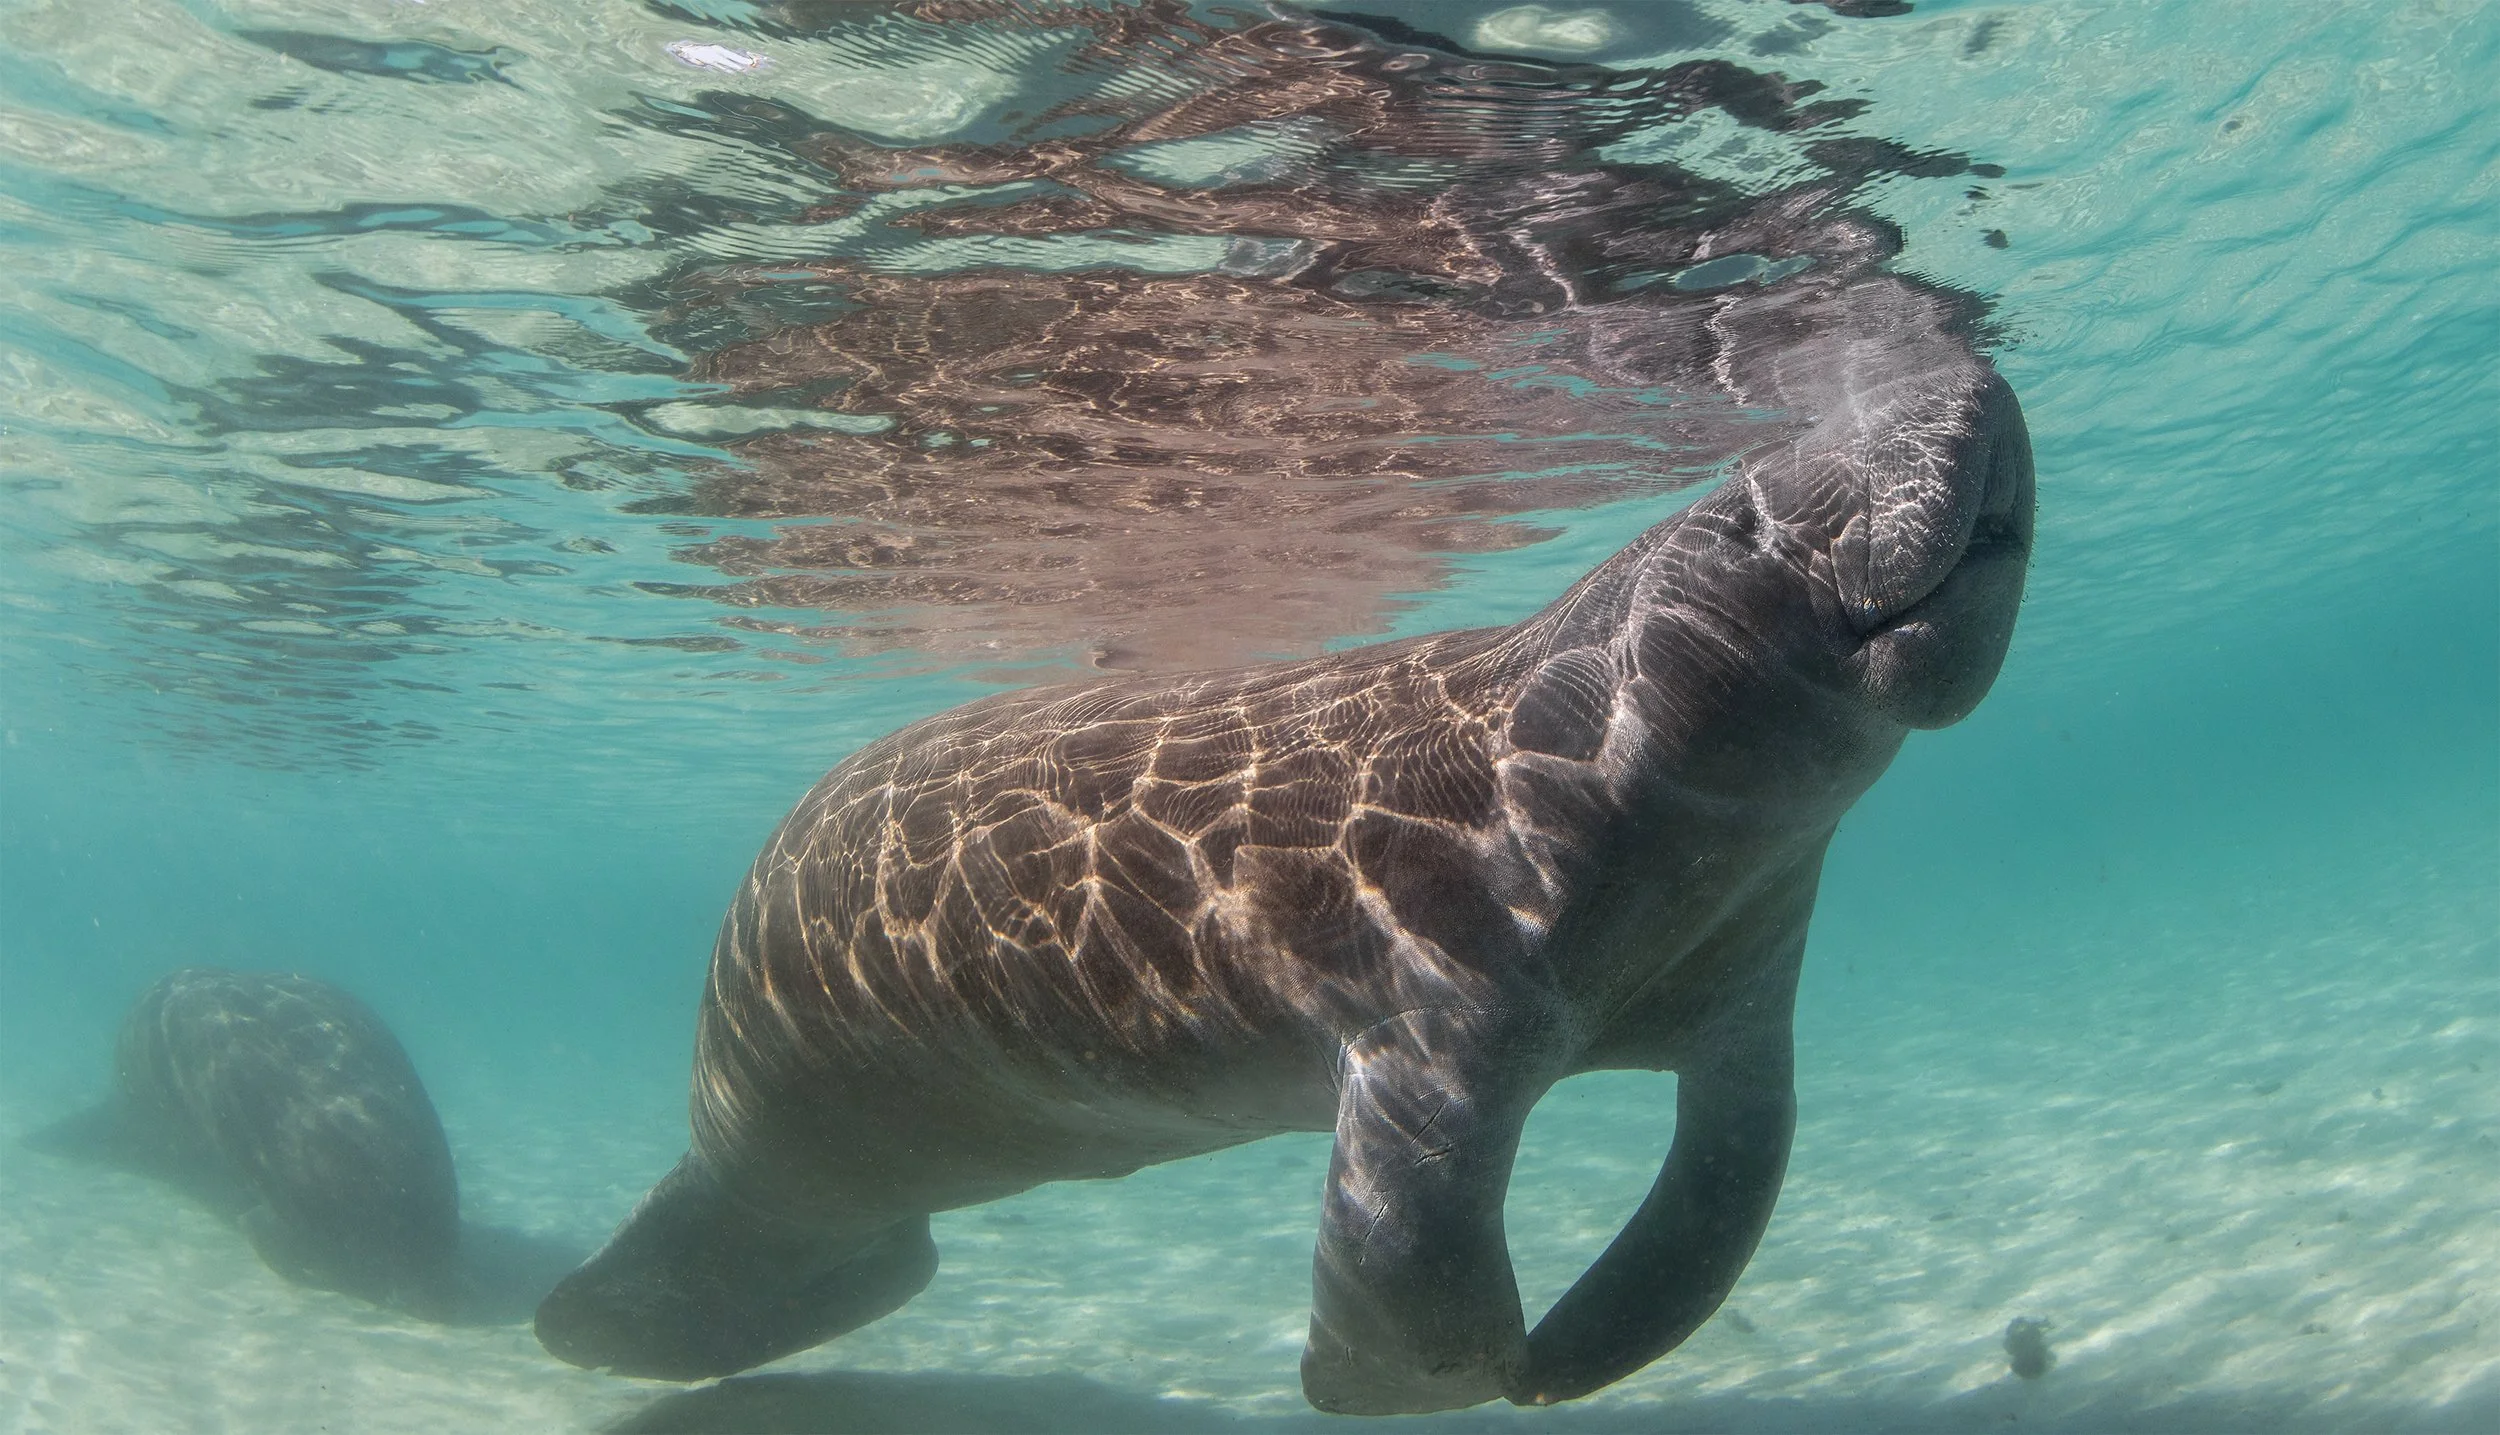
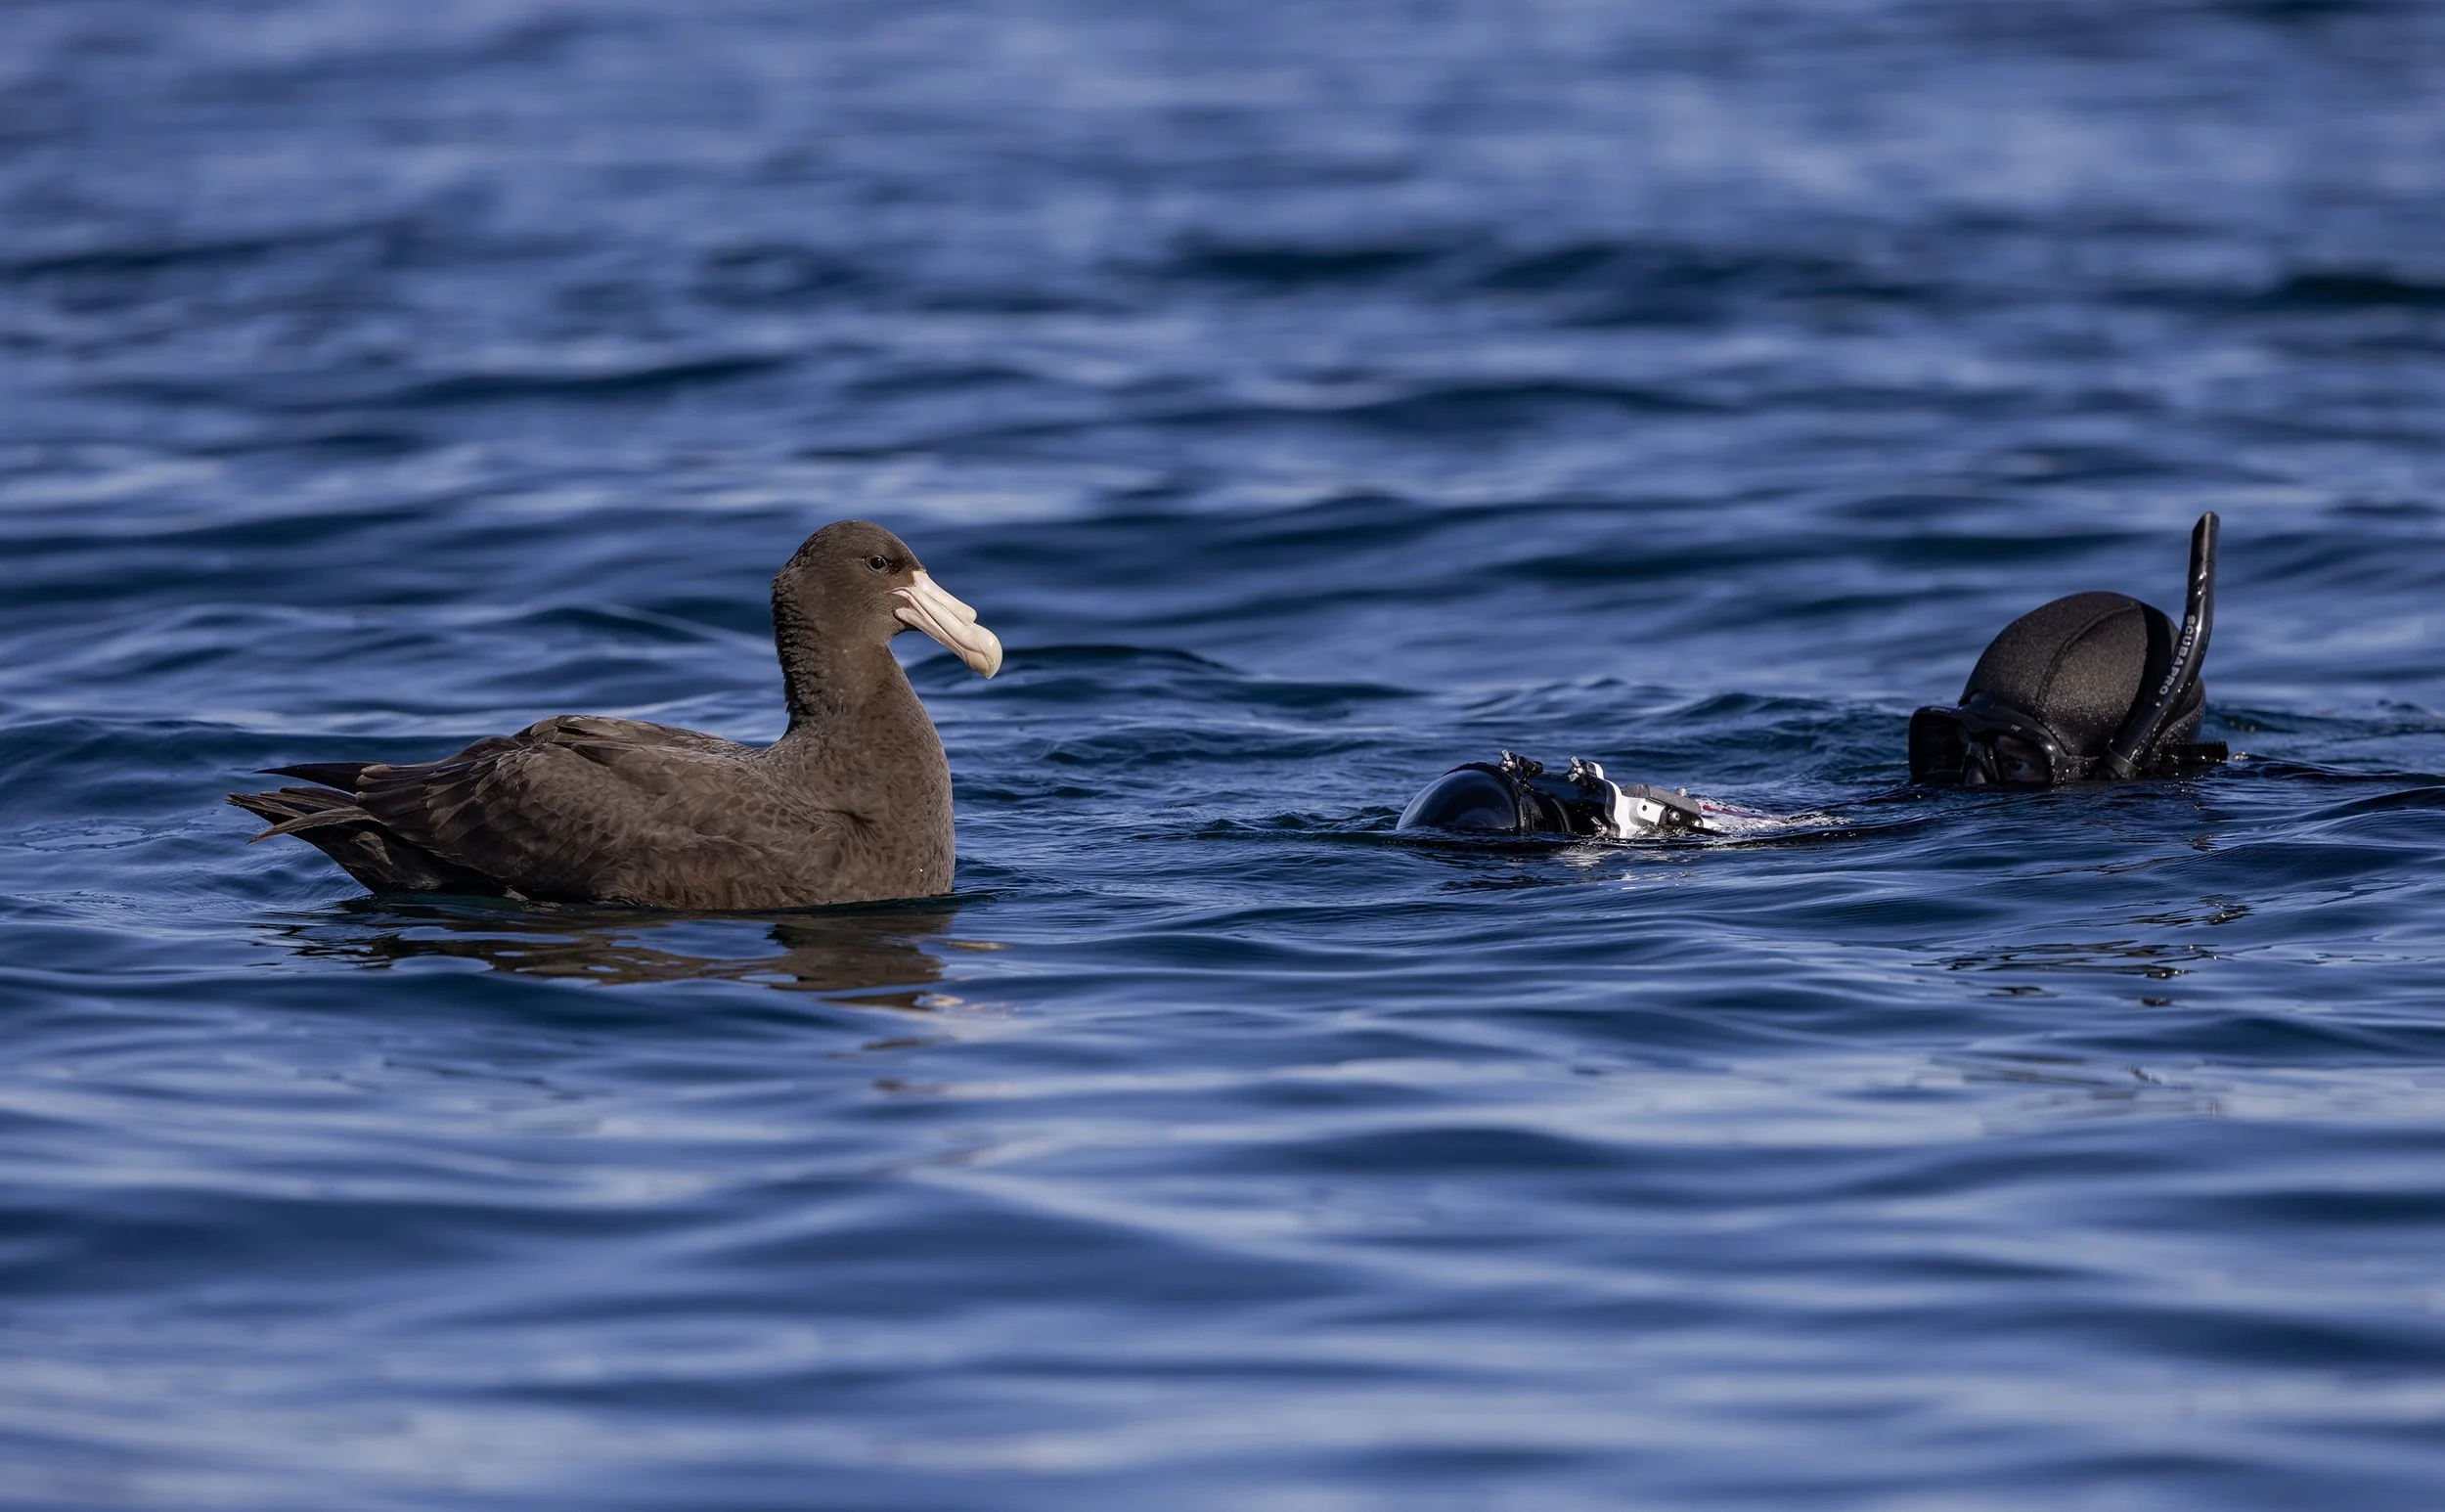
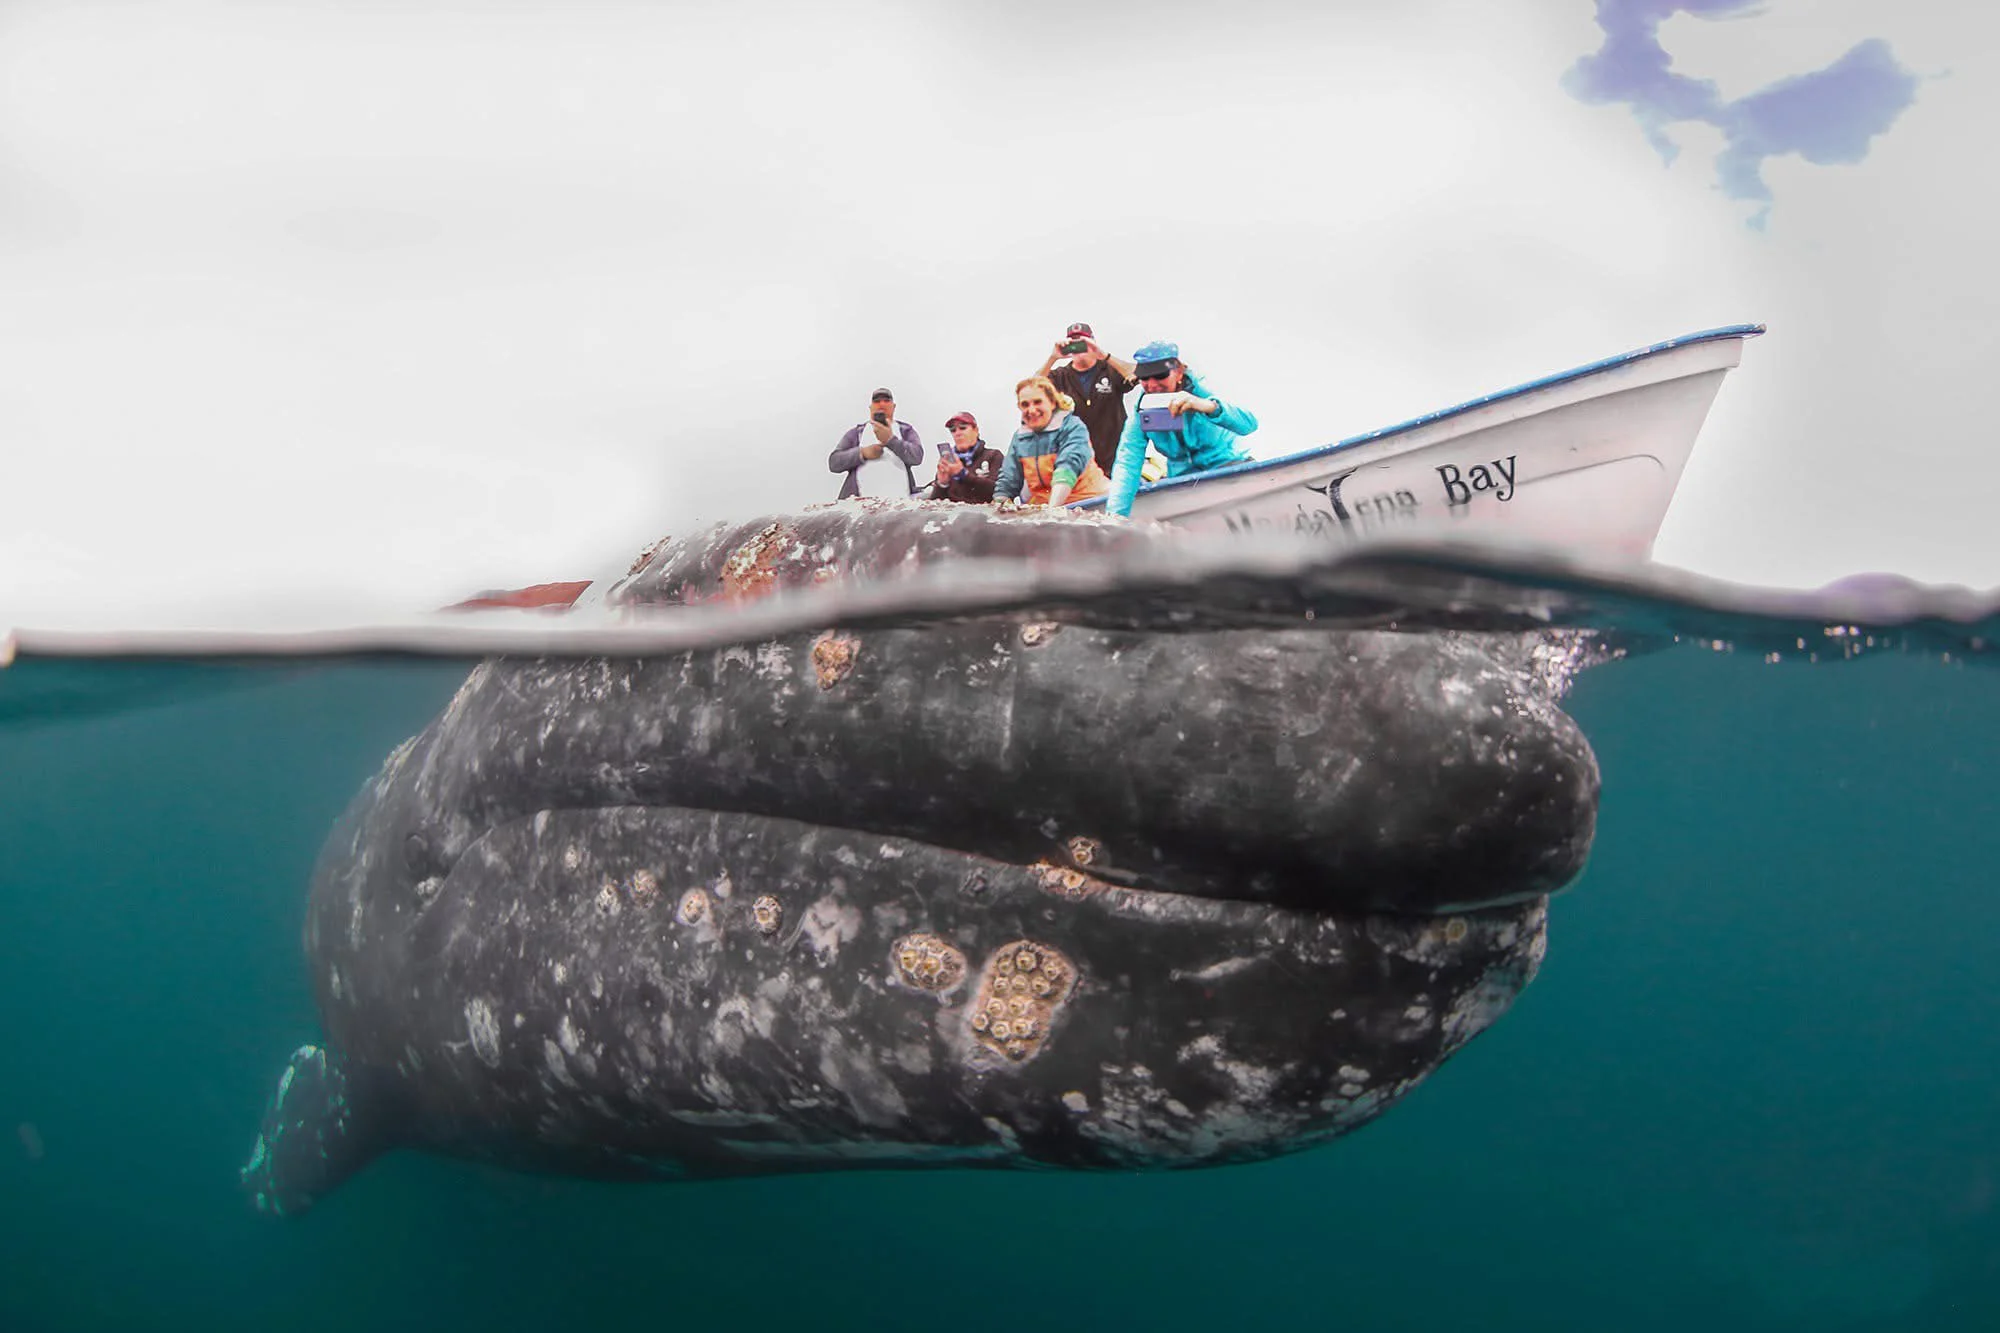
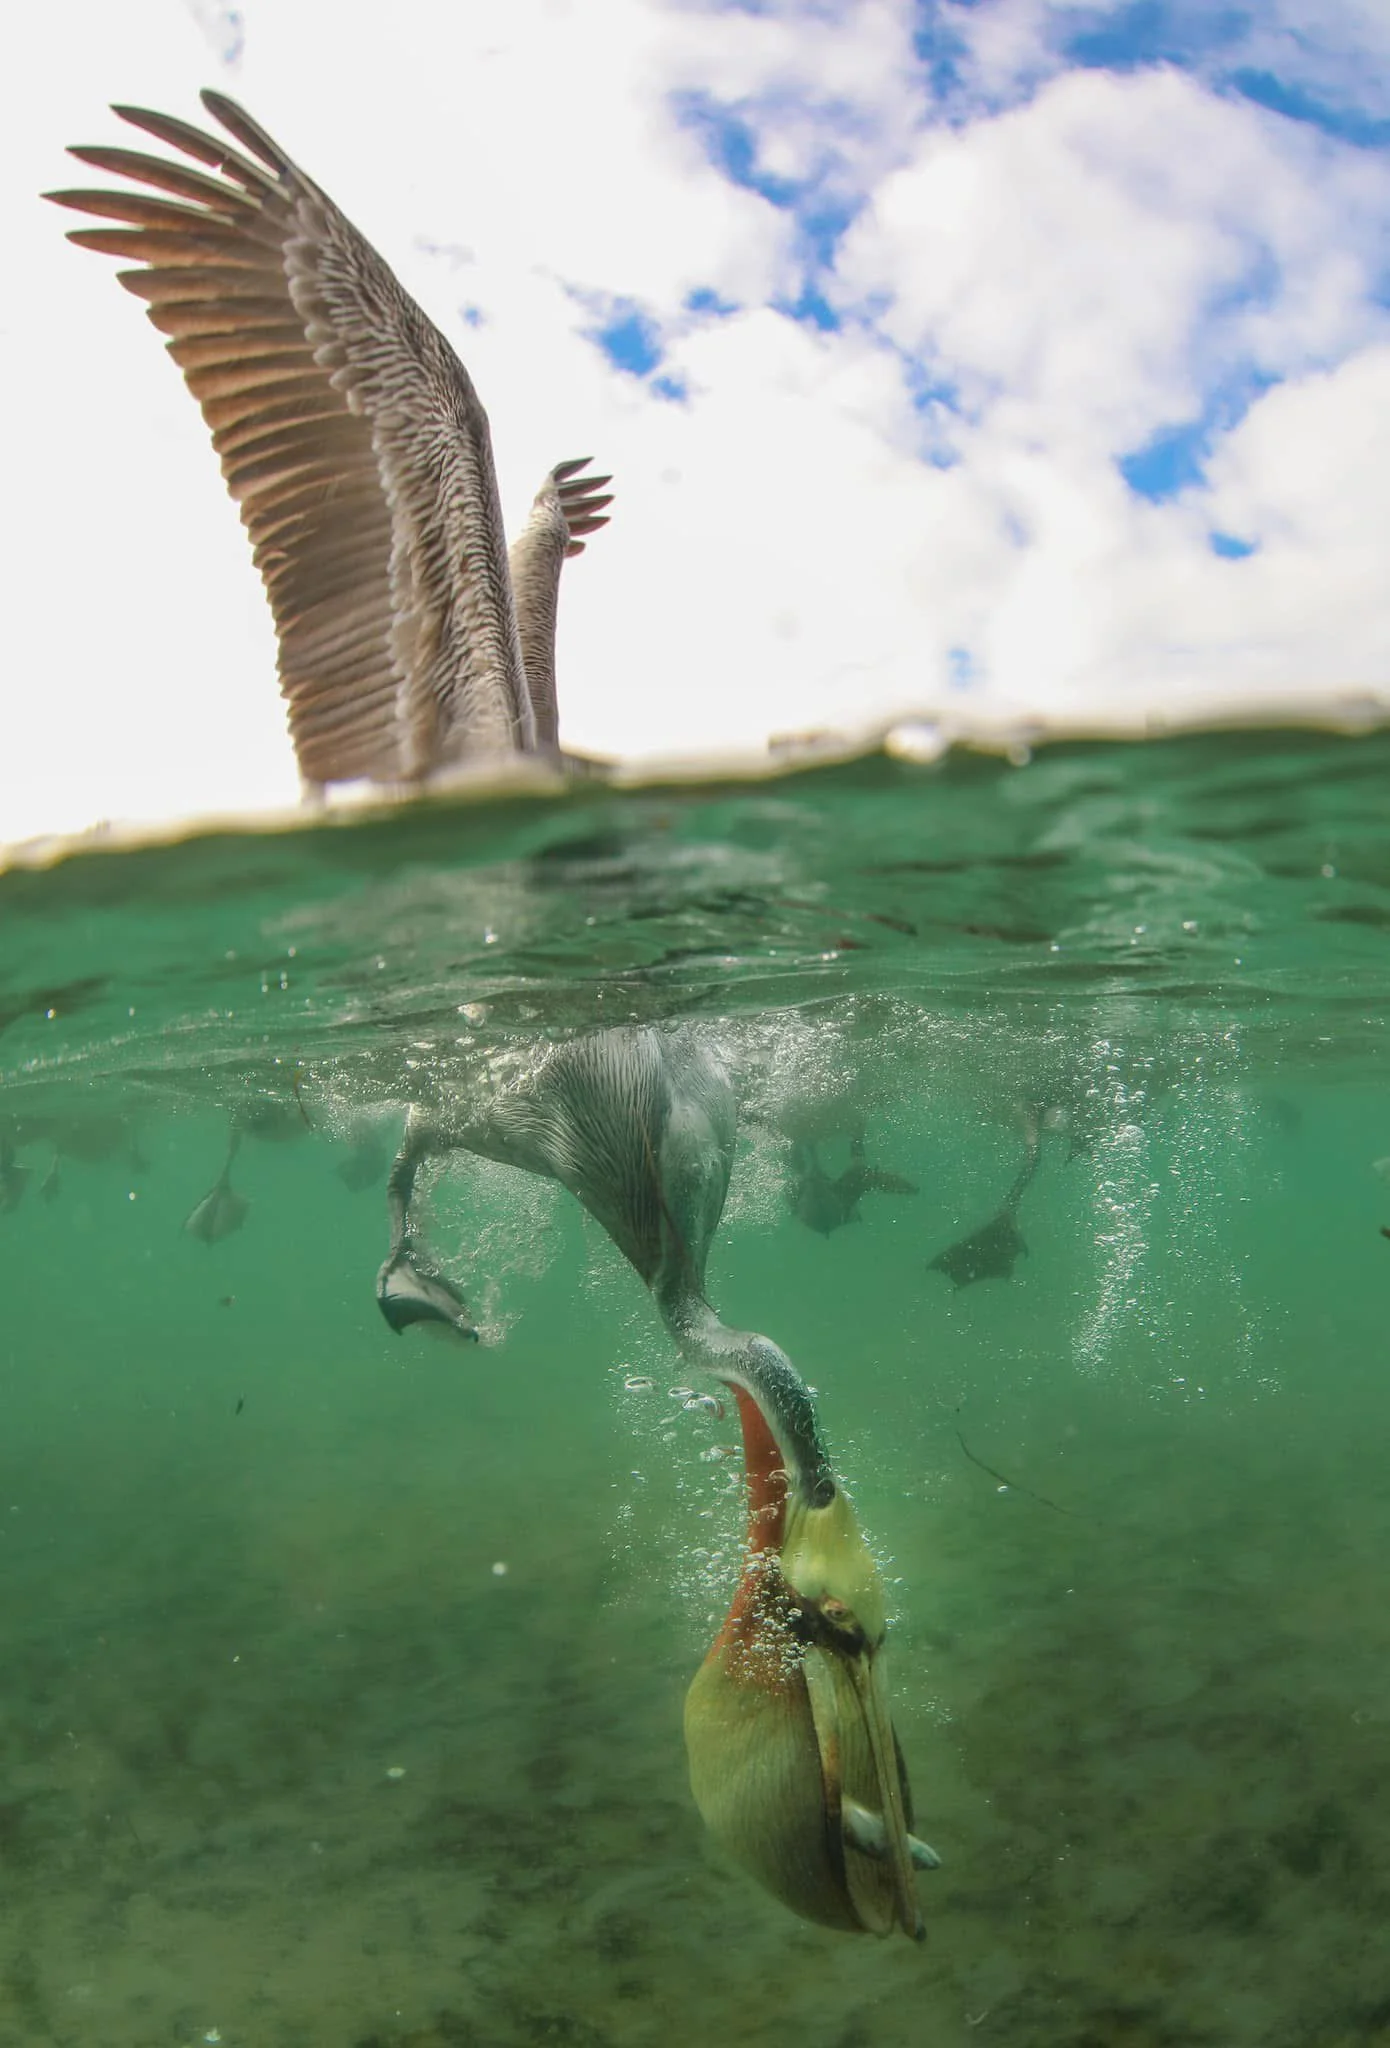
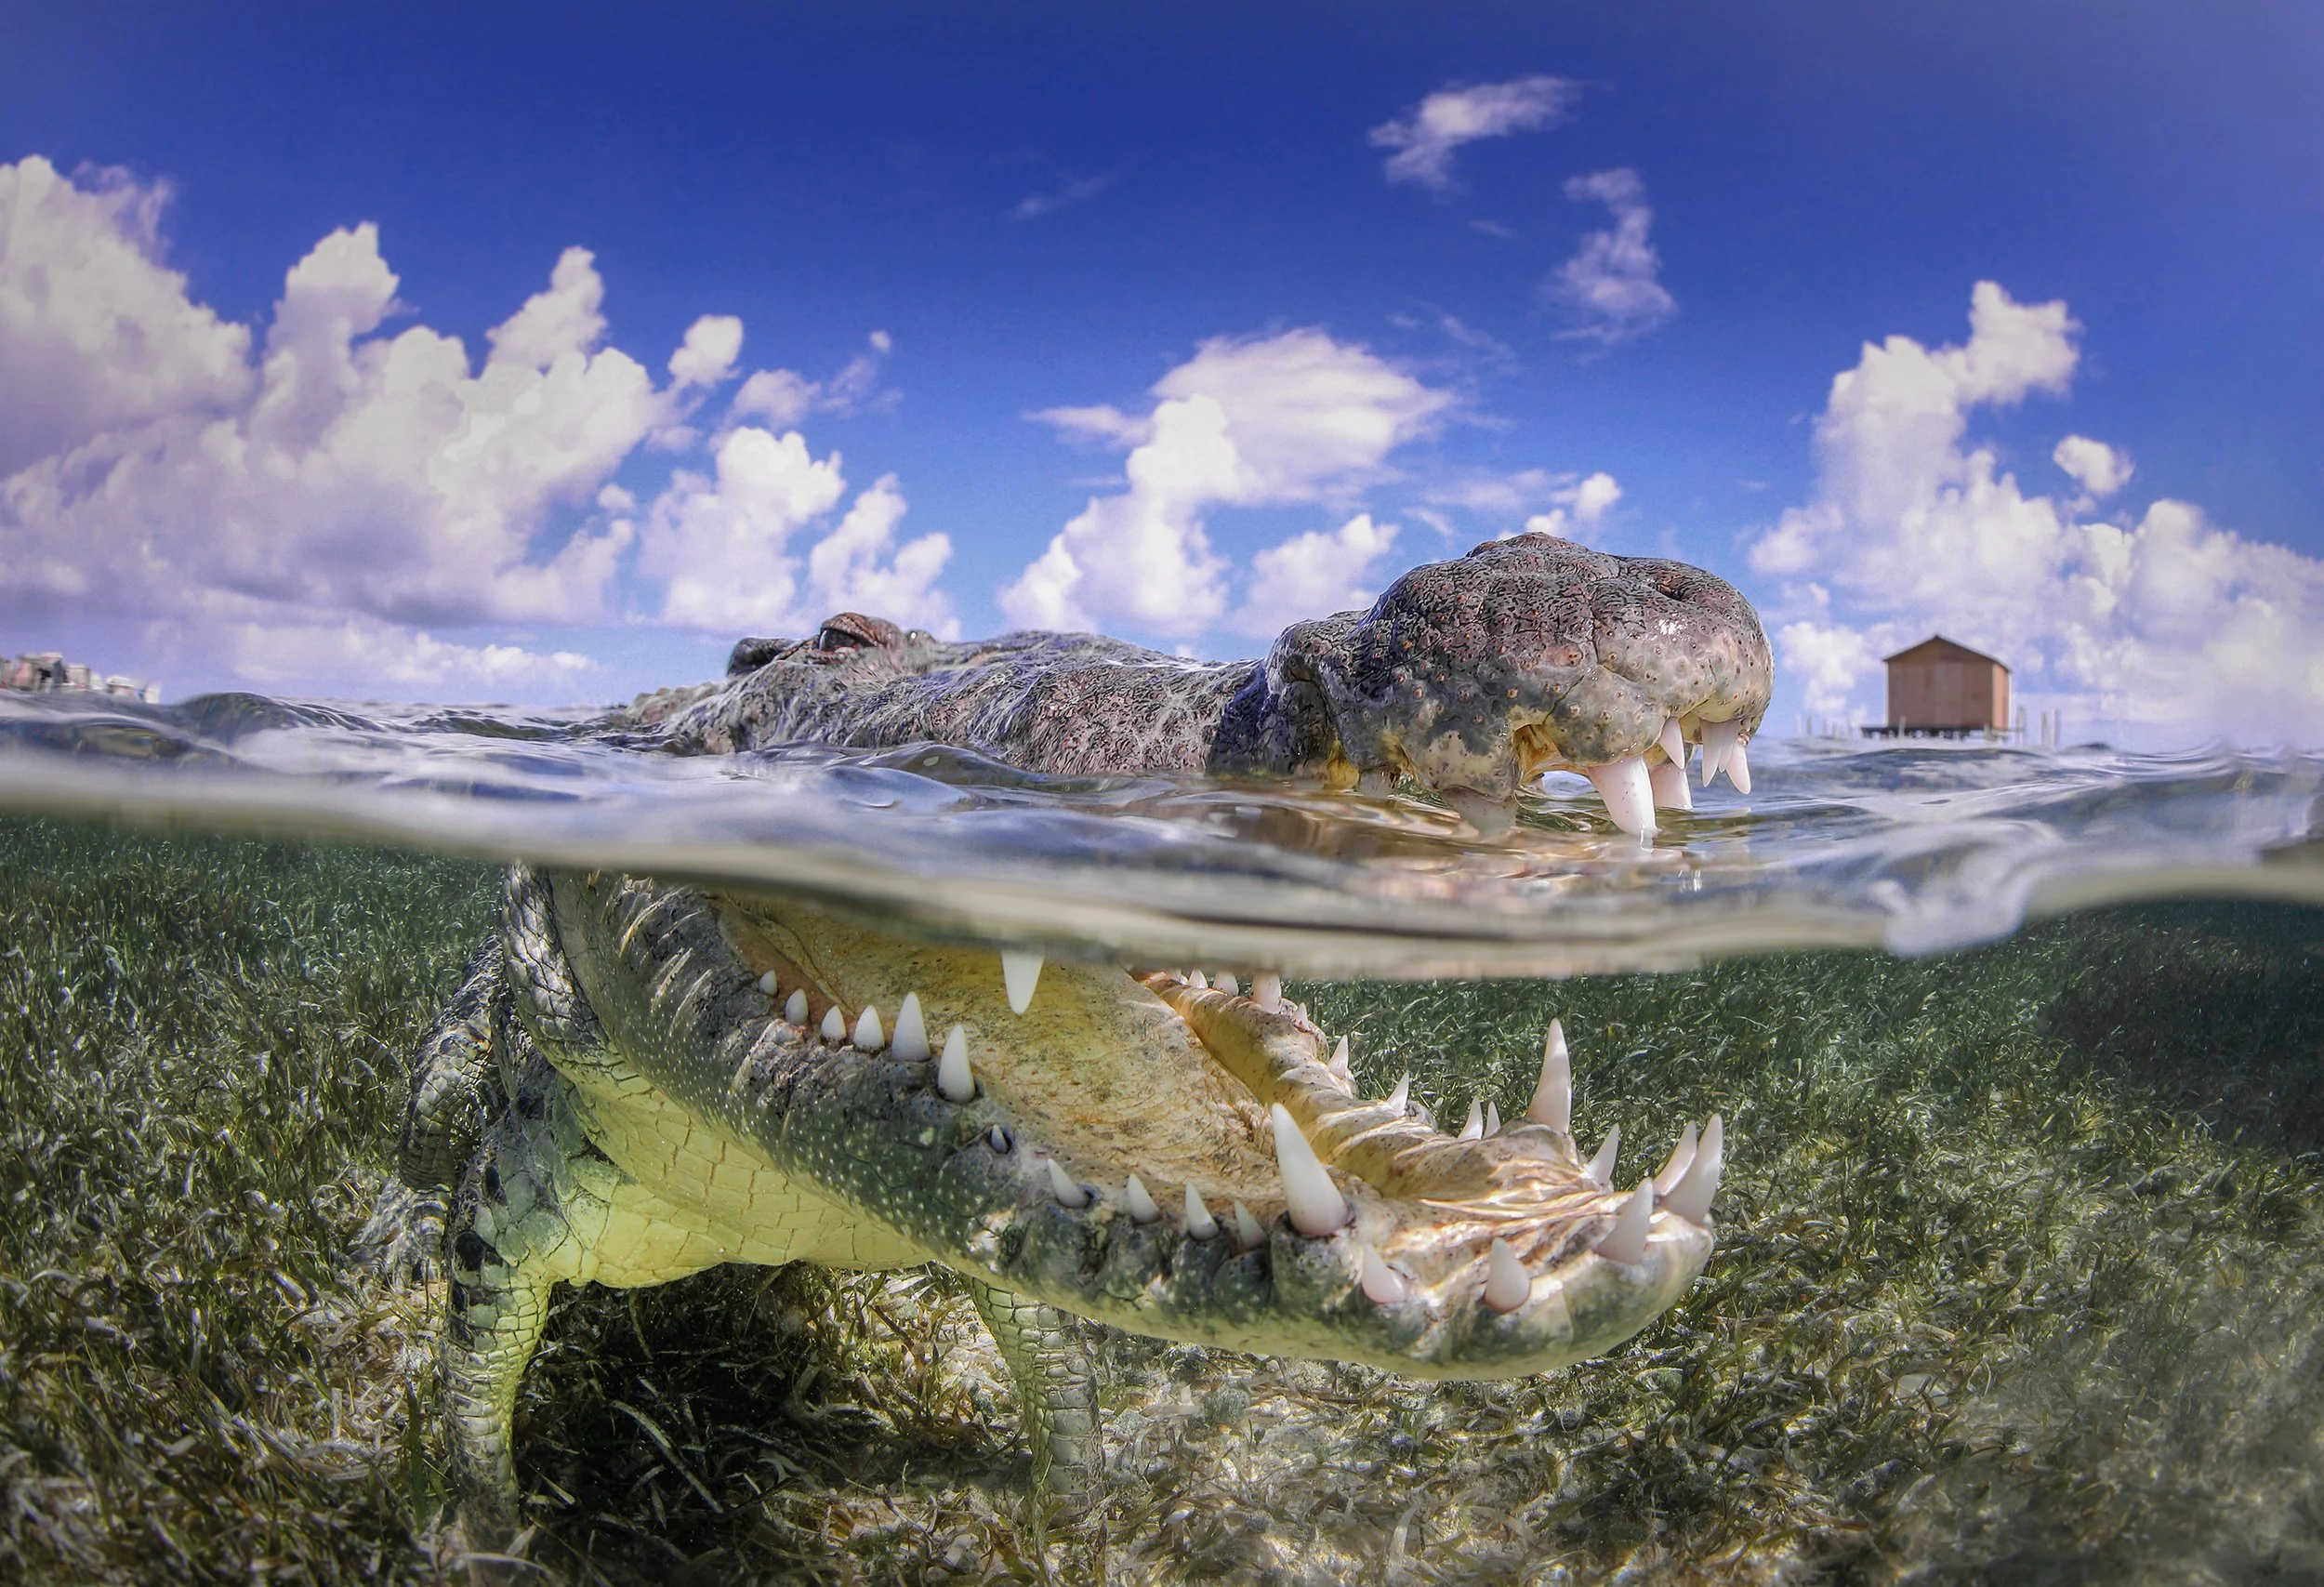
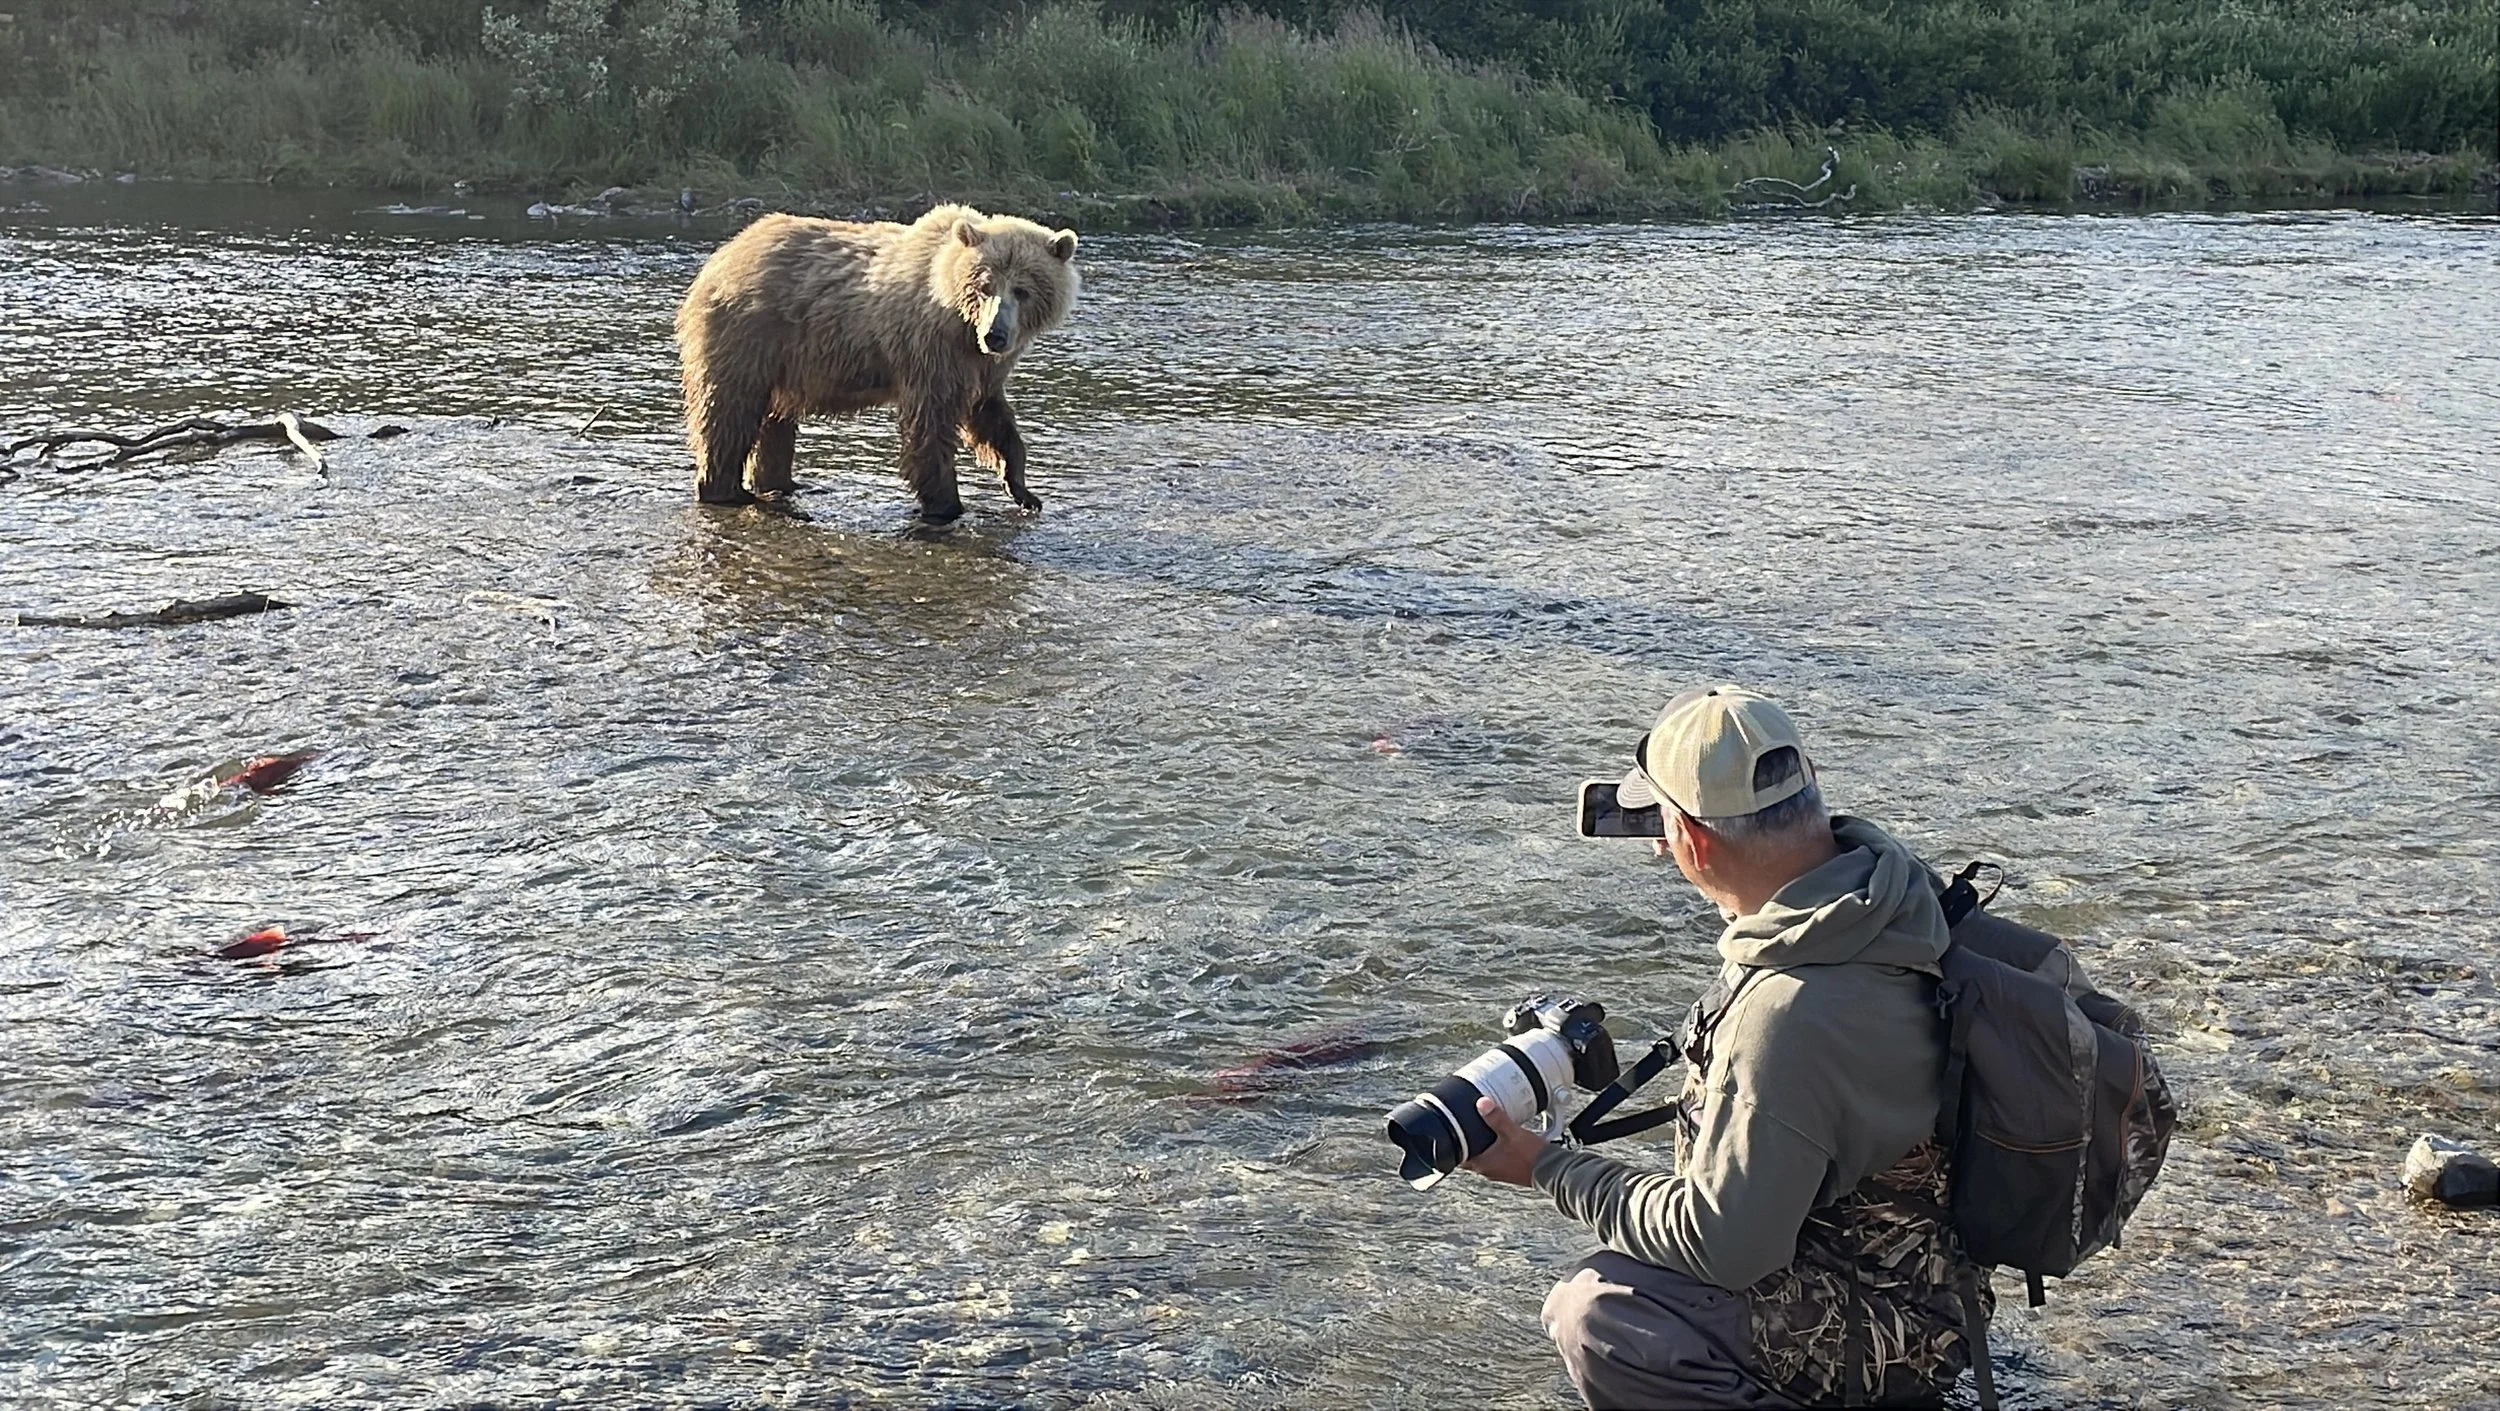
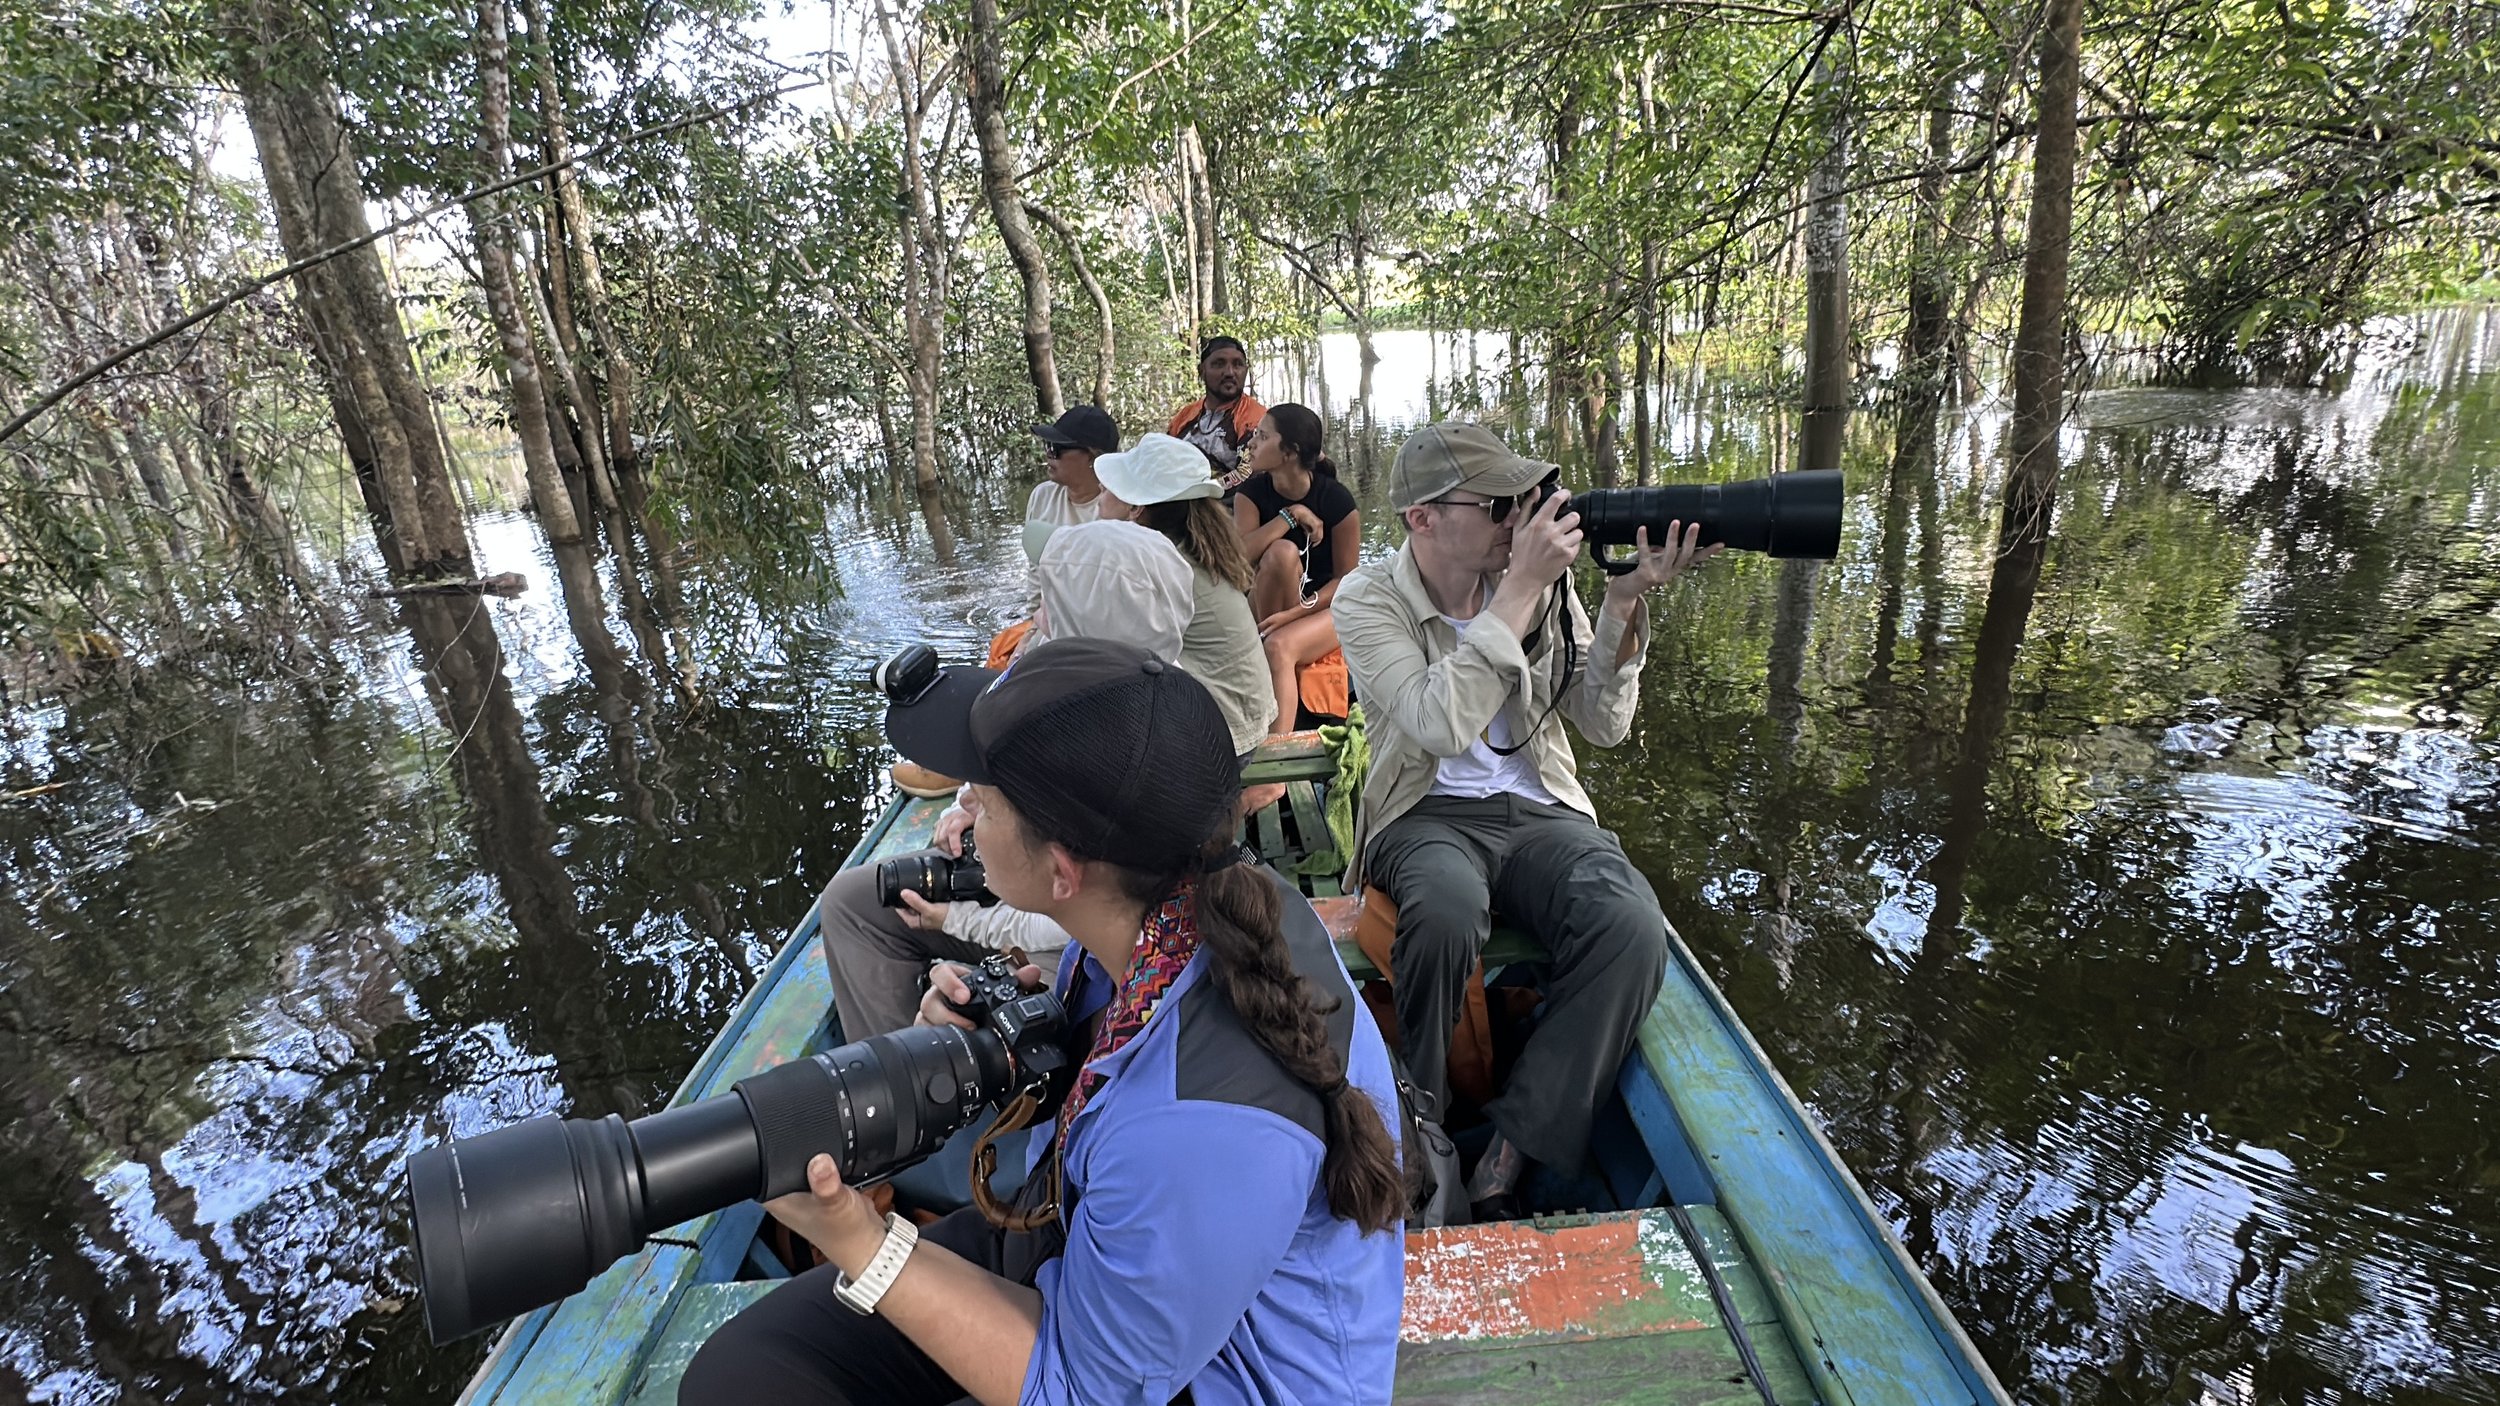
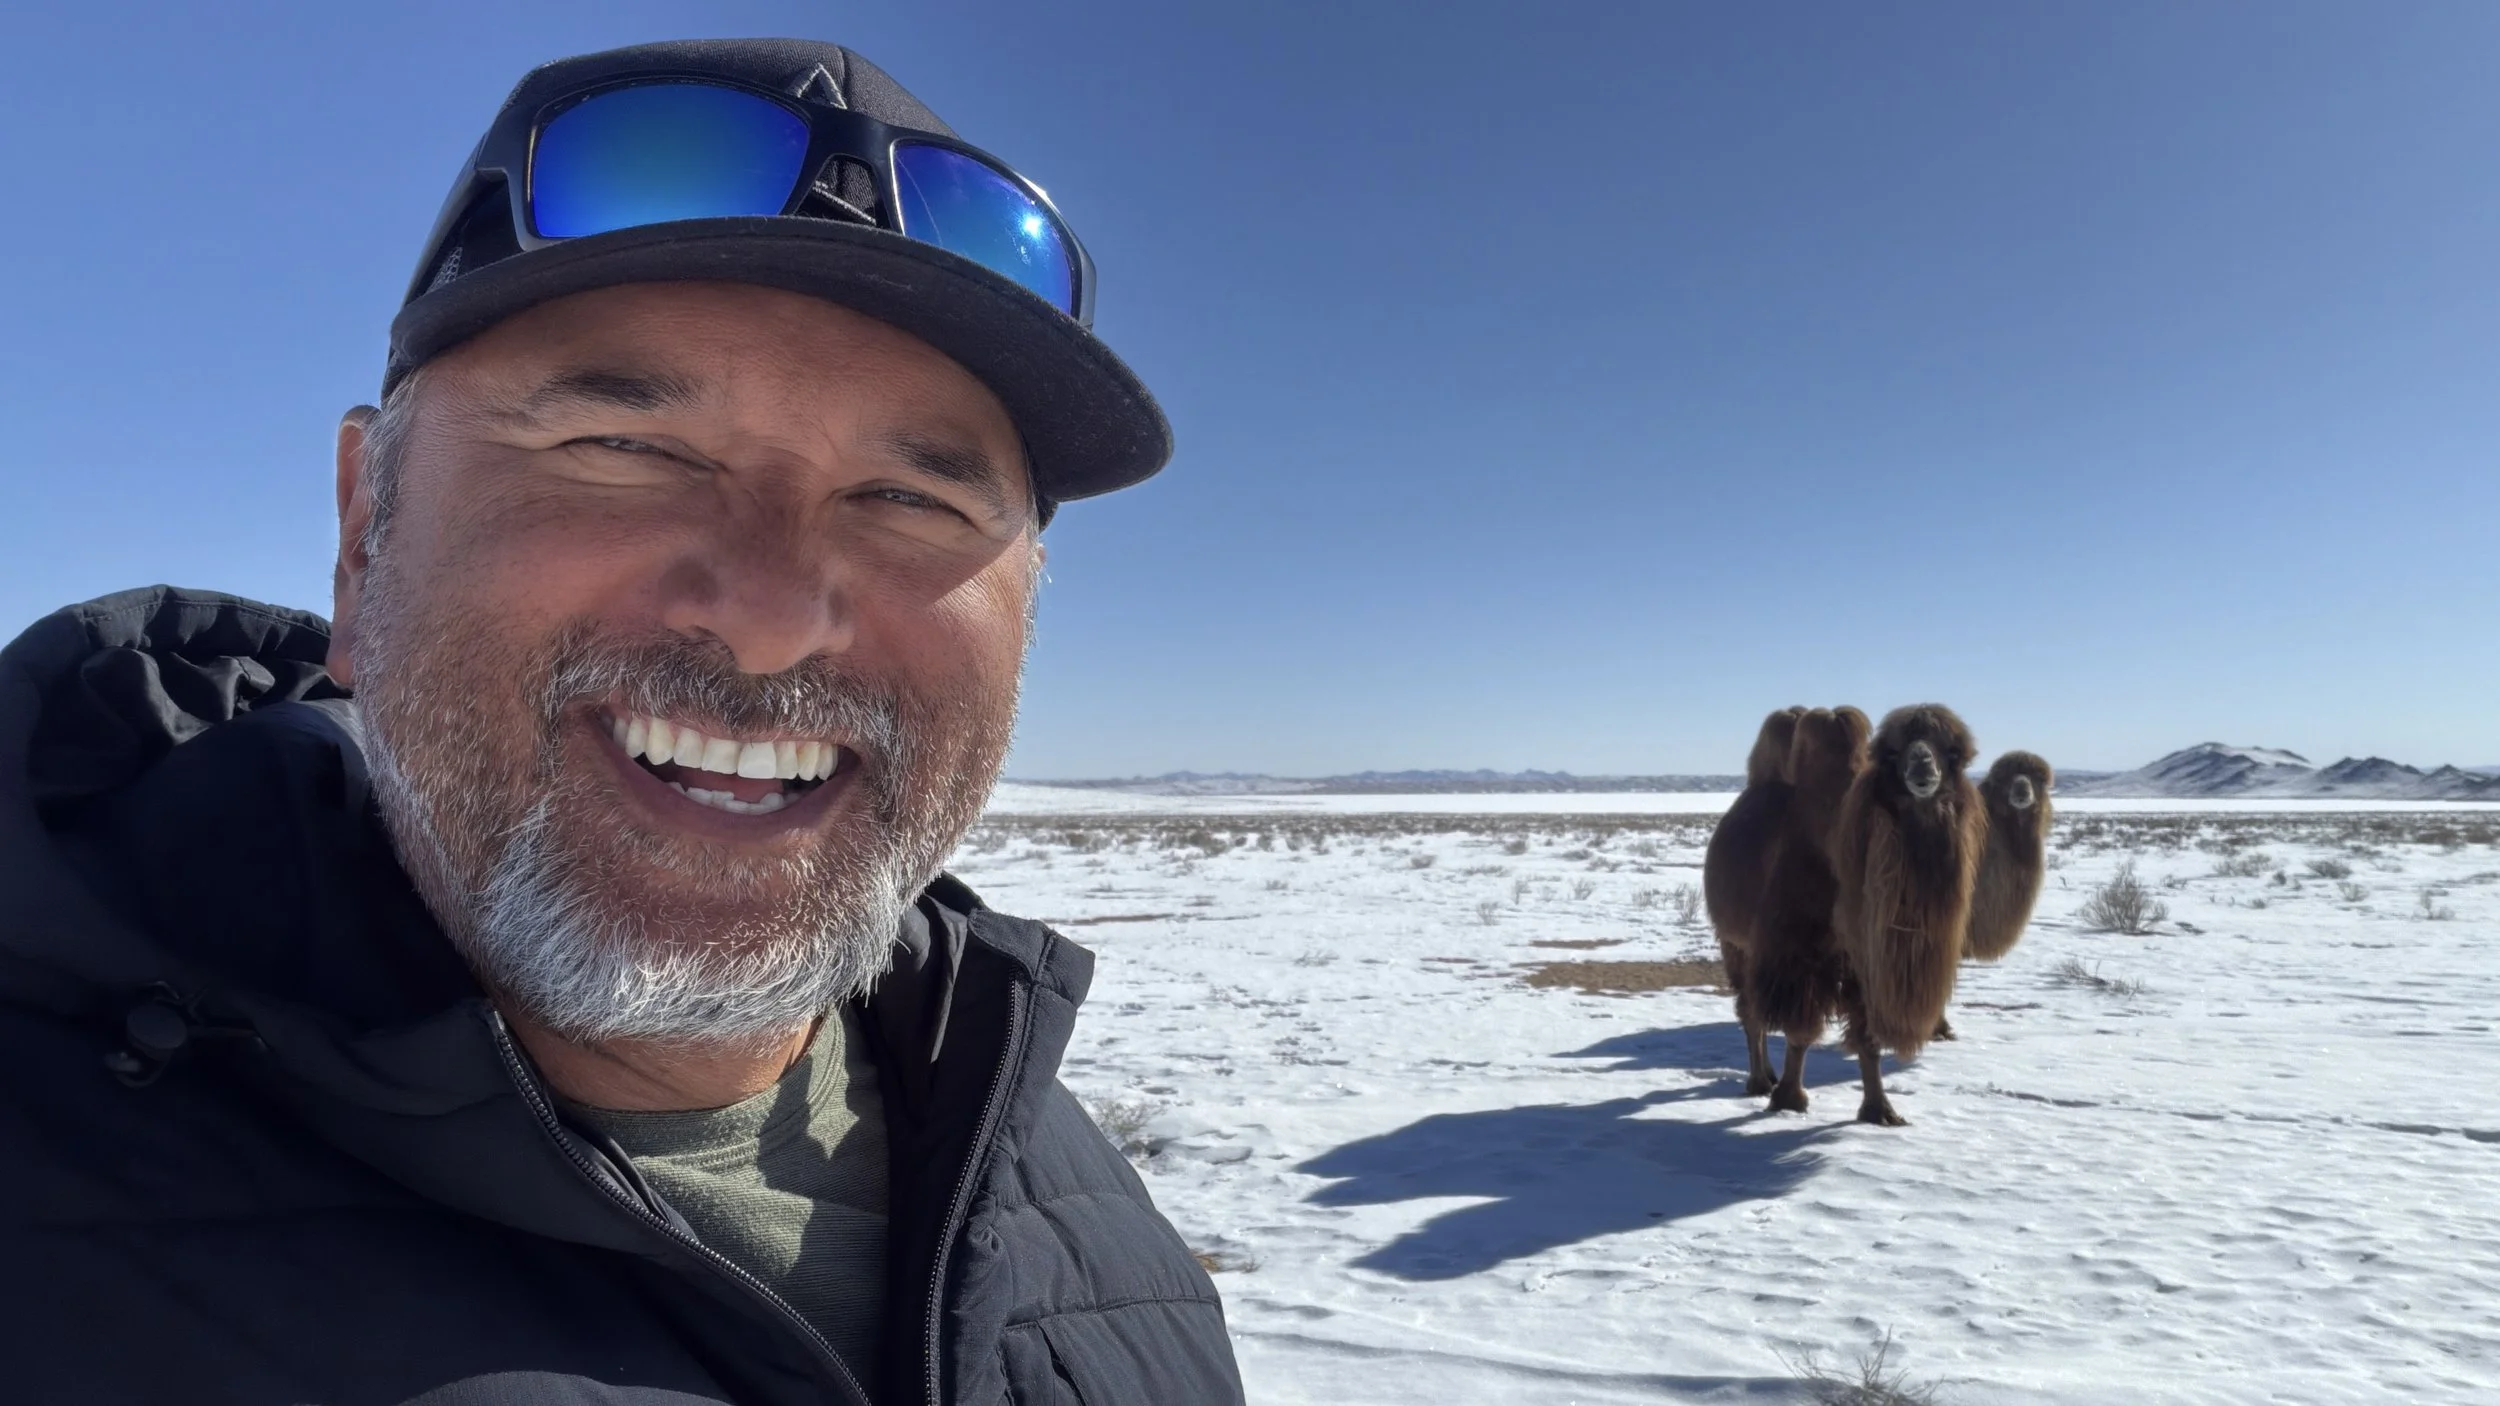
When I travel, I'm looking for wildlife.
I'm looking for stories.
I'm looking for beautiful landscapes, local restaurants, small villages, and conversations with people whose lives are completely different from my own.
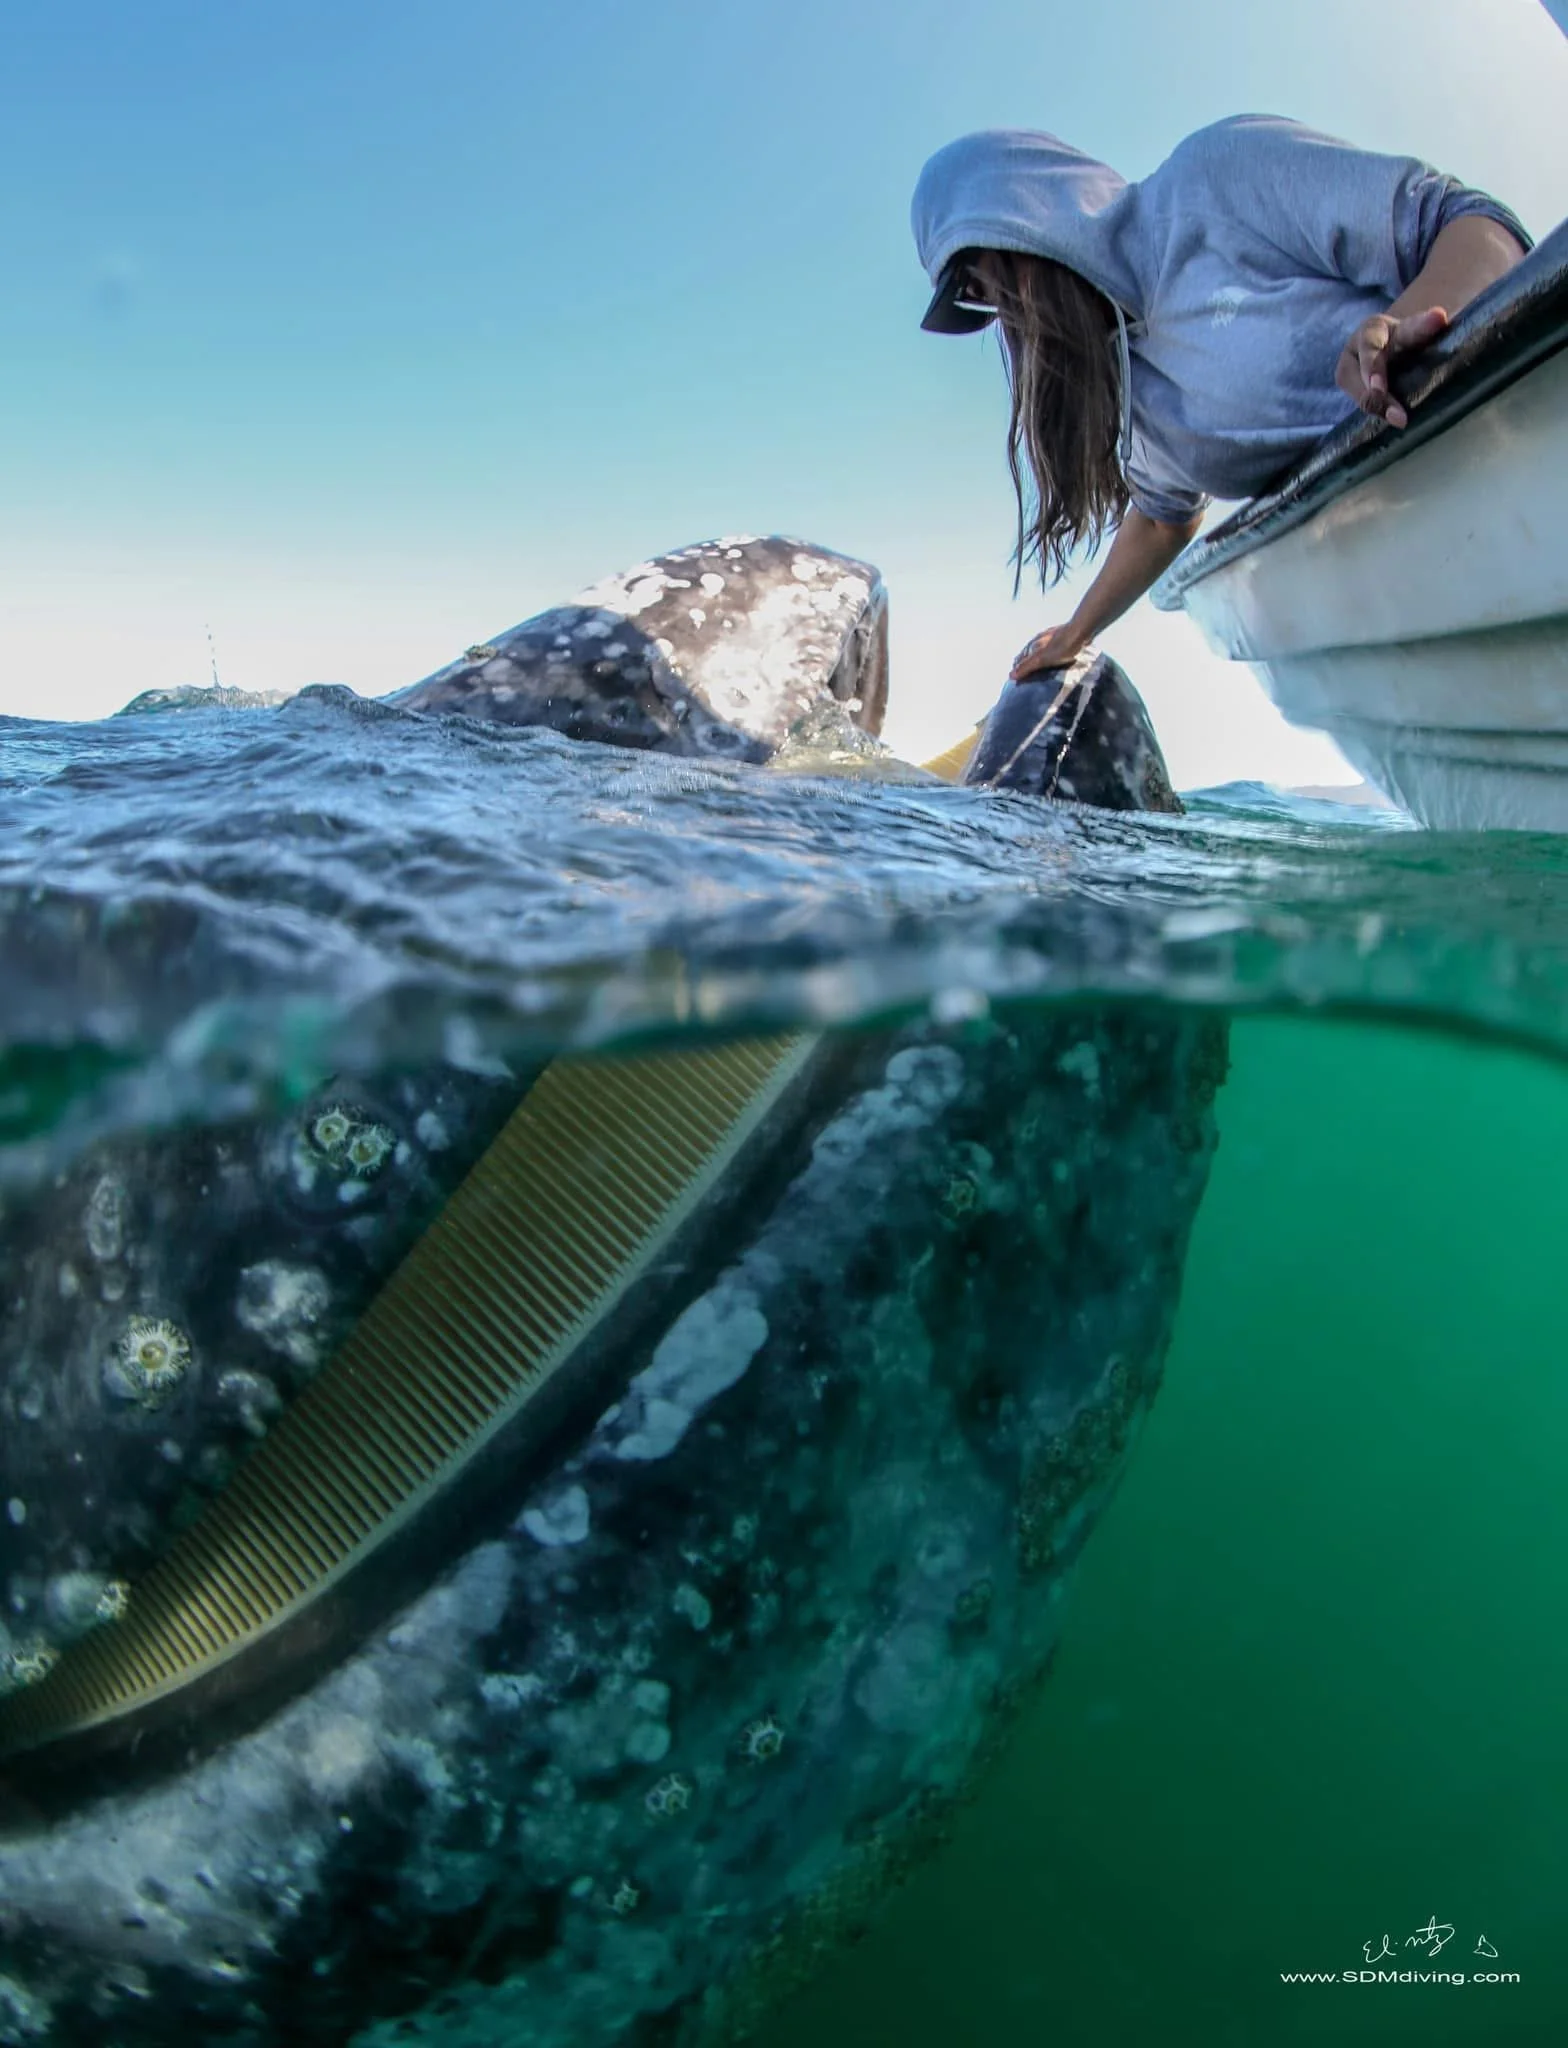
And what I continue to find, over and over again, are good people.
That doesn't mean I travel carelessly.
In fact, I do the opposite.
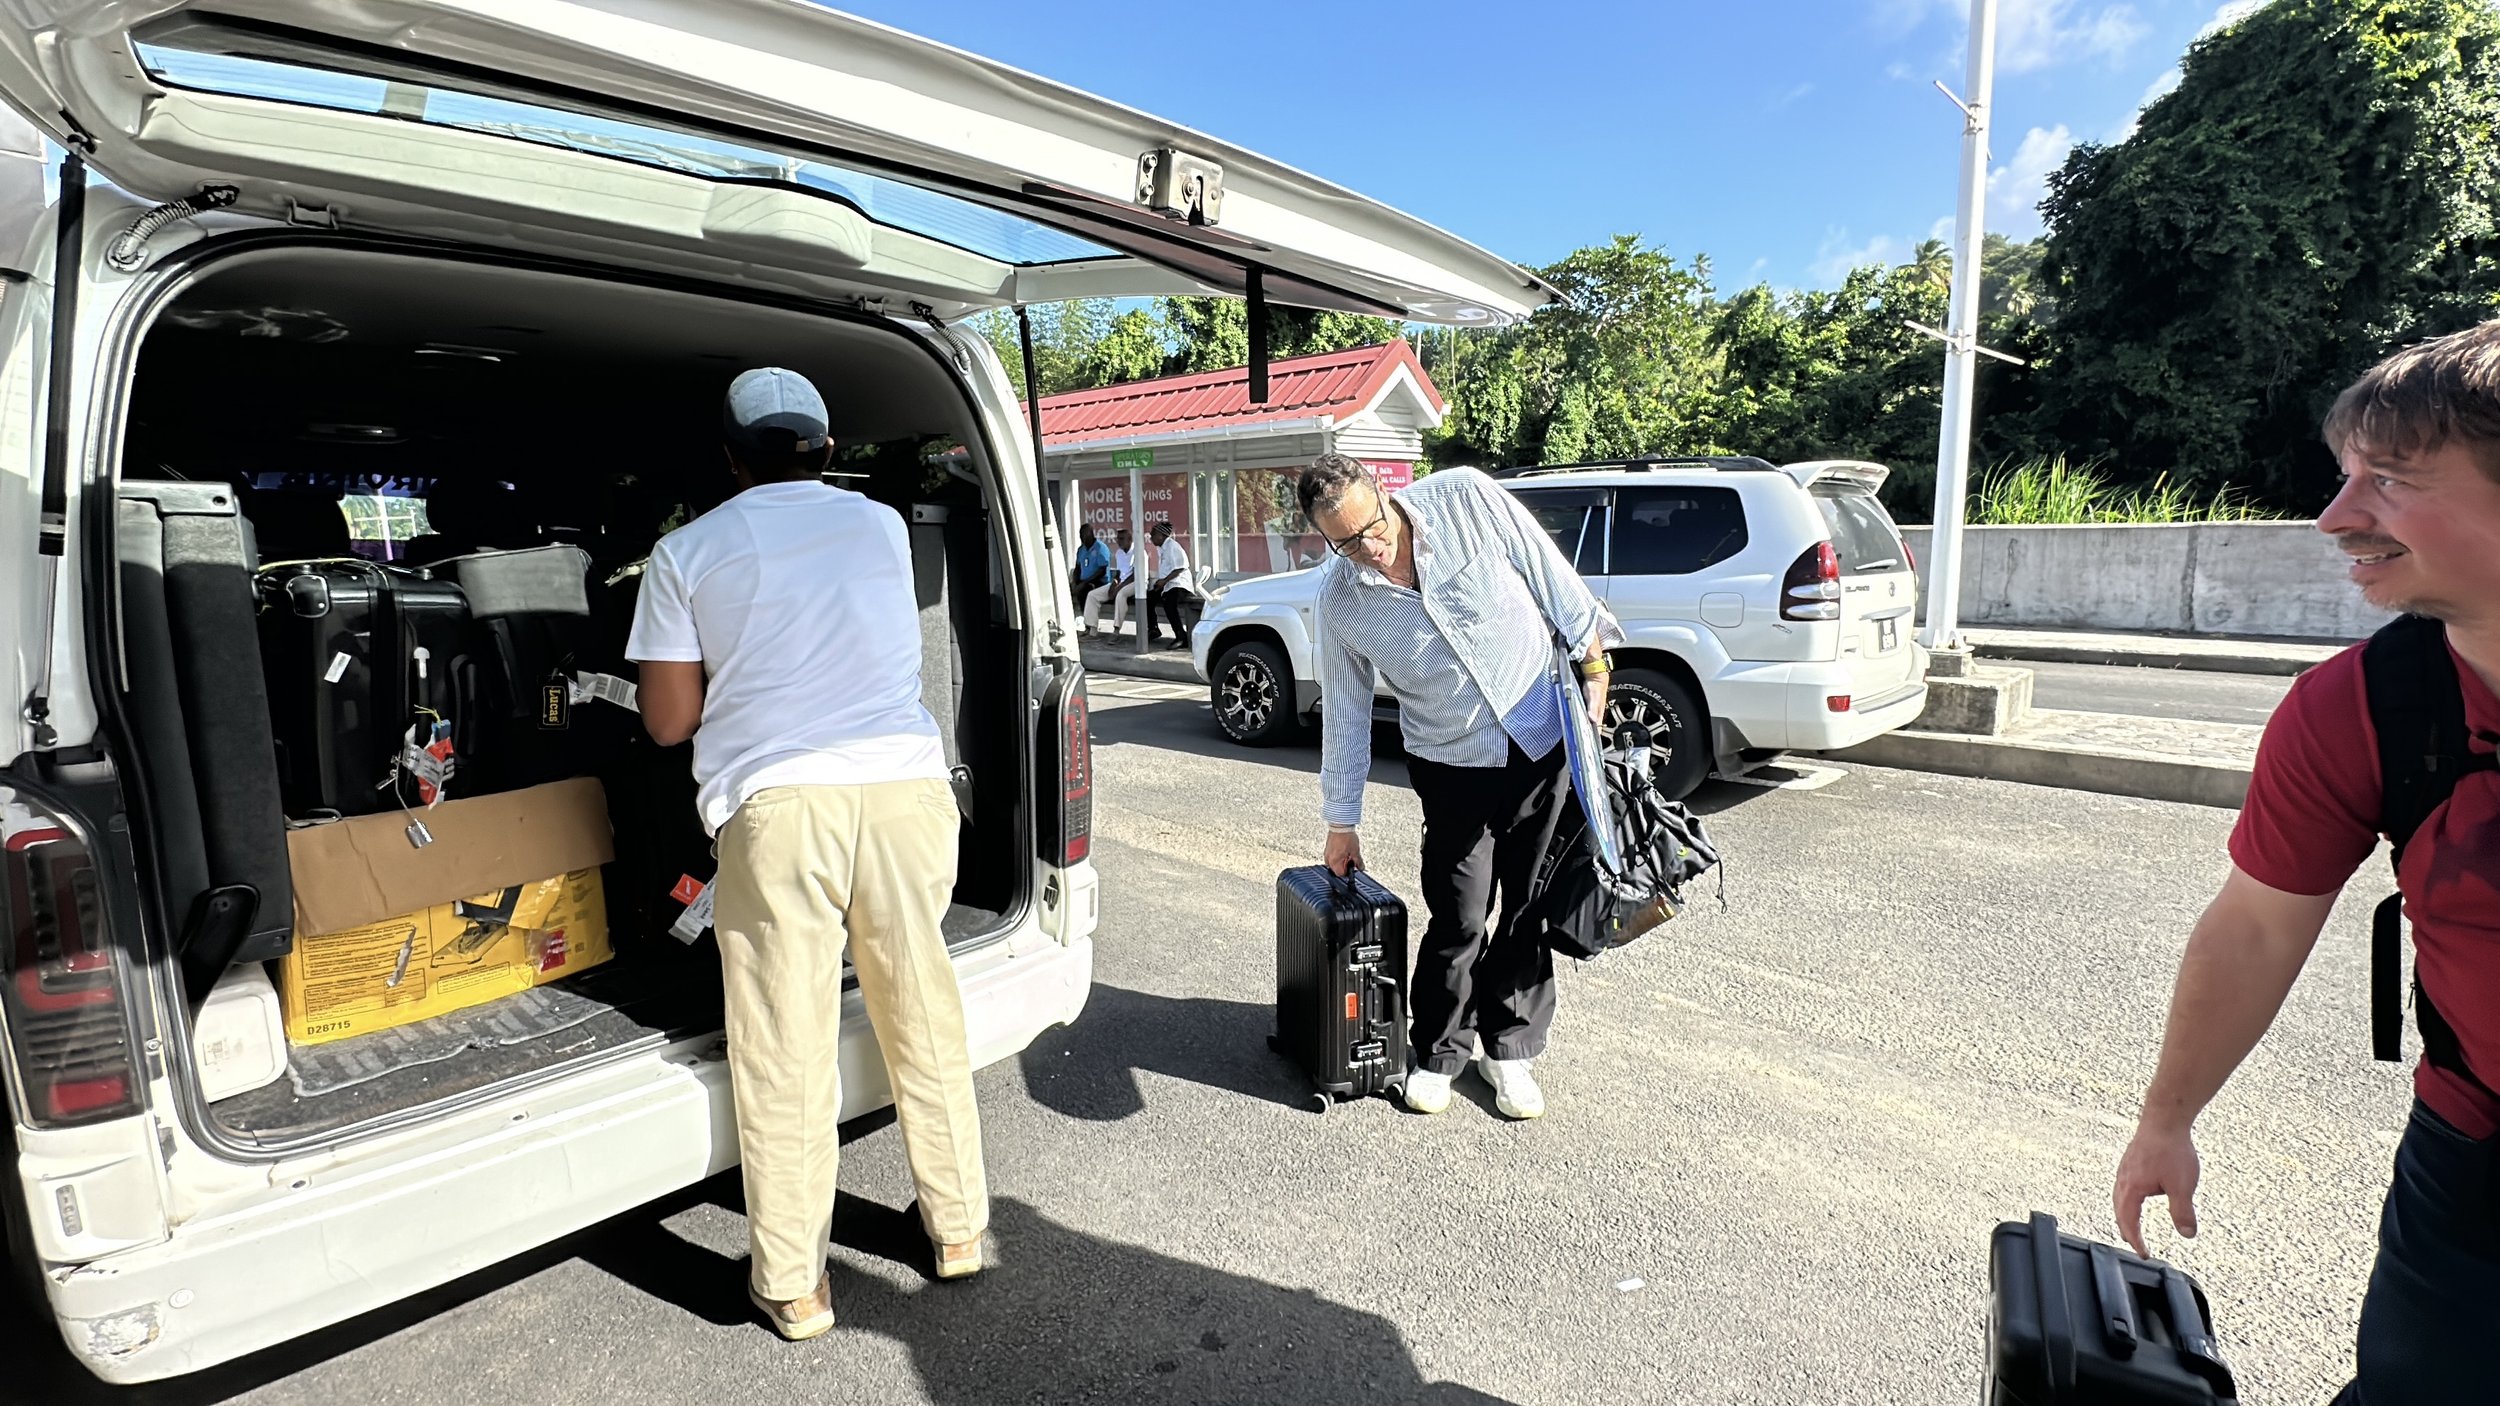
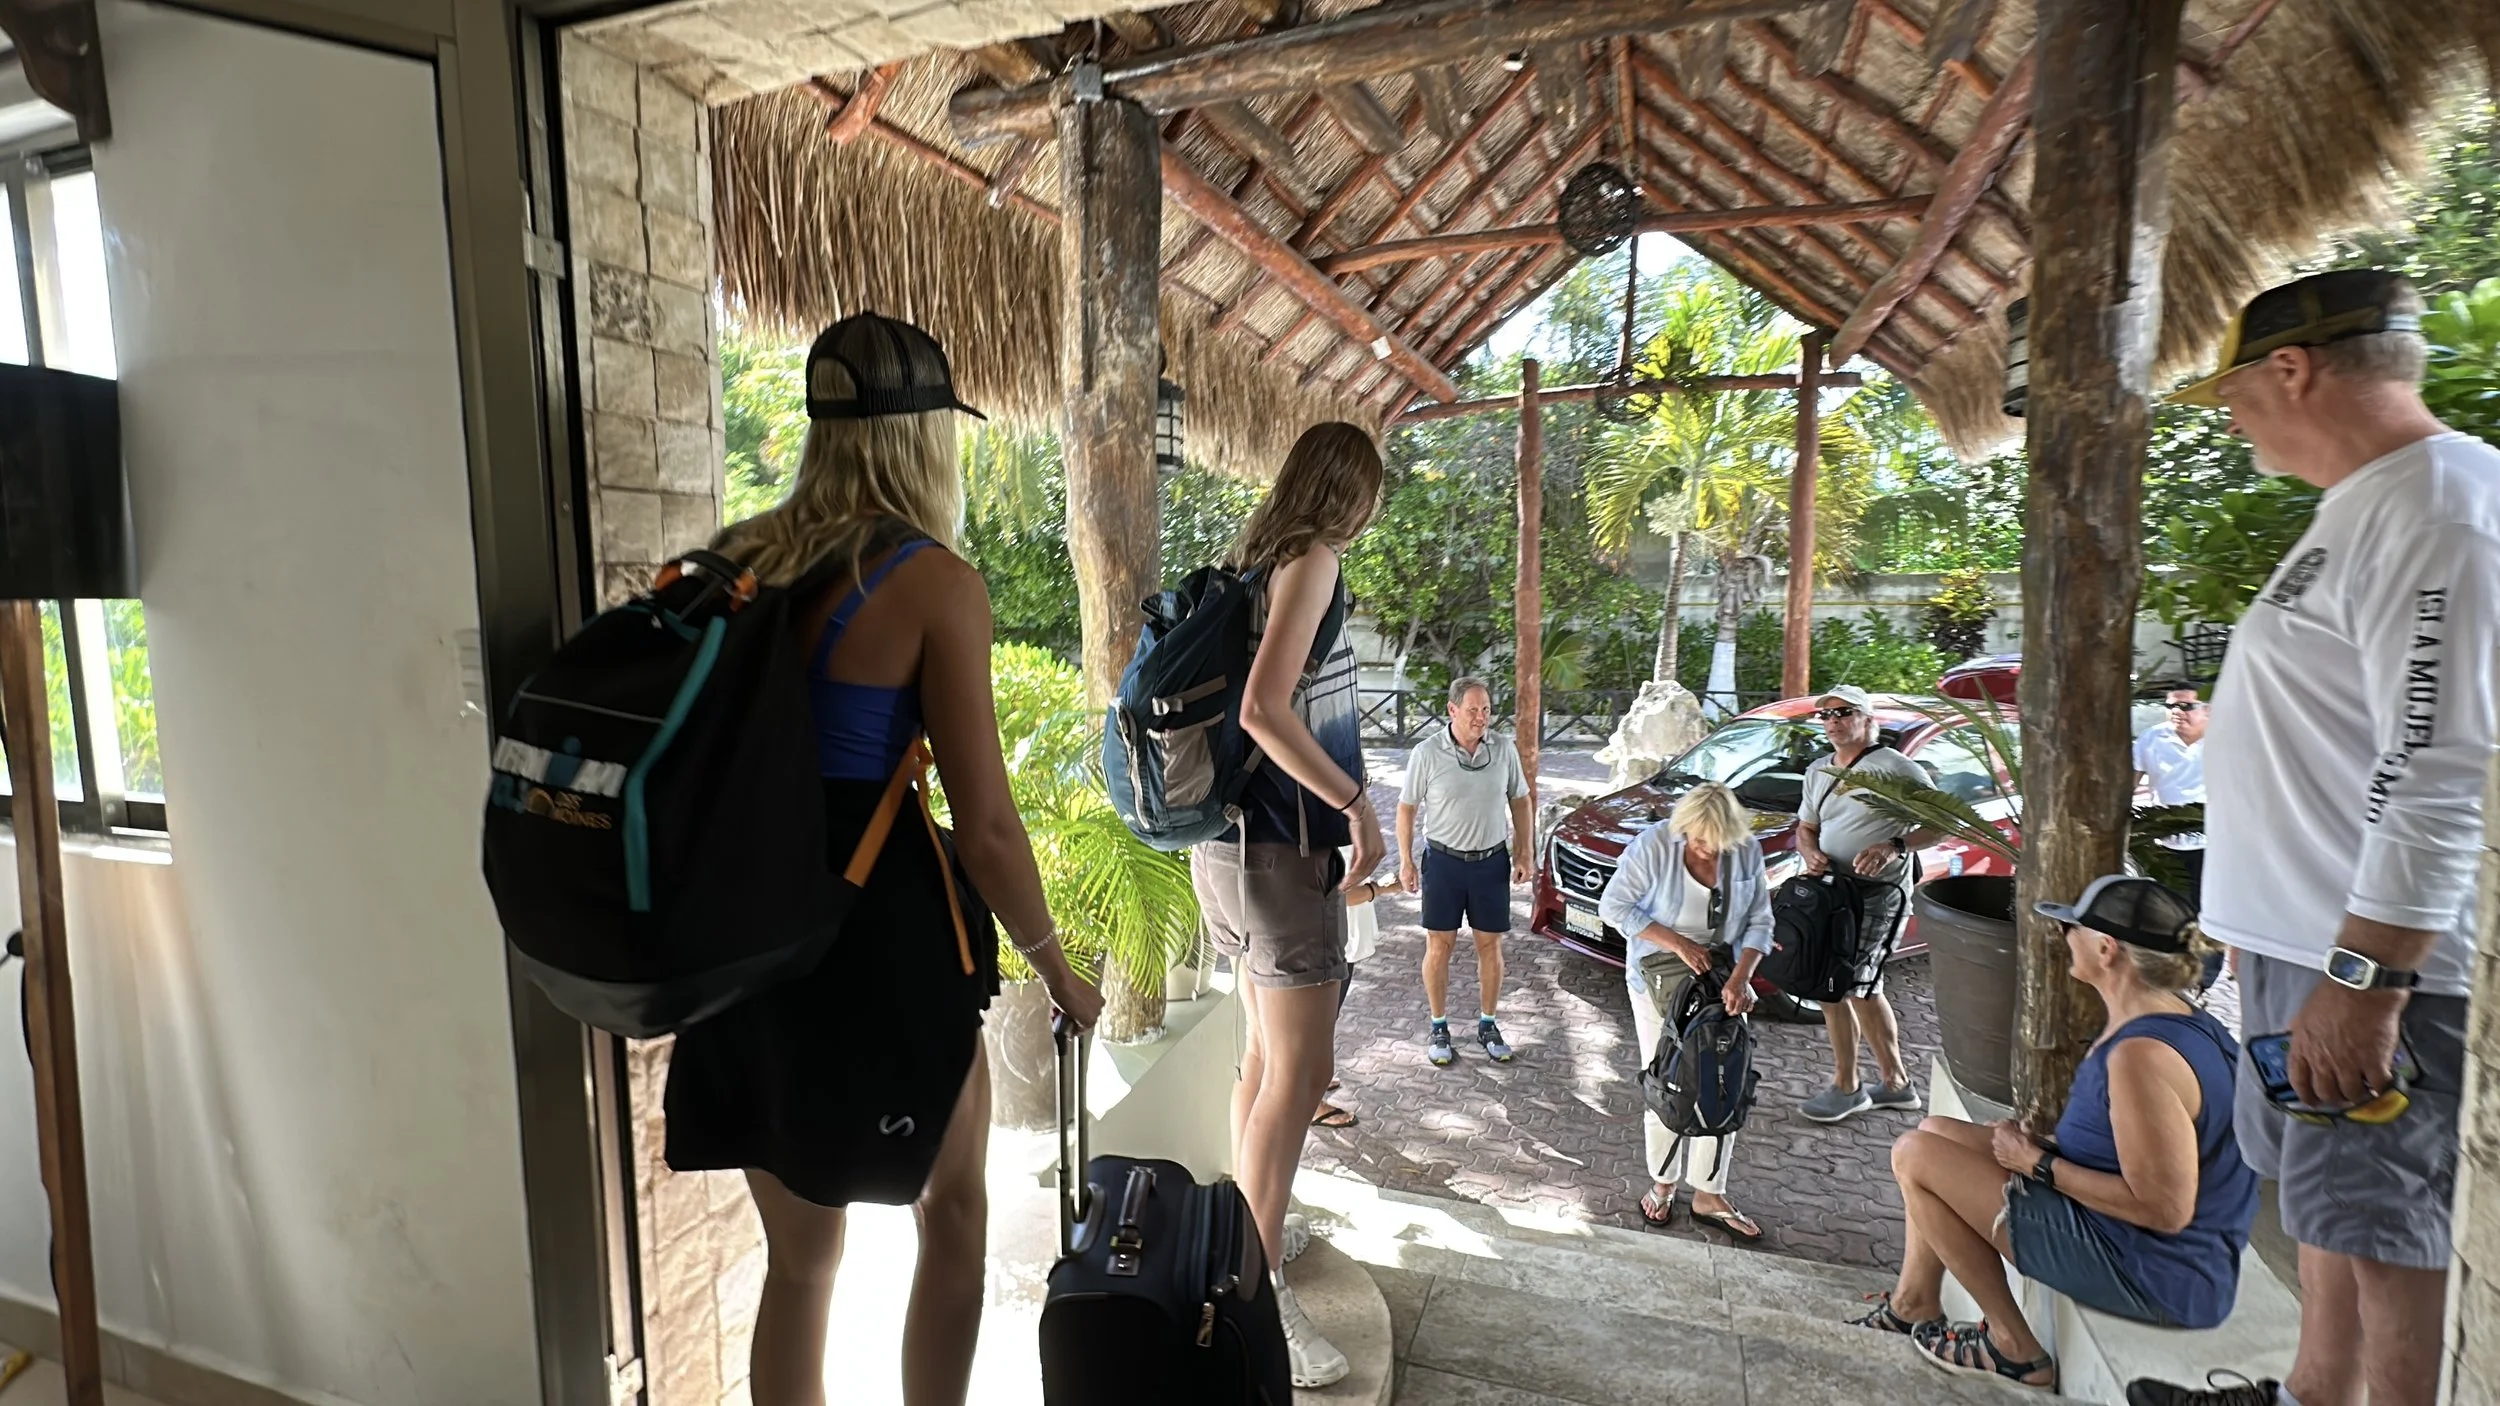
I protect my camera gear and personal belongings. I pay attention to my surroundings. I lock valuables away when appropriate. I avoid putting myself into situations that don't make sense, and I've never been much of a fan of wandering large cities, especially at night.
Wherever I travel, I try to remain aware.
Awareness and fear are not the same thing.
Being aware doesn't mean you distrust people. It doesn't mean you assume the worst about a destination. It simply means you understand that personal responsibility travels with you.
I don't let my guard down because I'm in Mexico.
I don't let my guard down because I'm in Brazil.
I don't let my guard down because I'm in Mongolia.
And I don't let my guard down when I'm at home.
Awareness is a habit, not a reaction.
Ironically, I think this mindset is one of the reasons my experiences around the world have been so positive. I don't travel in fear, but I don't travel blindly either.
I pay attention.
Then I focus on the things I came to find.
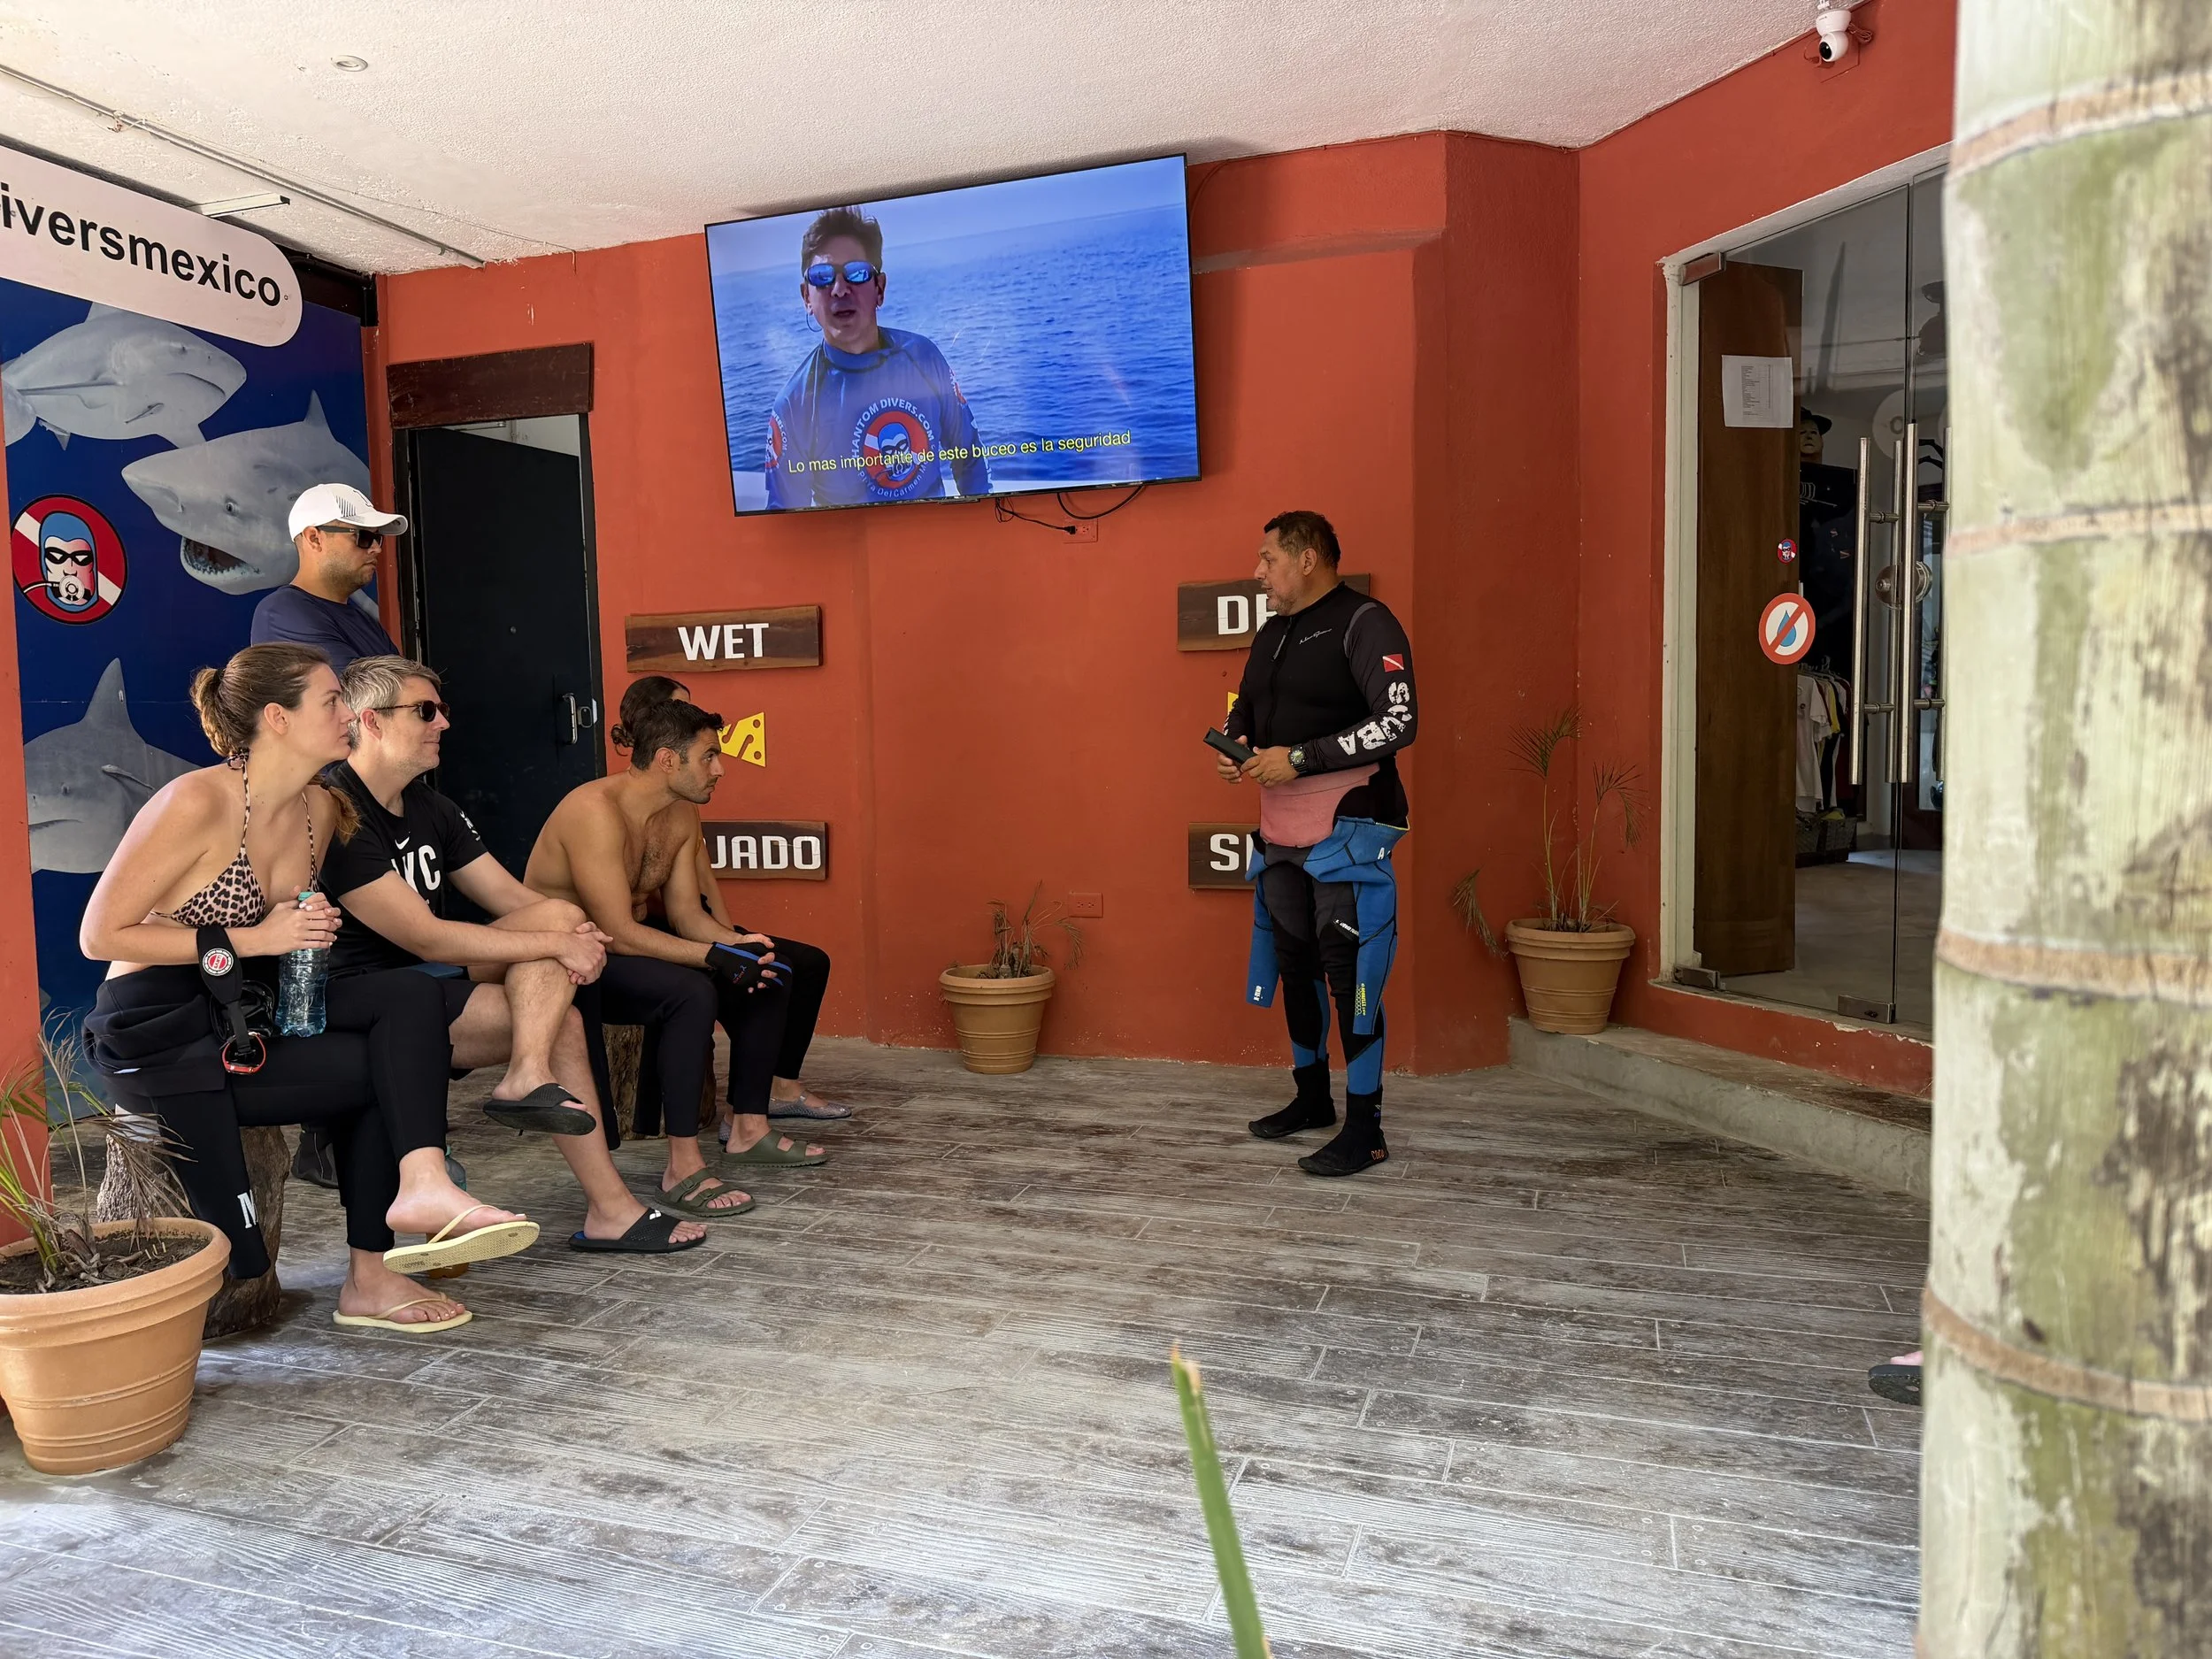
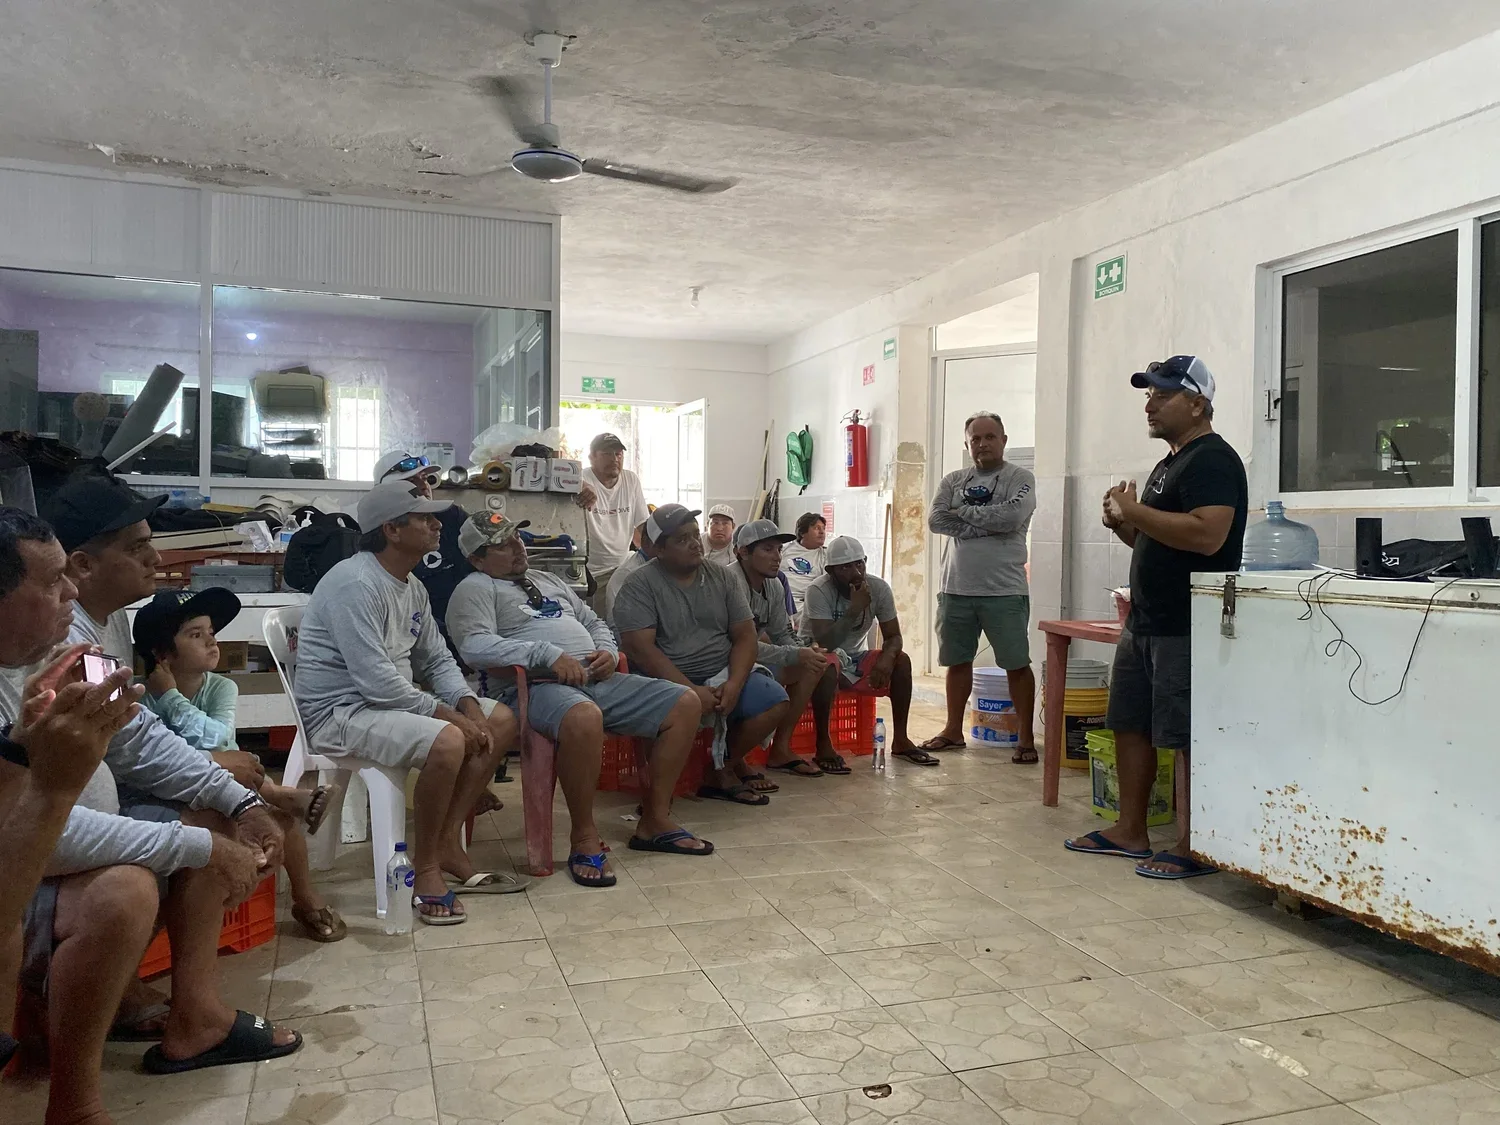
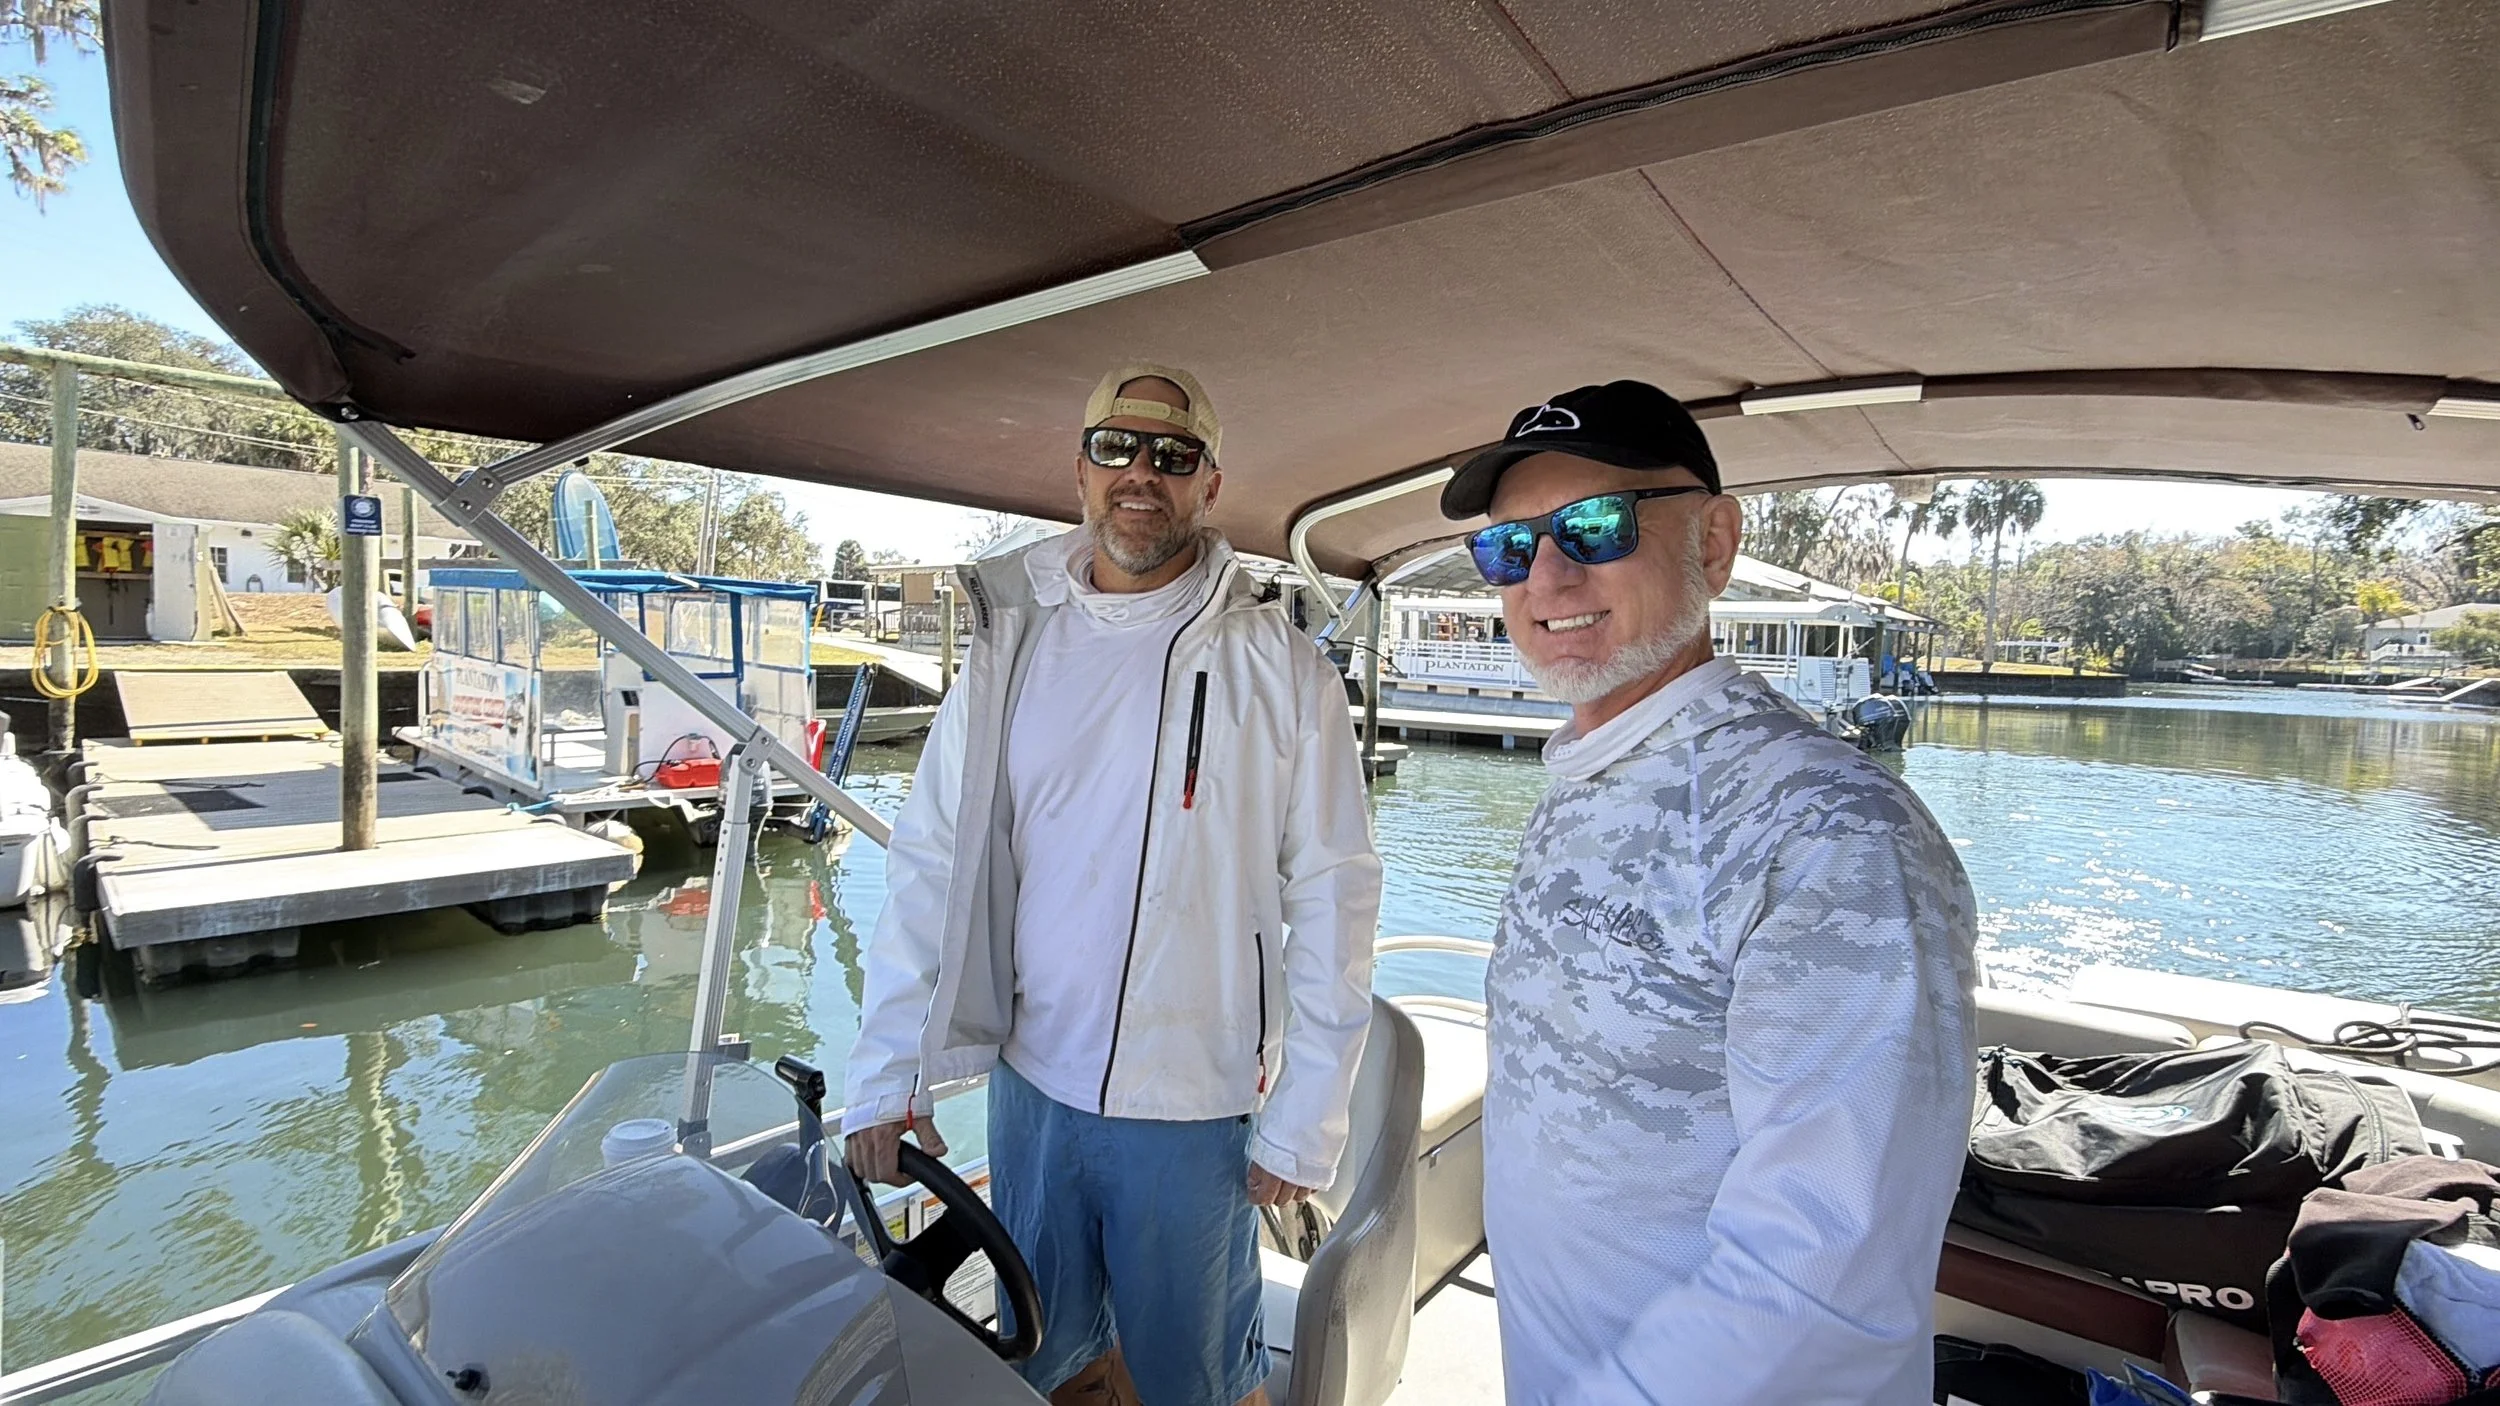
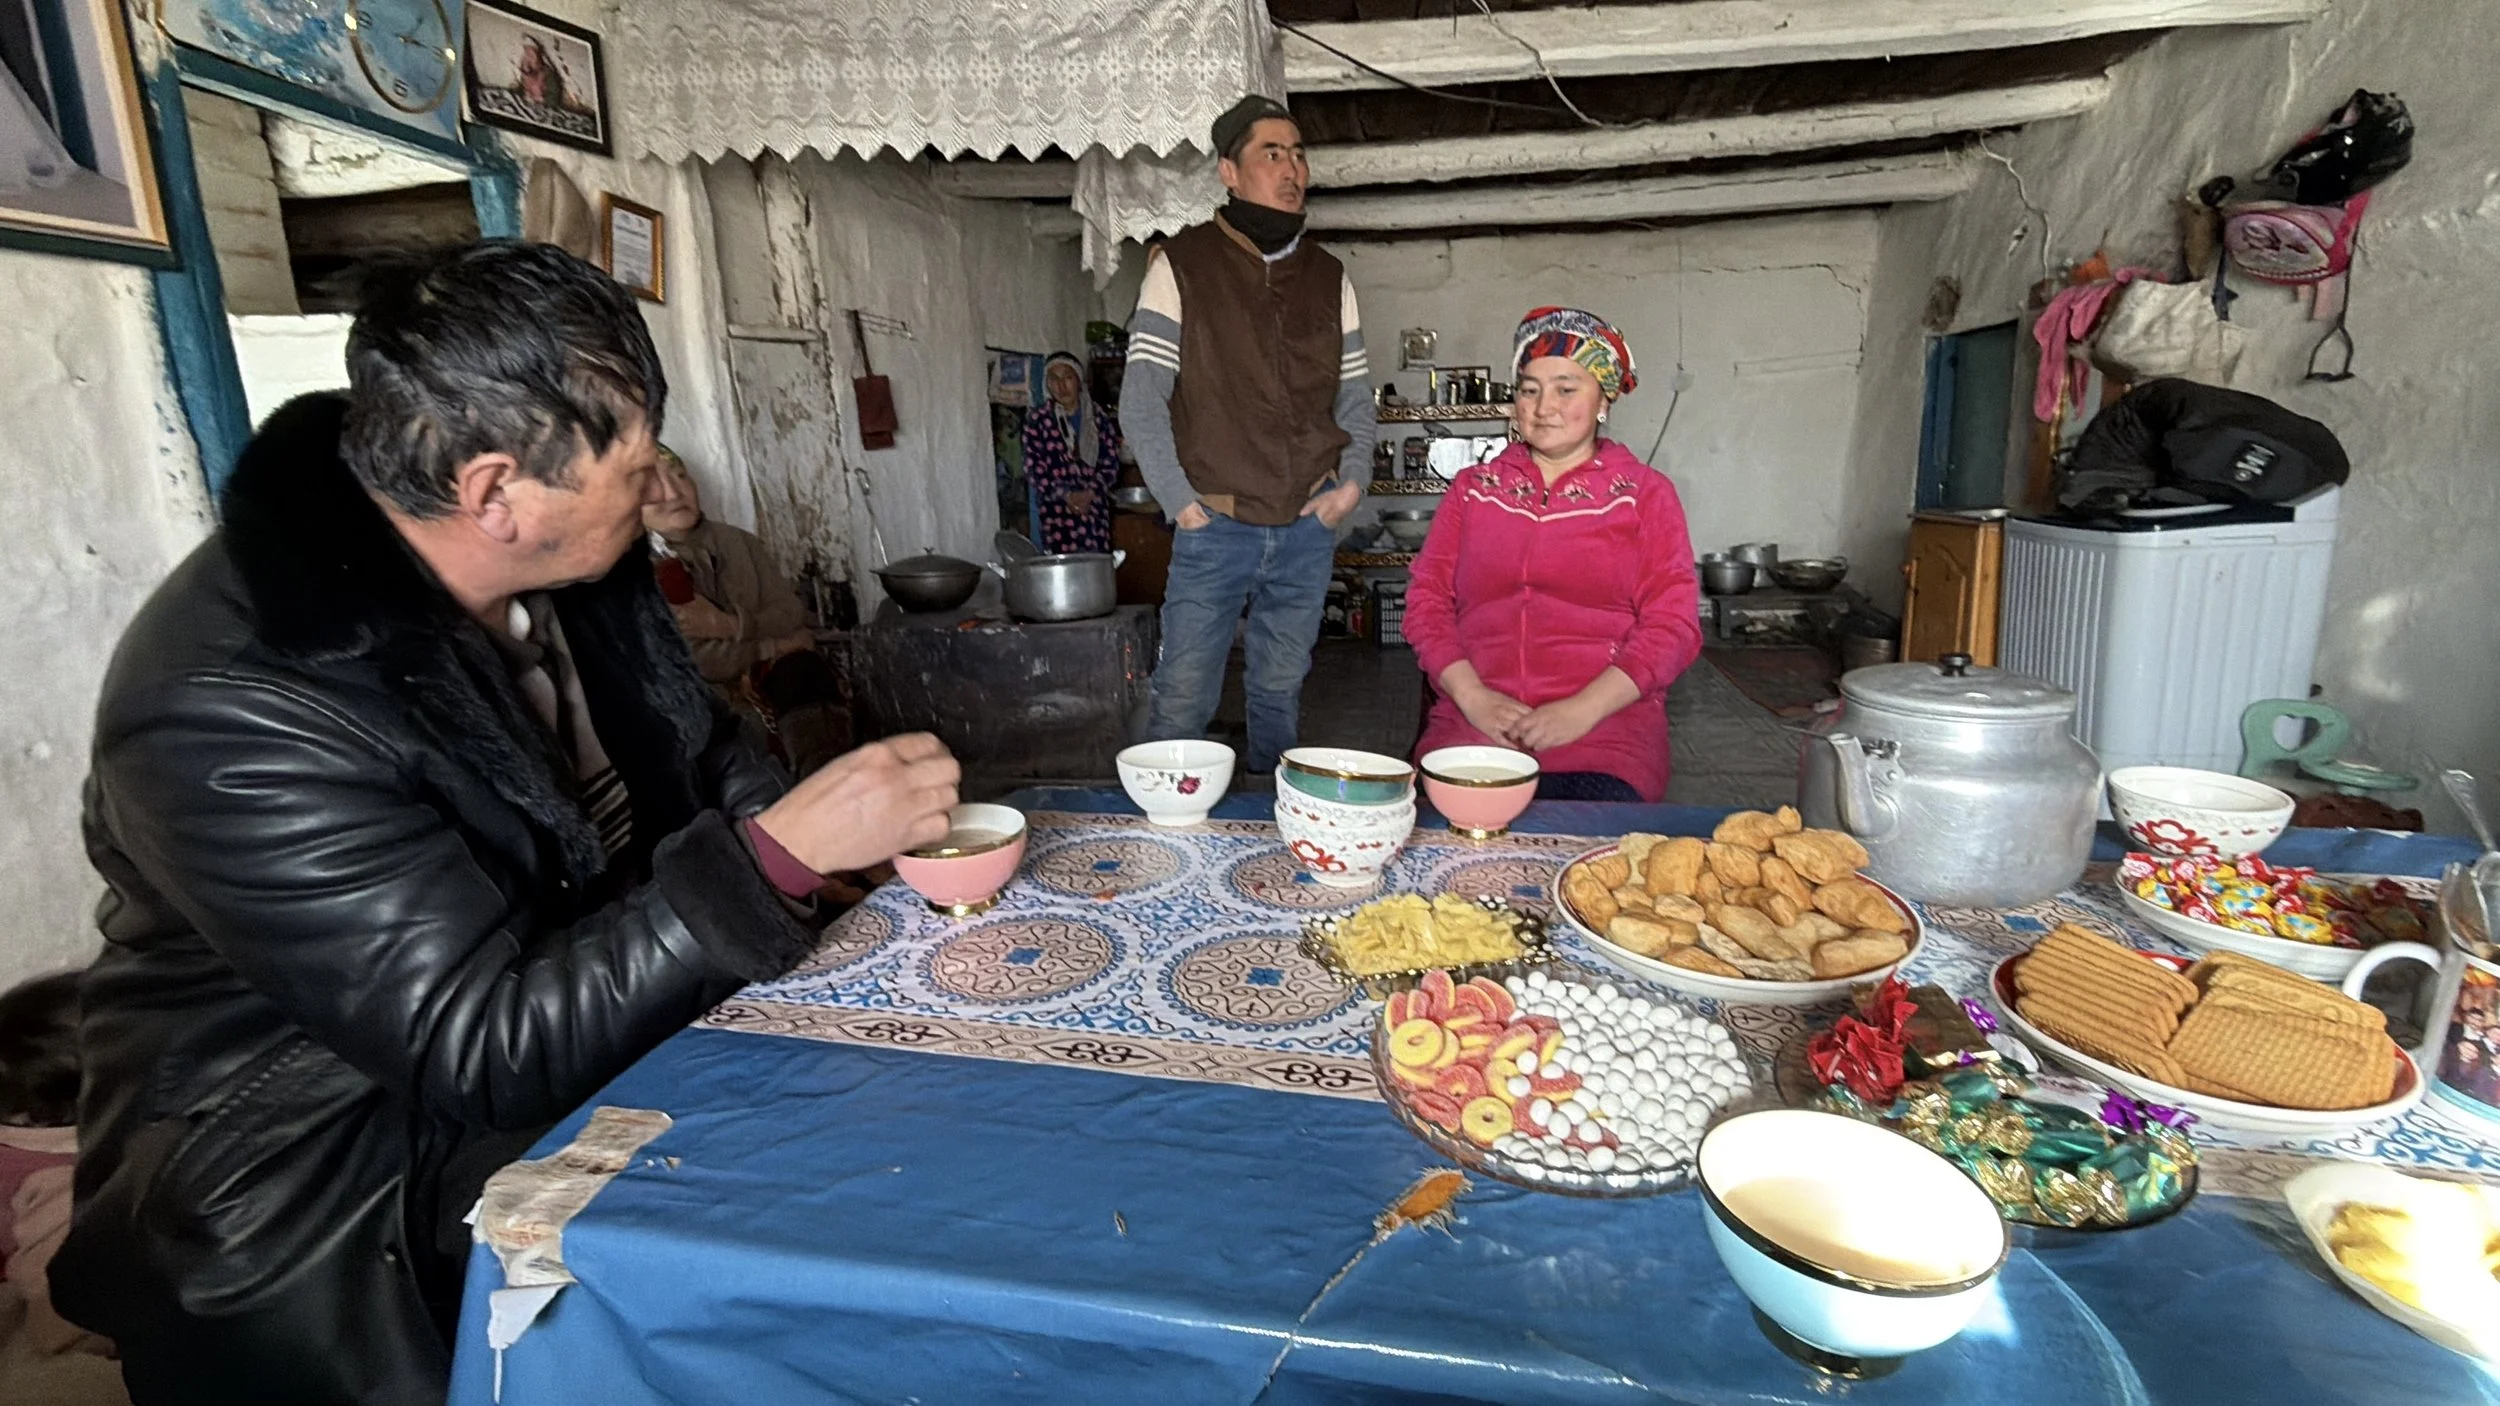
Over the years I've sat at dinner tables in remote villages.
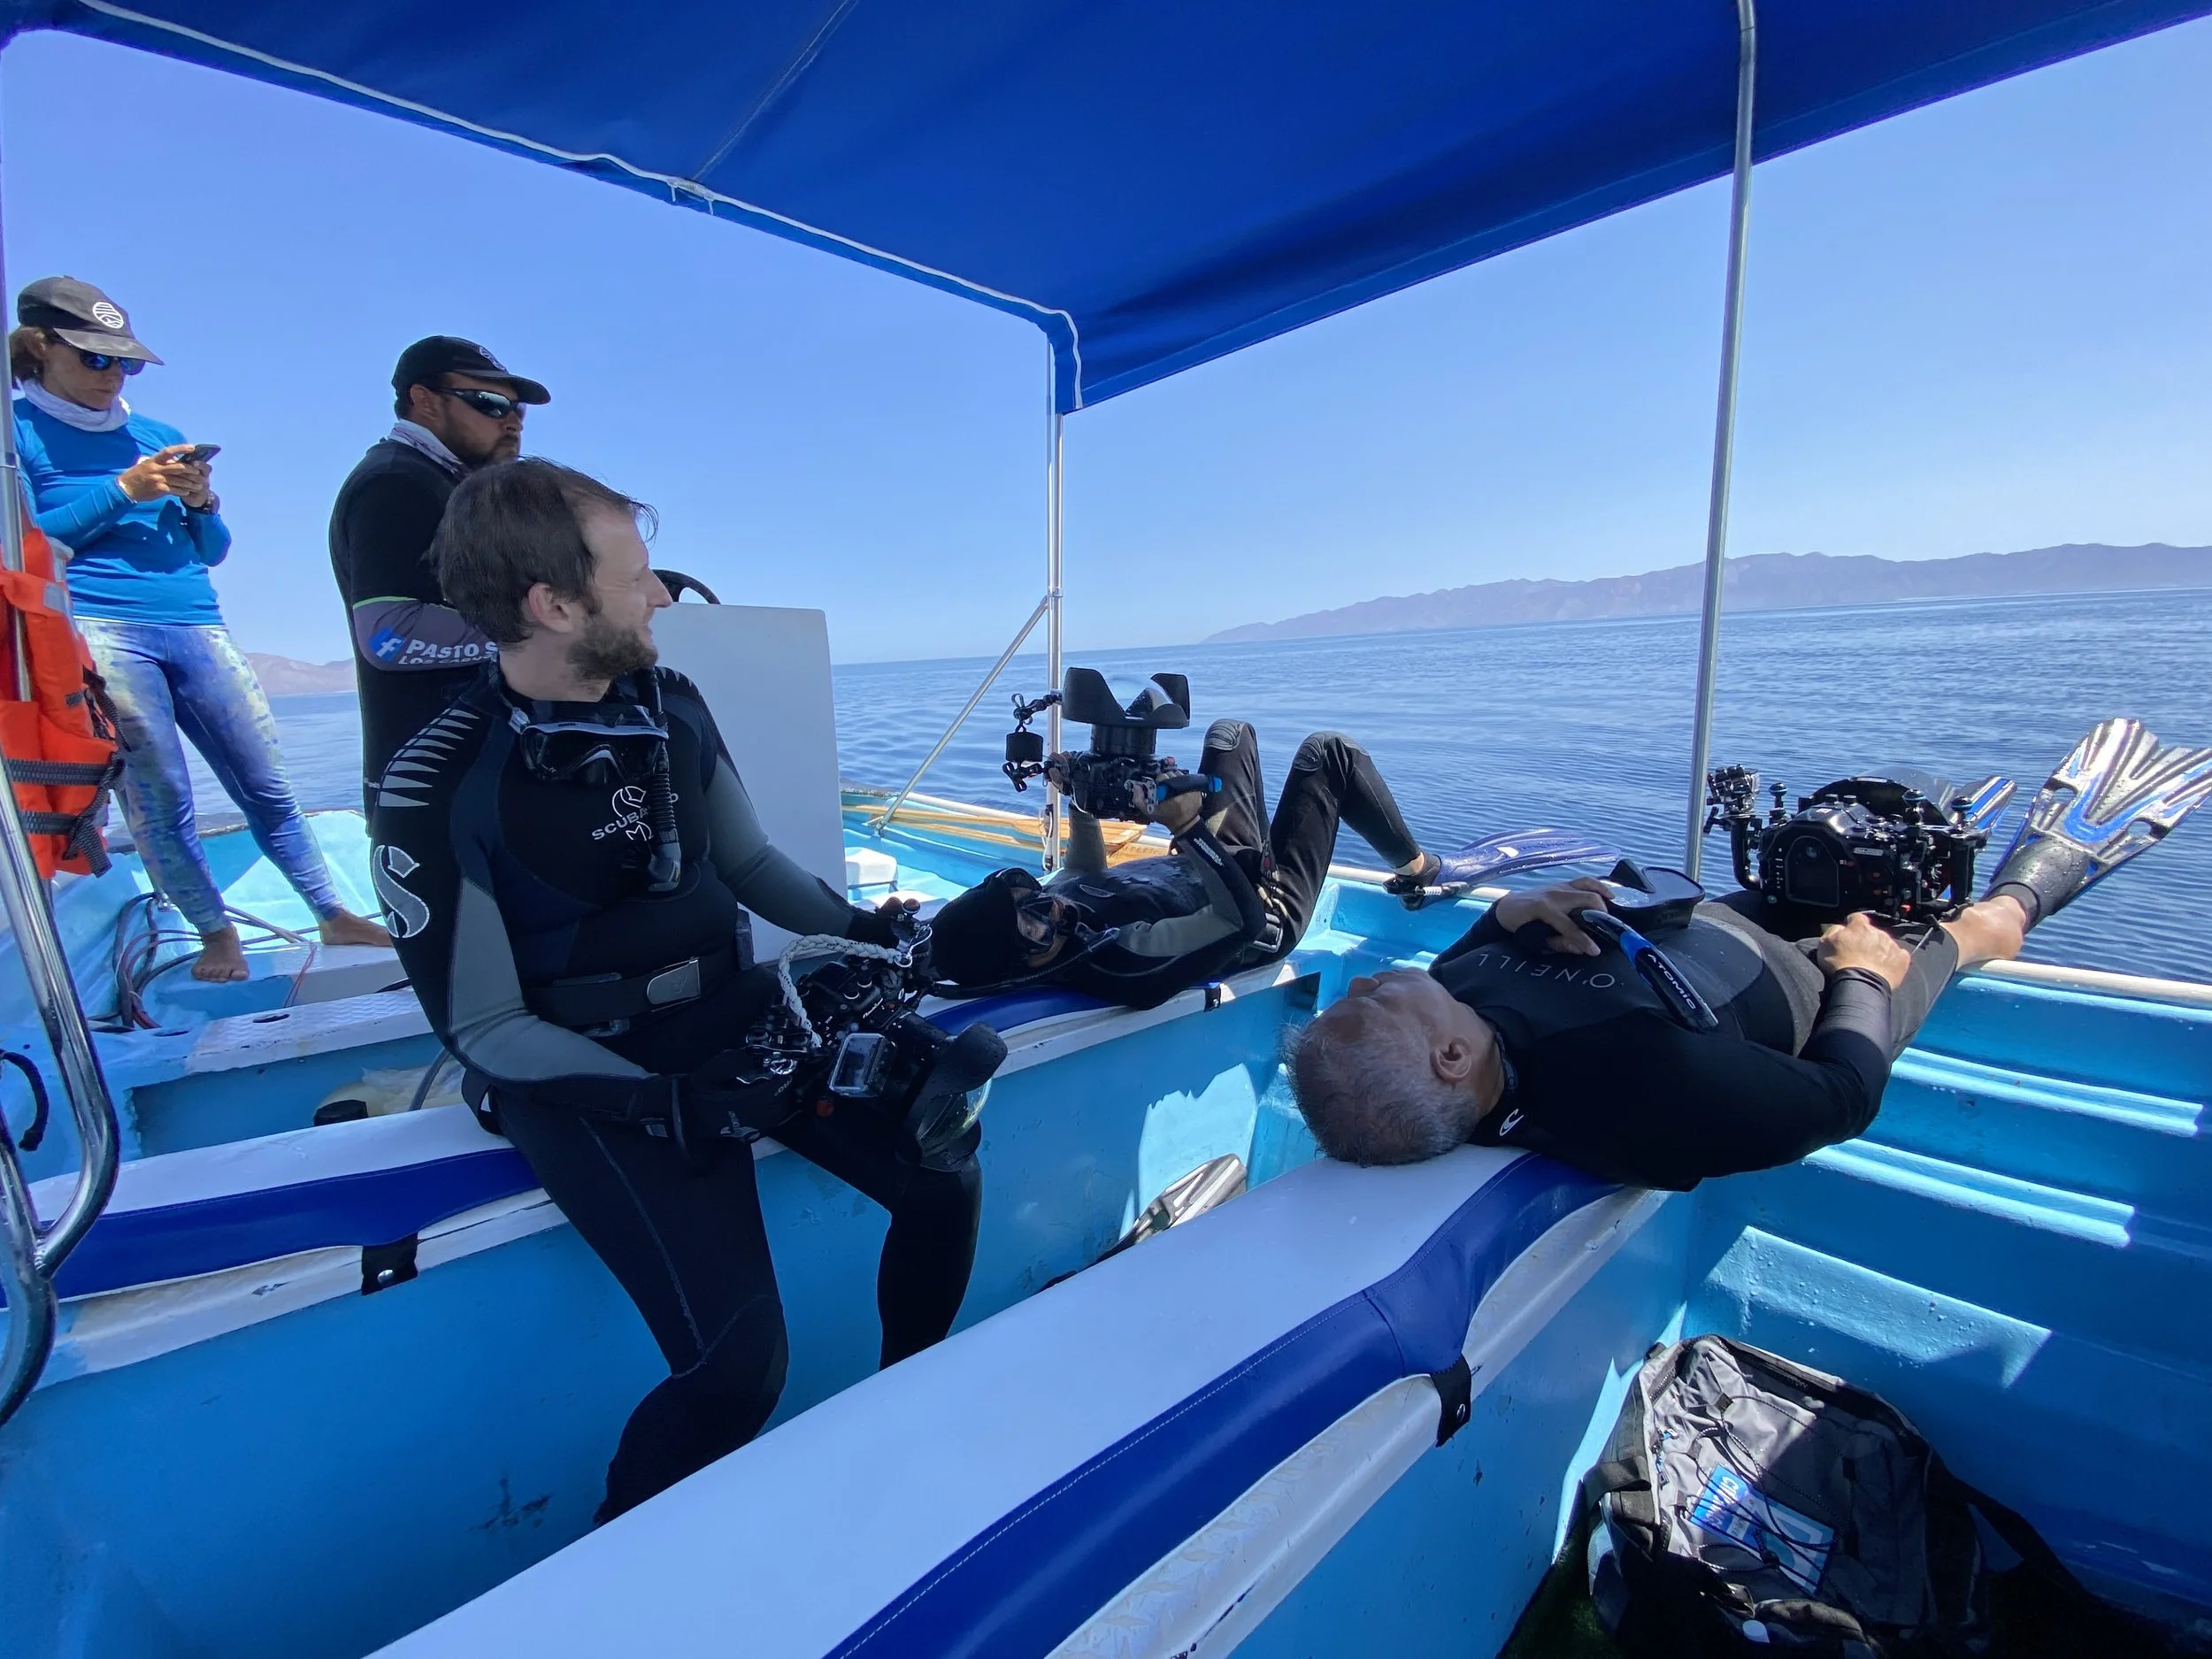
I've shared boats with fishermen.
I've been welcomed into homes, communities, and cultures all over the world.
I've met people who had every reason to ignore a stranger and instead chose to help.
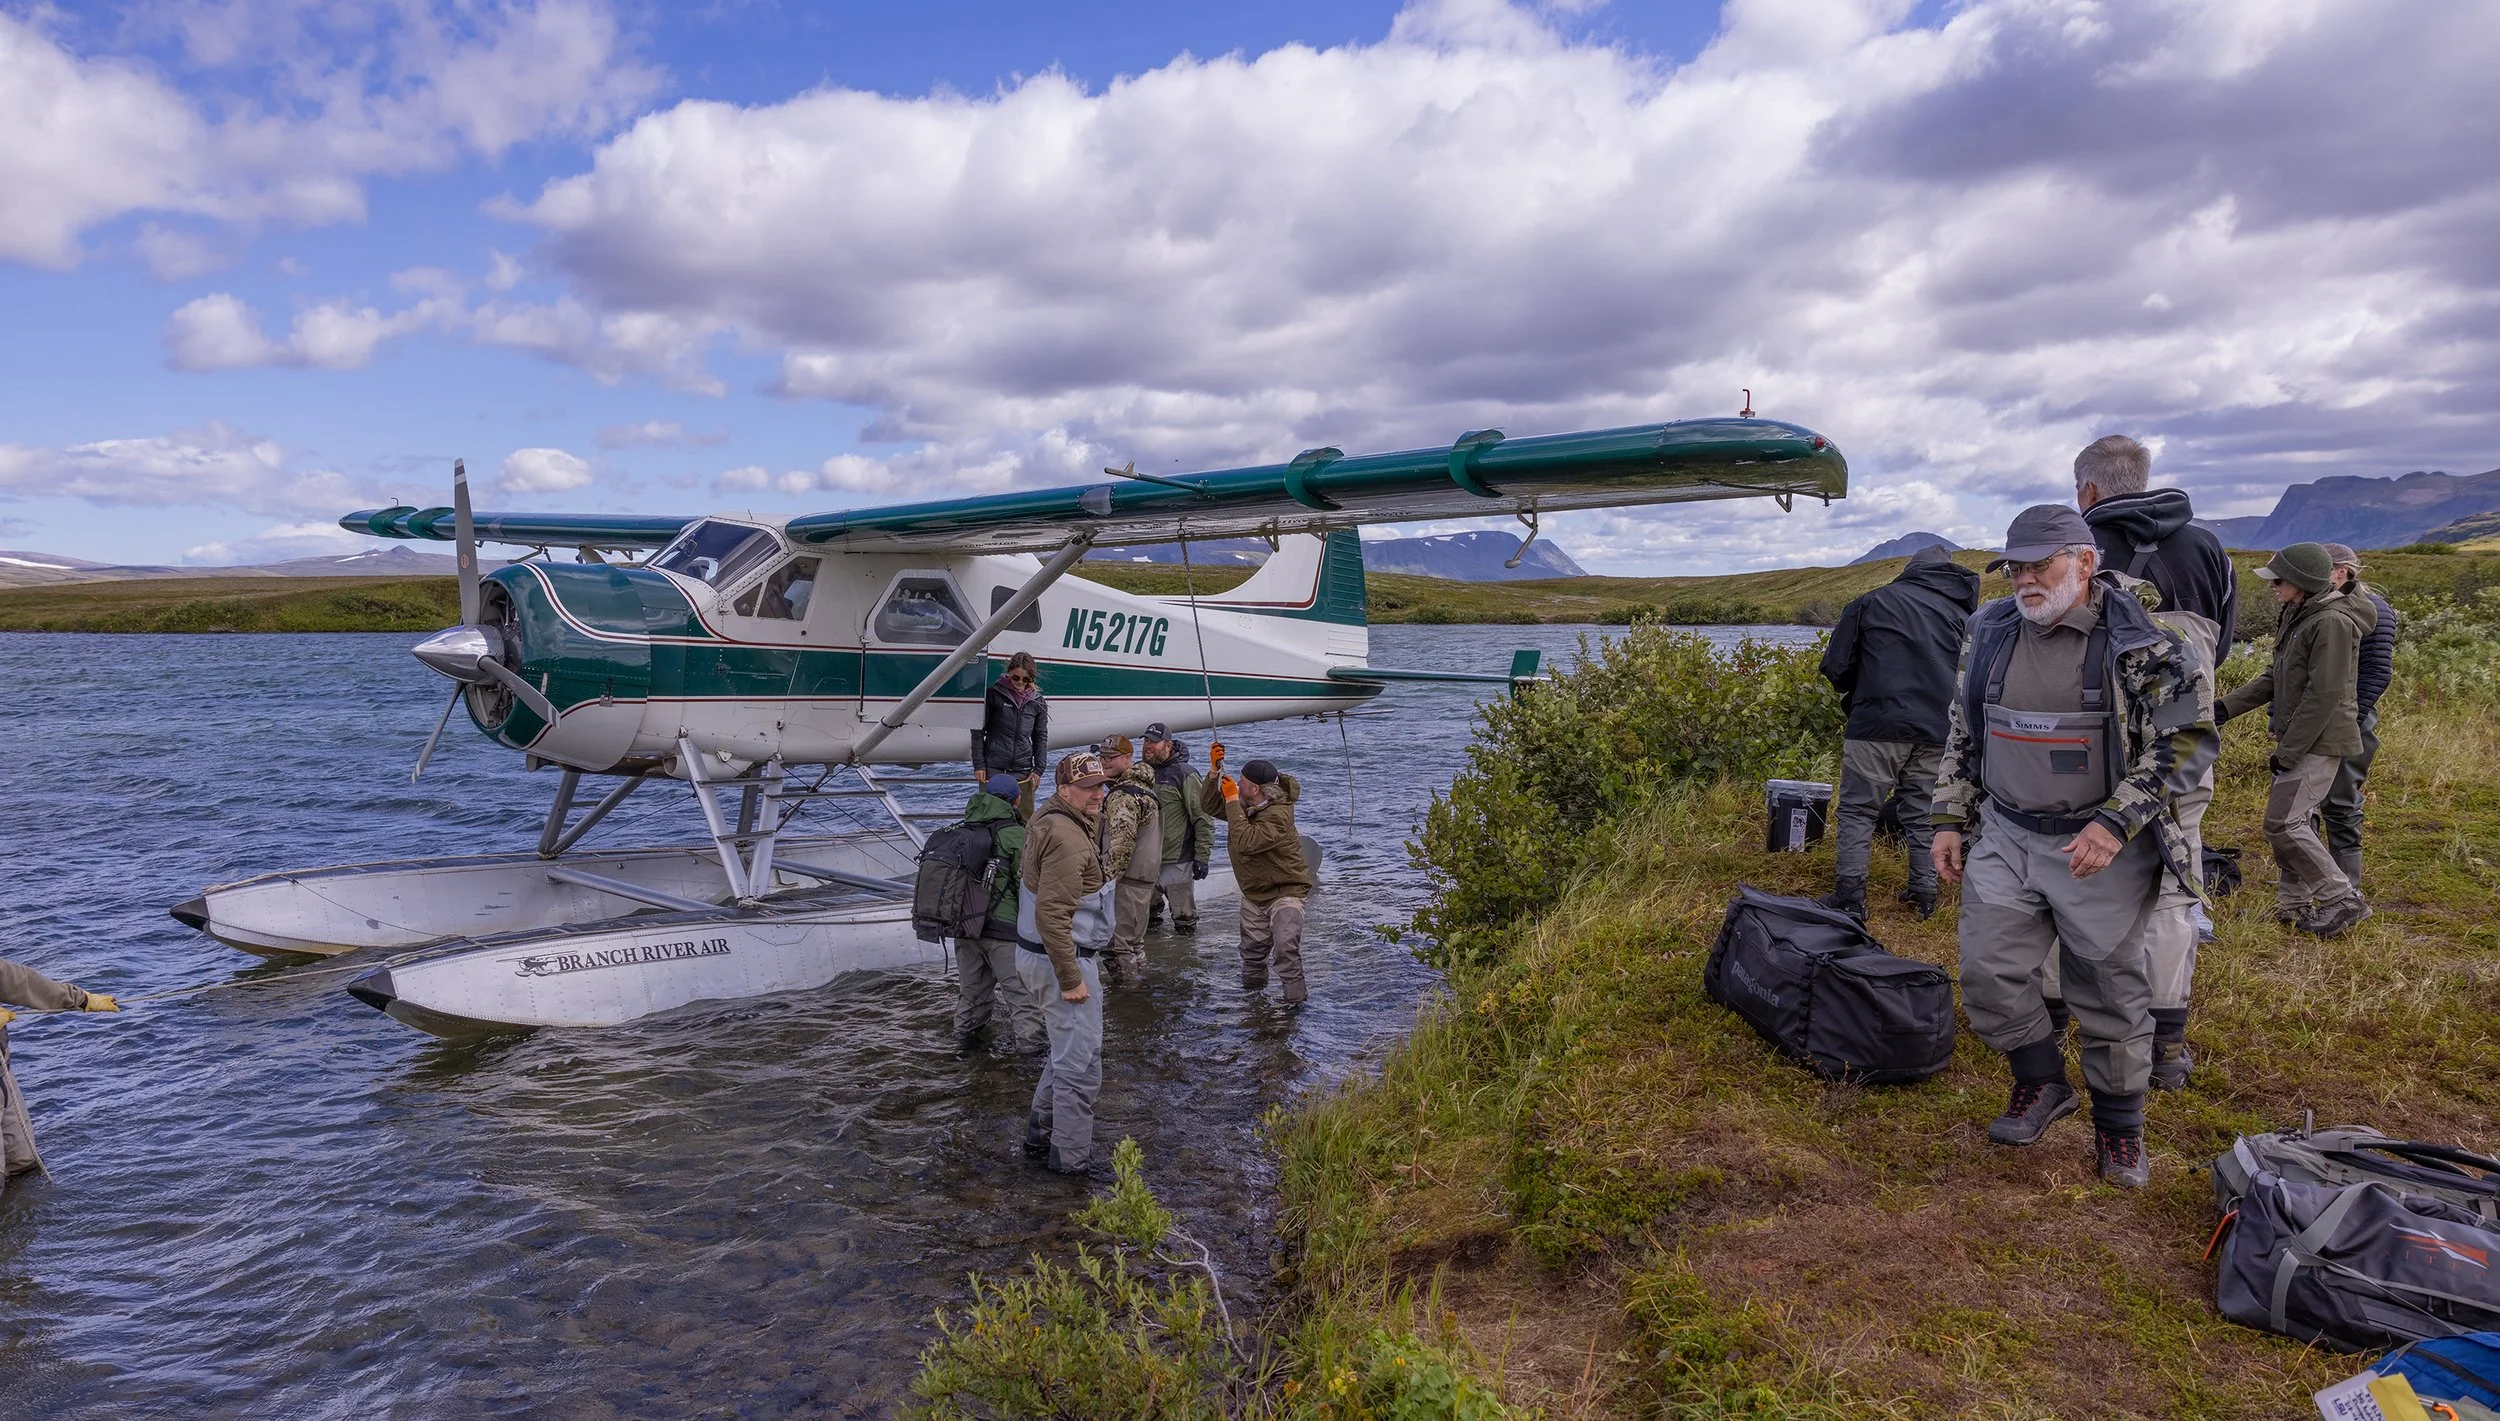
I've watched guides work tirelessly to give guests the experience of a lifetime.
I've seen kindness expressed in languages I couldn't understand.
What I've discovered is that most people are simply trying to live their lives, take care of their families, and find happiness wherever they can.
They're not much different than you and me.
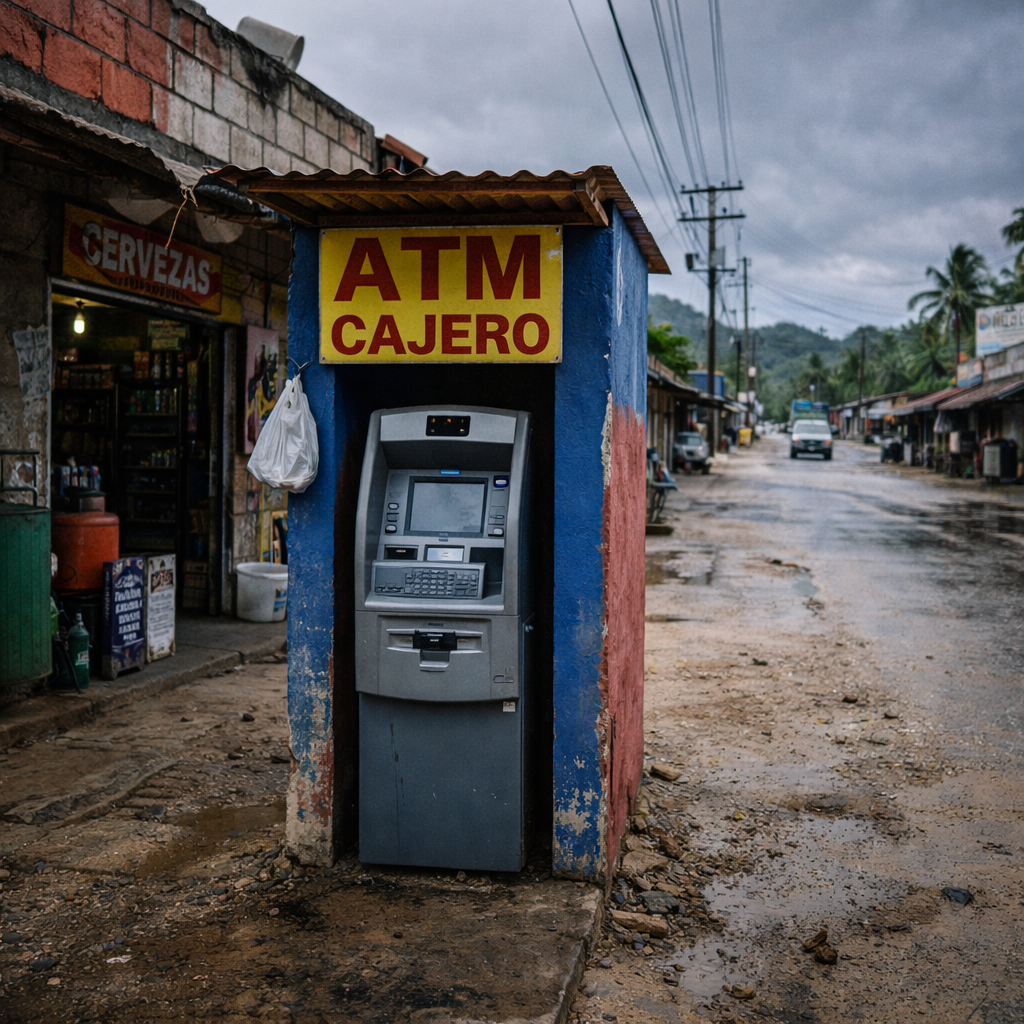
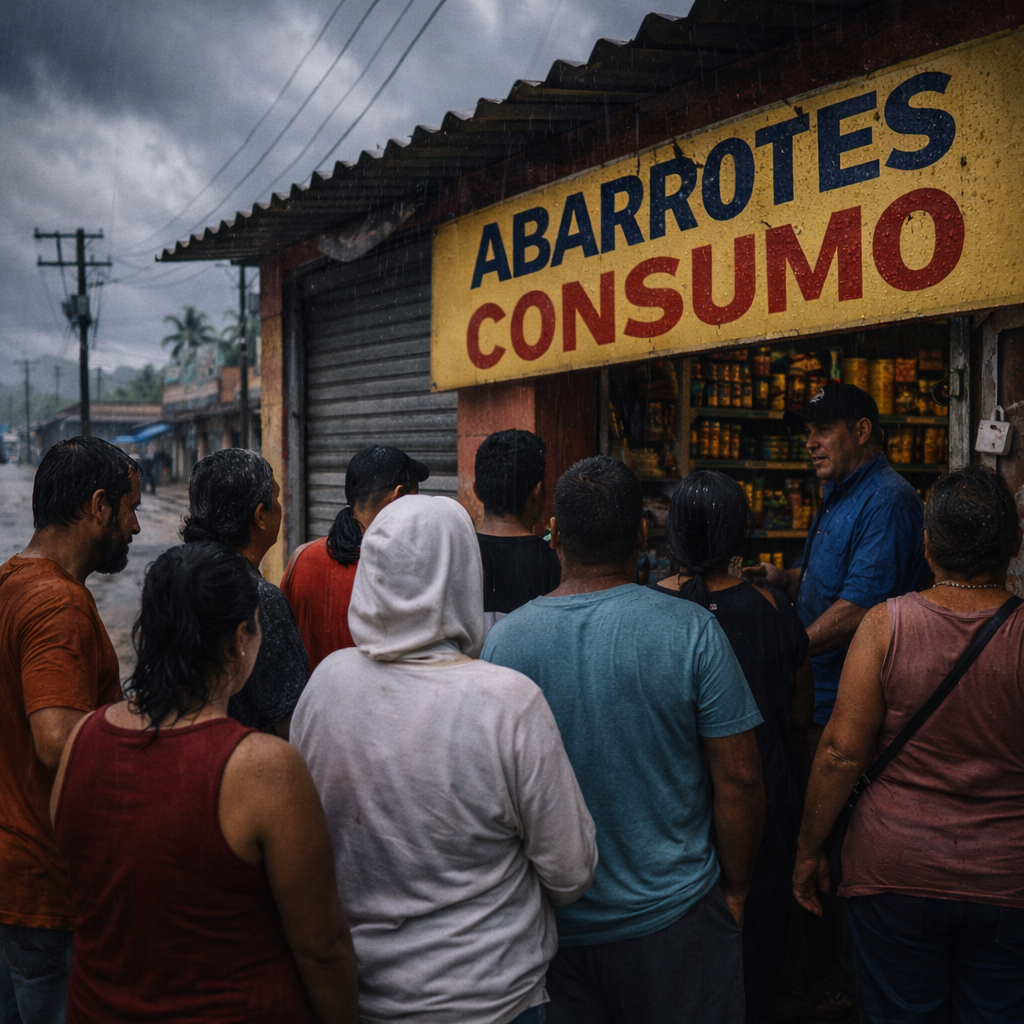
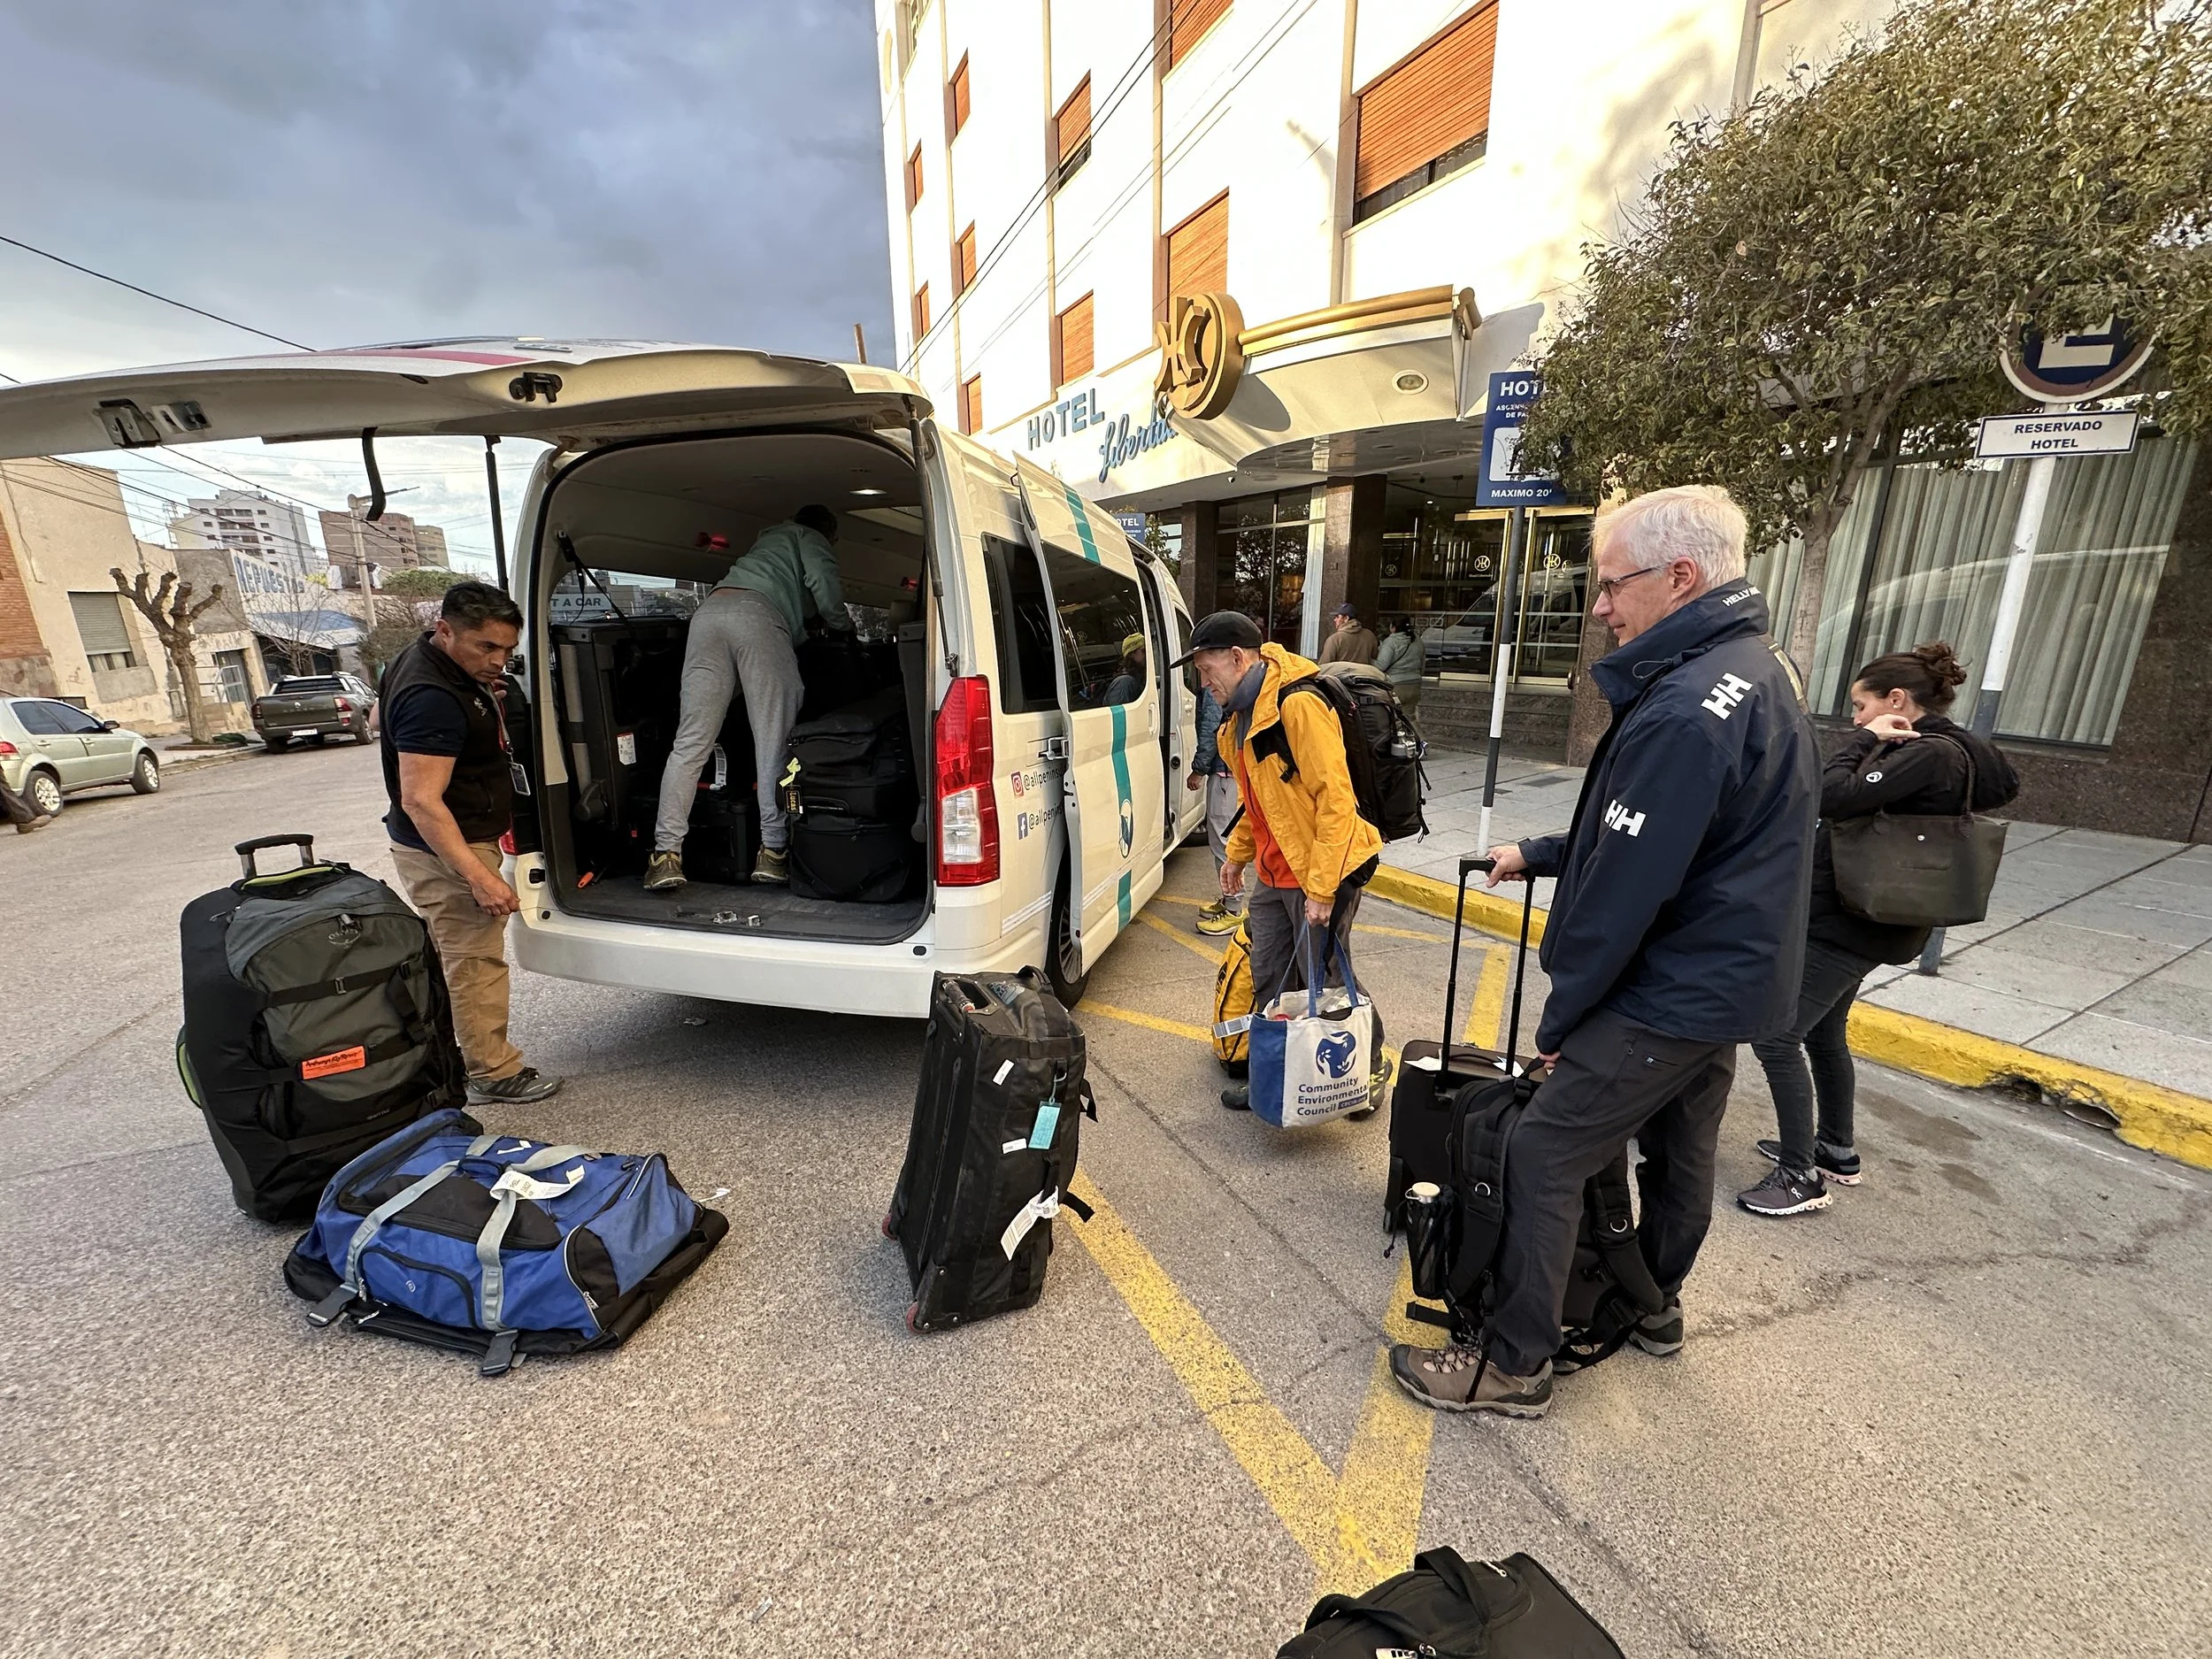
Many of the places we visit on expedition are small communities built around wildlife and tourism.
These aren't places filled with people looking for trouble.
They're places filled with people who are proud of their homes and excited to share them with visitors.
And that's exactly what I find.
Magic.
Not because the world is perfect.
Not because danger doesn't exist.
But because I believe travel works a lot like life.
If you spend your days looking for reasons to be afraid, you'll find plenty.
If you spend your days looking for reasons to be angry, you'll find those too.
But if you look for kindness, generosity, beauty, adventure, and connection, you'll find those as well.
The world tends to reveal what we're paying attention to.
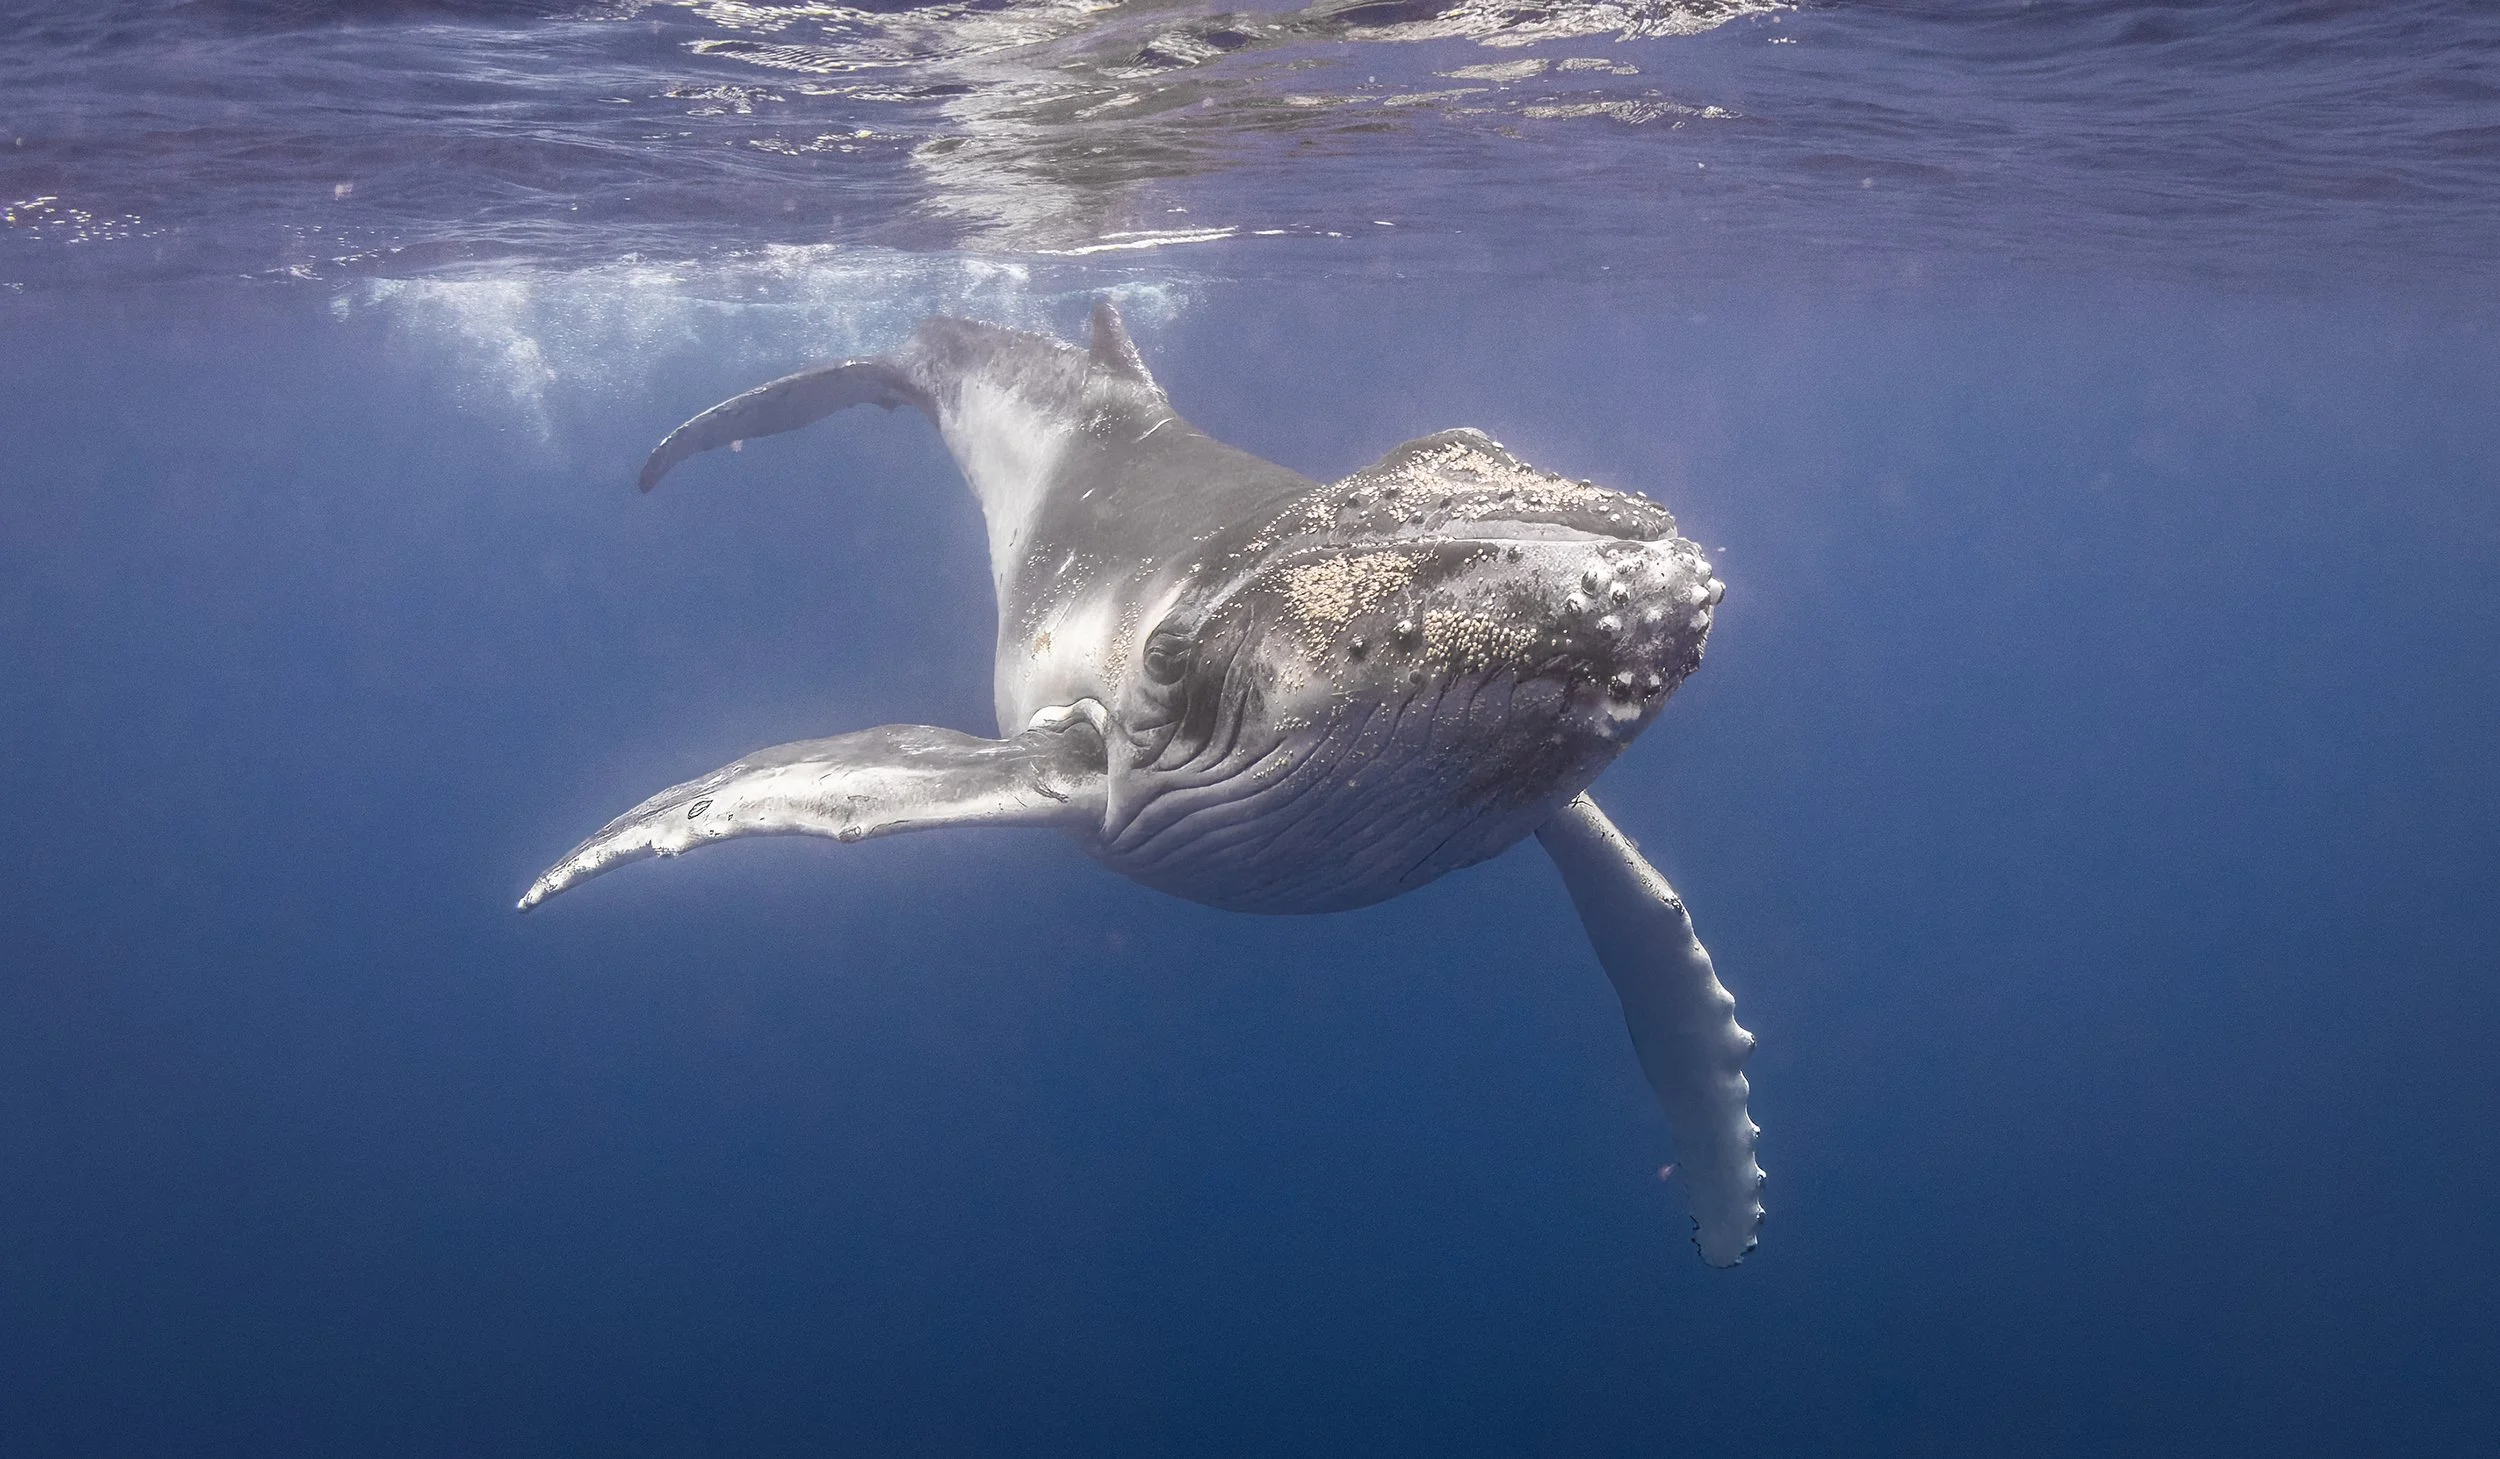
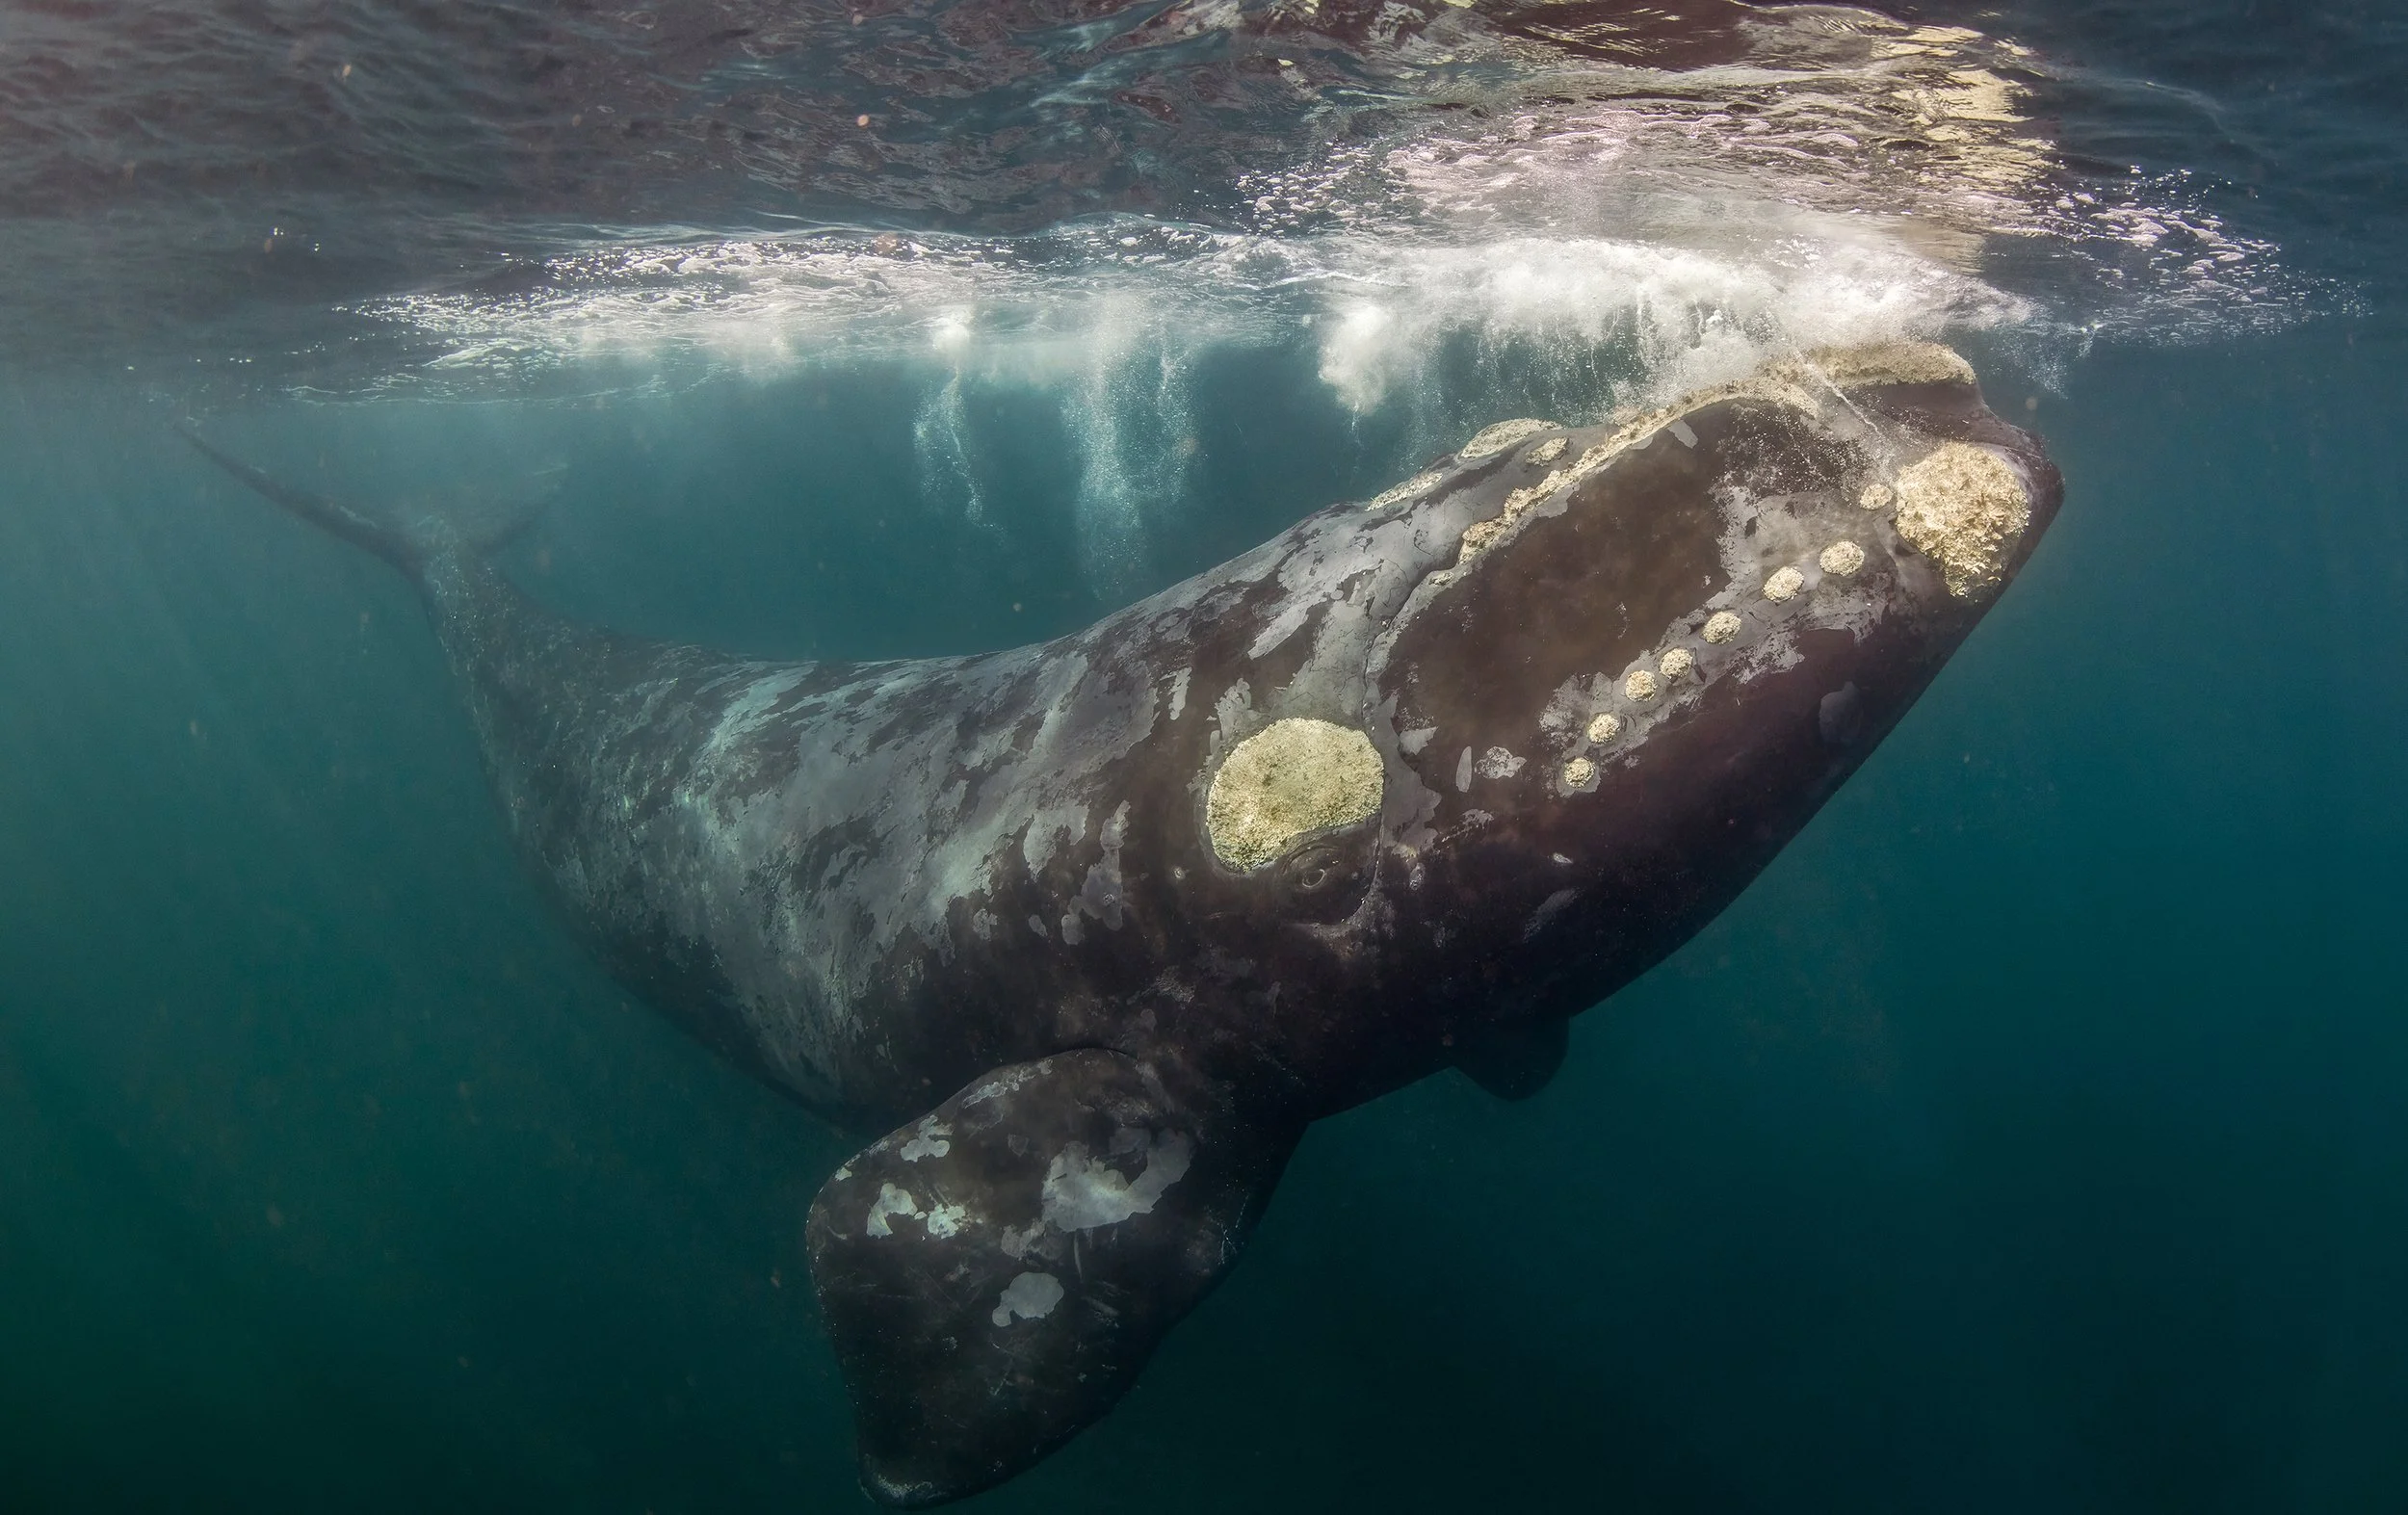
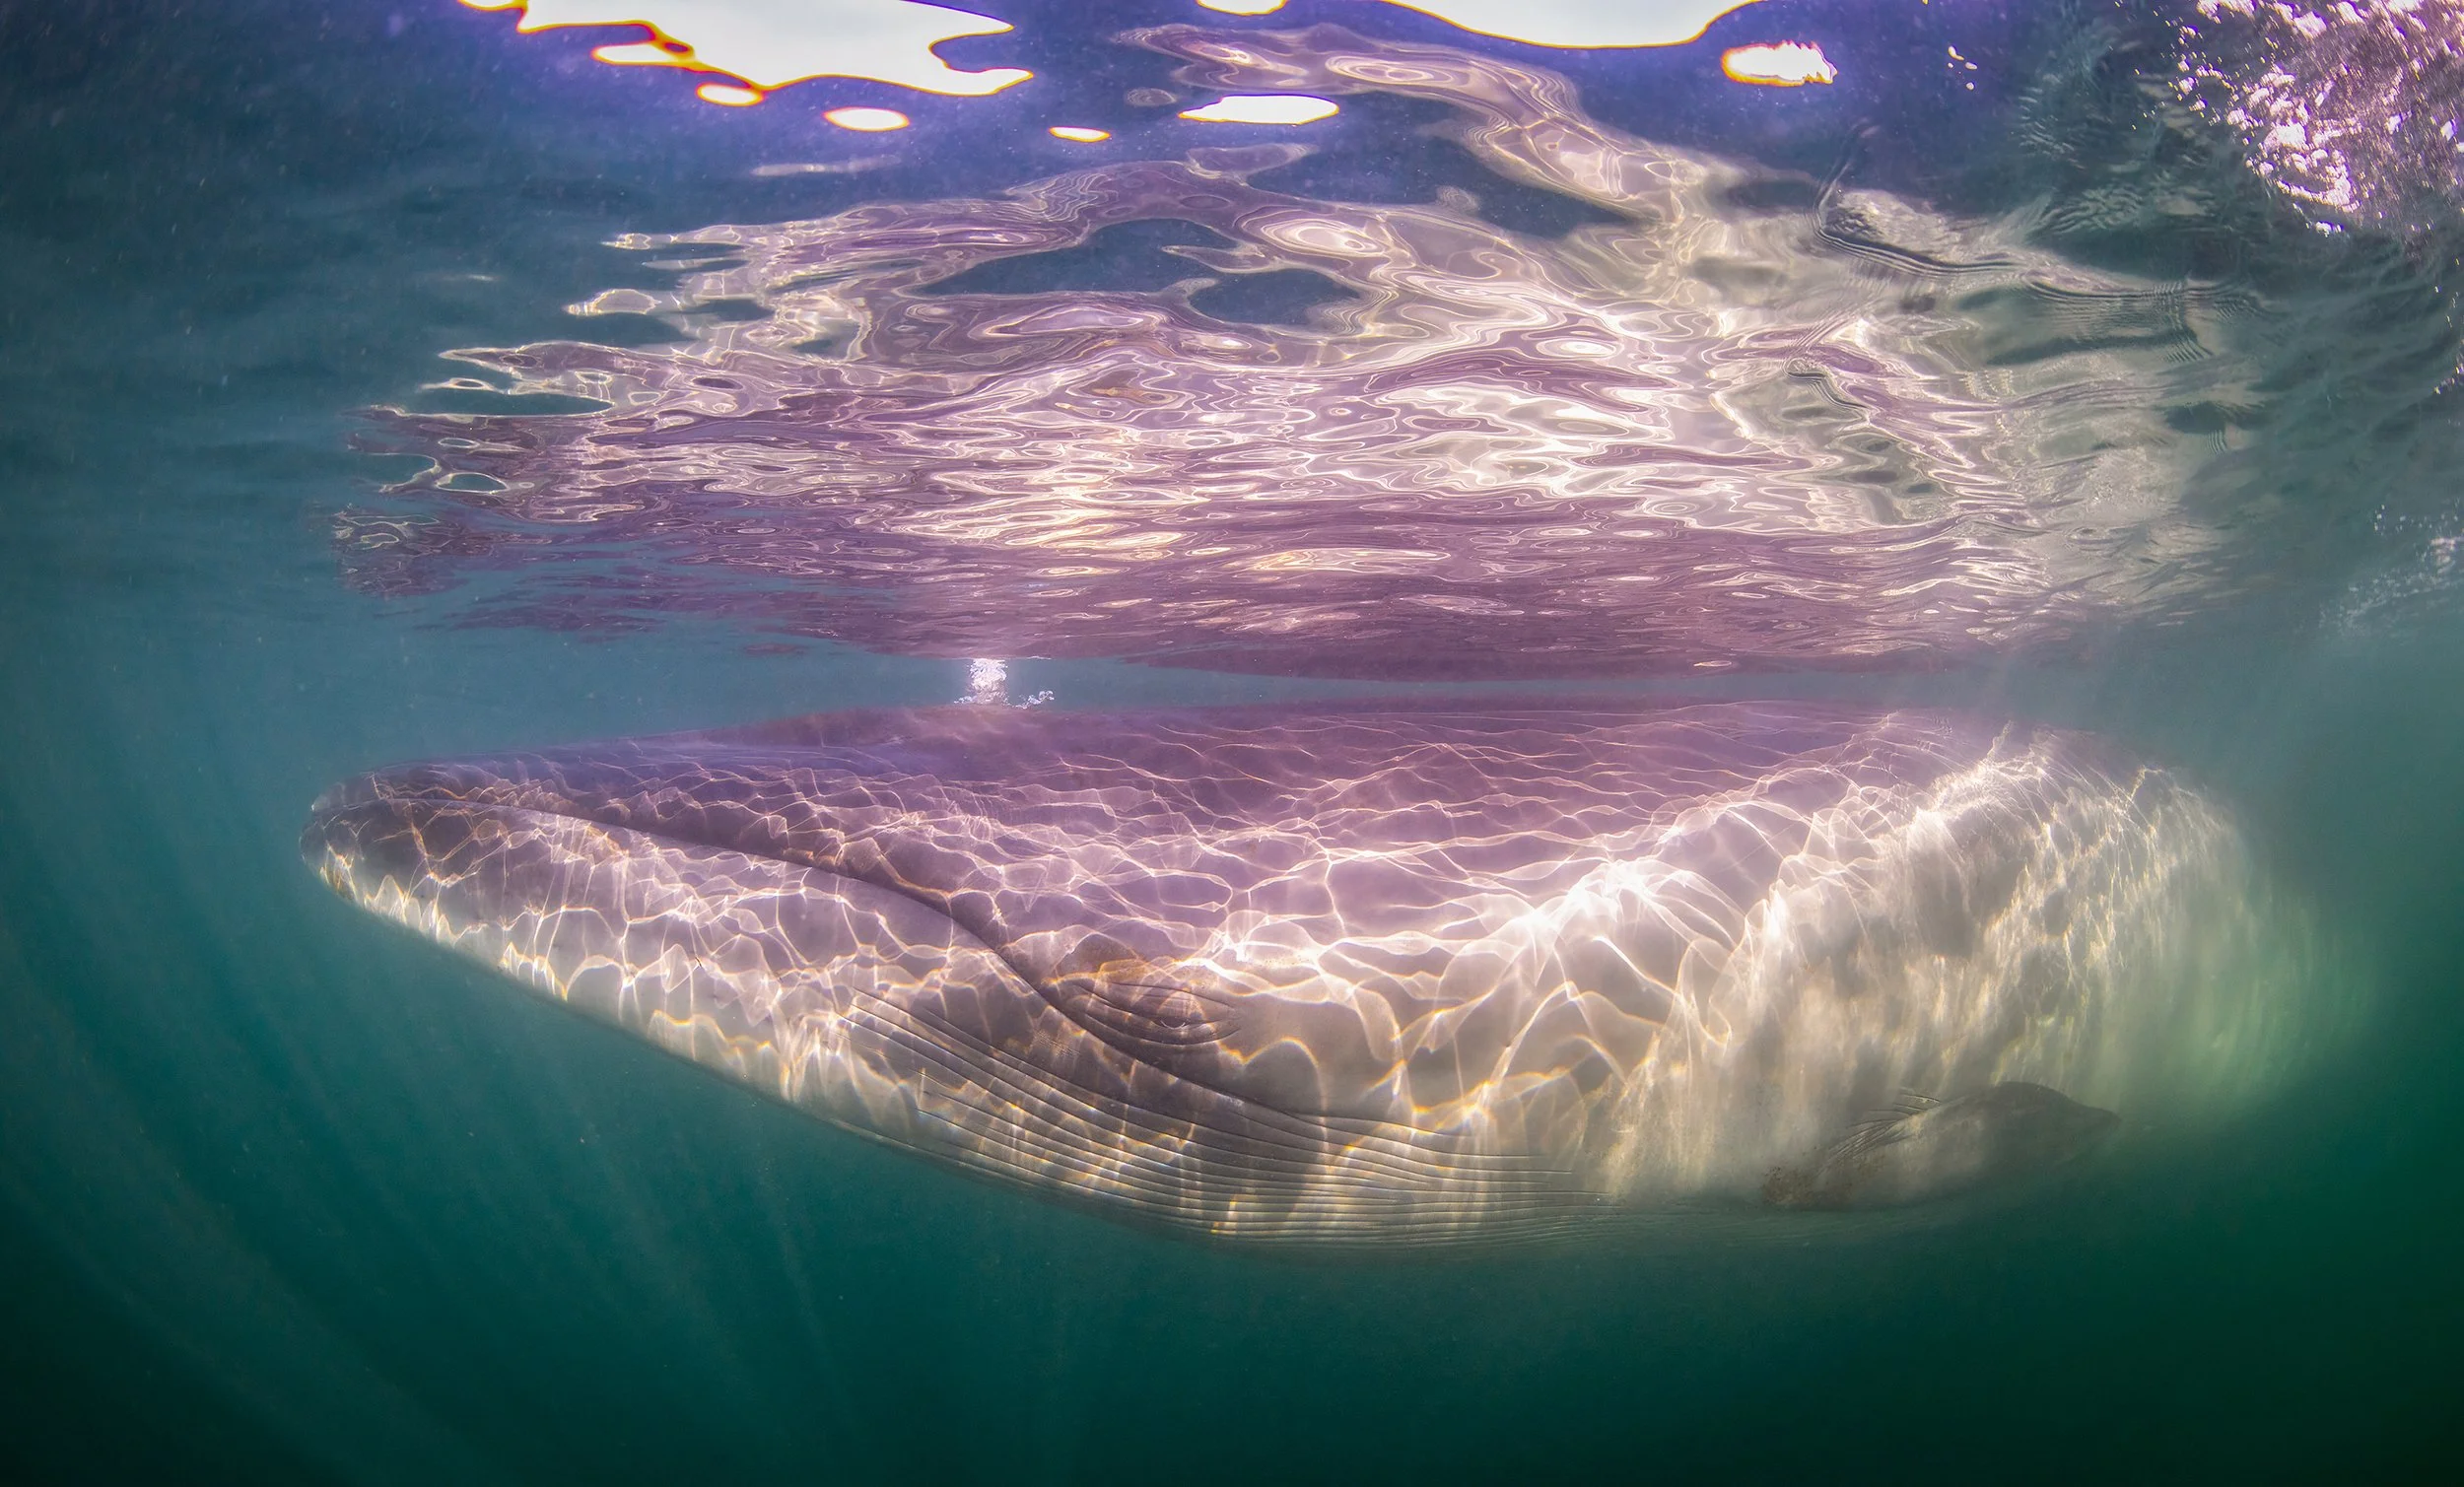
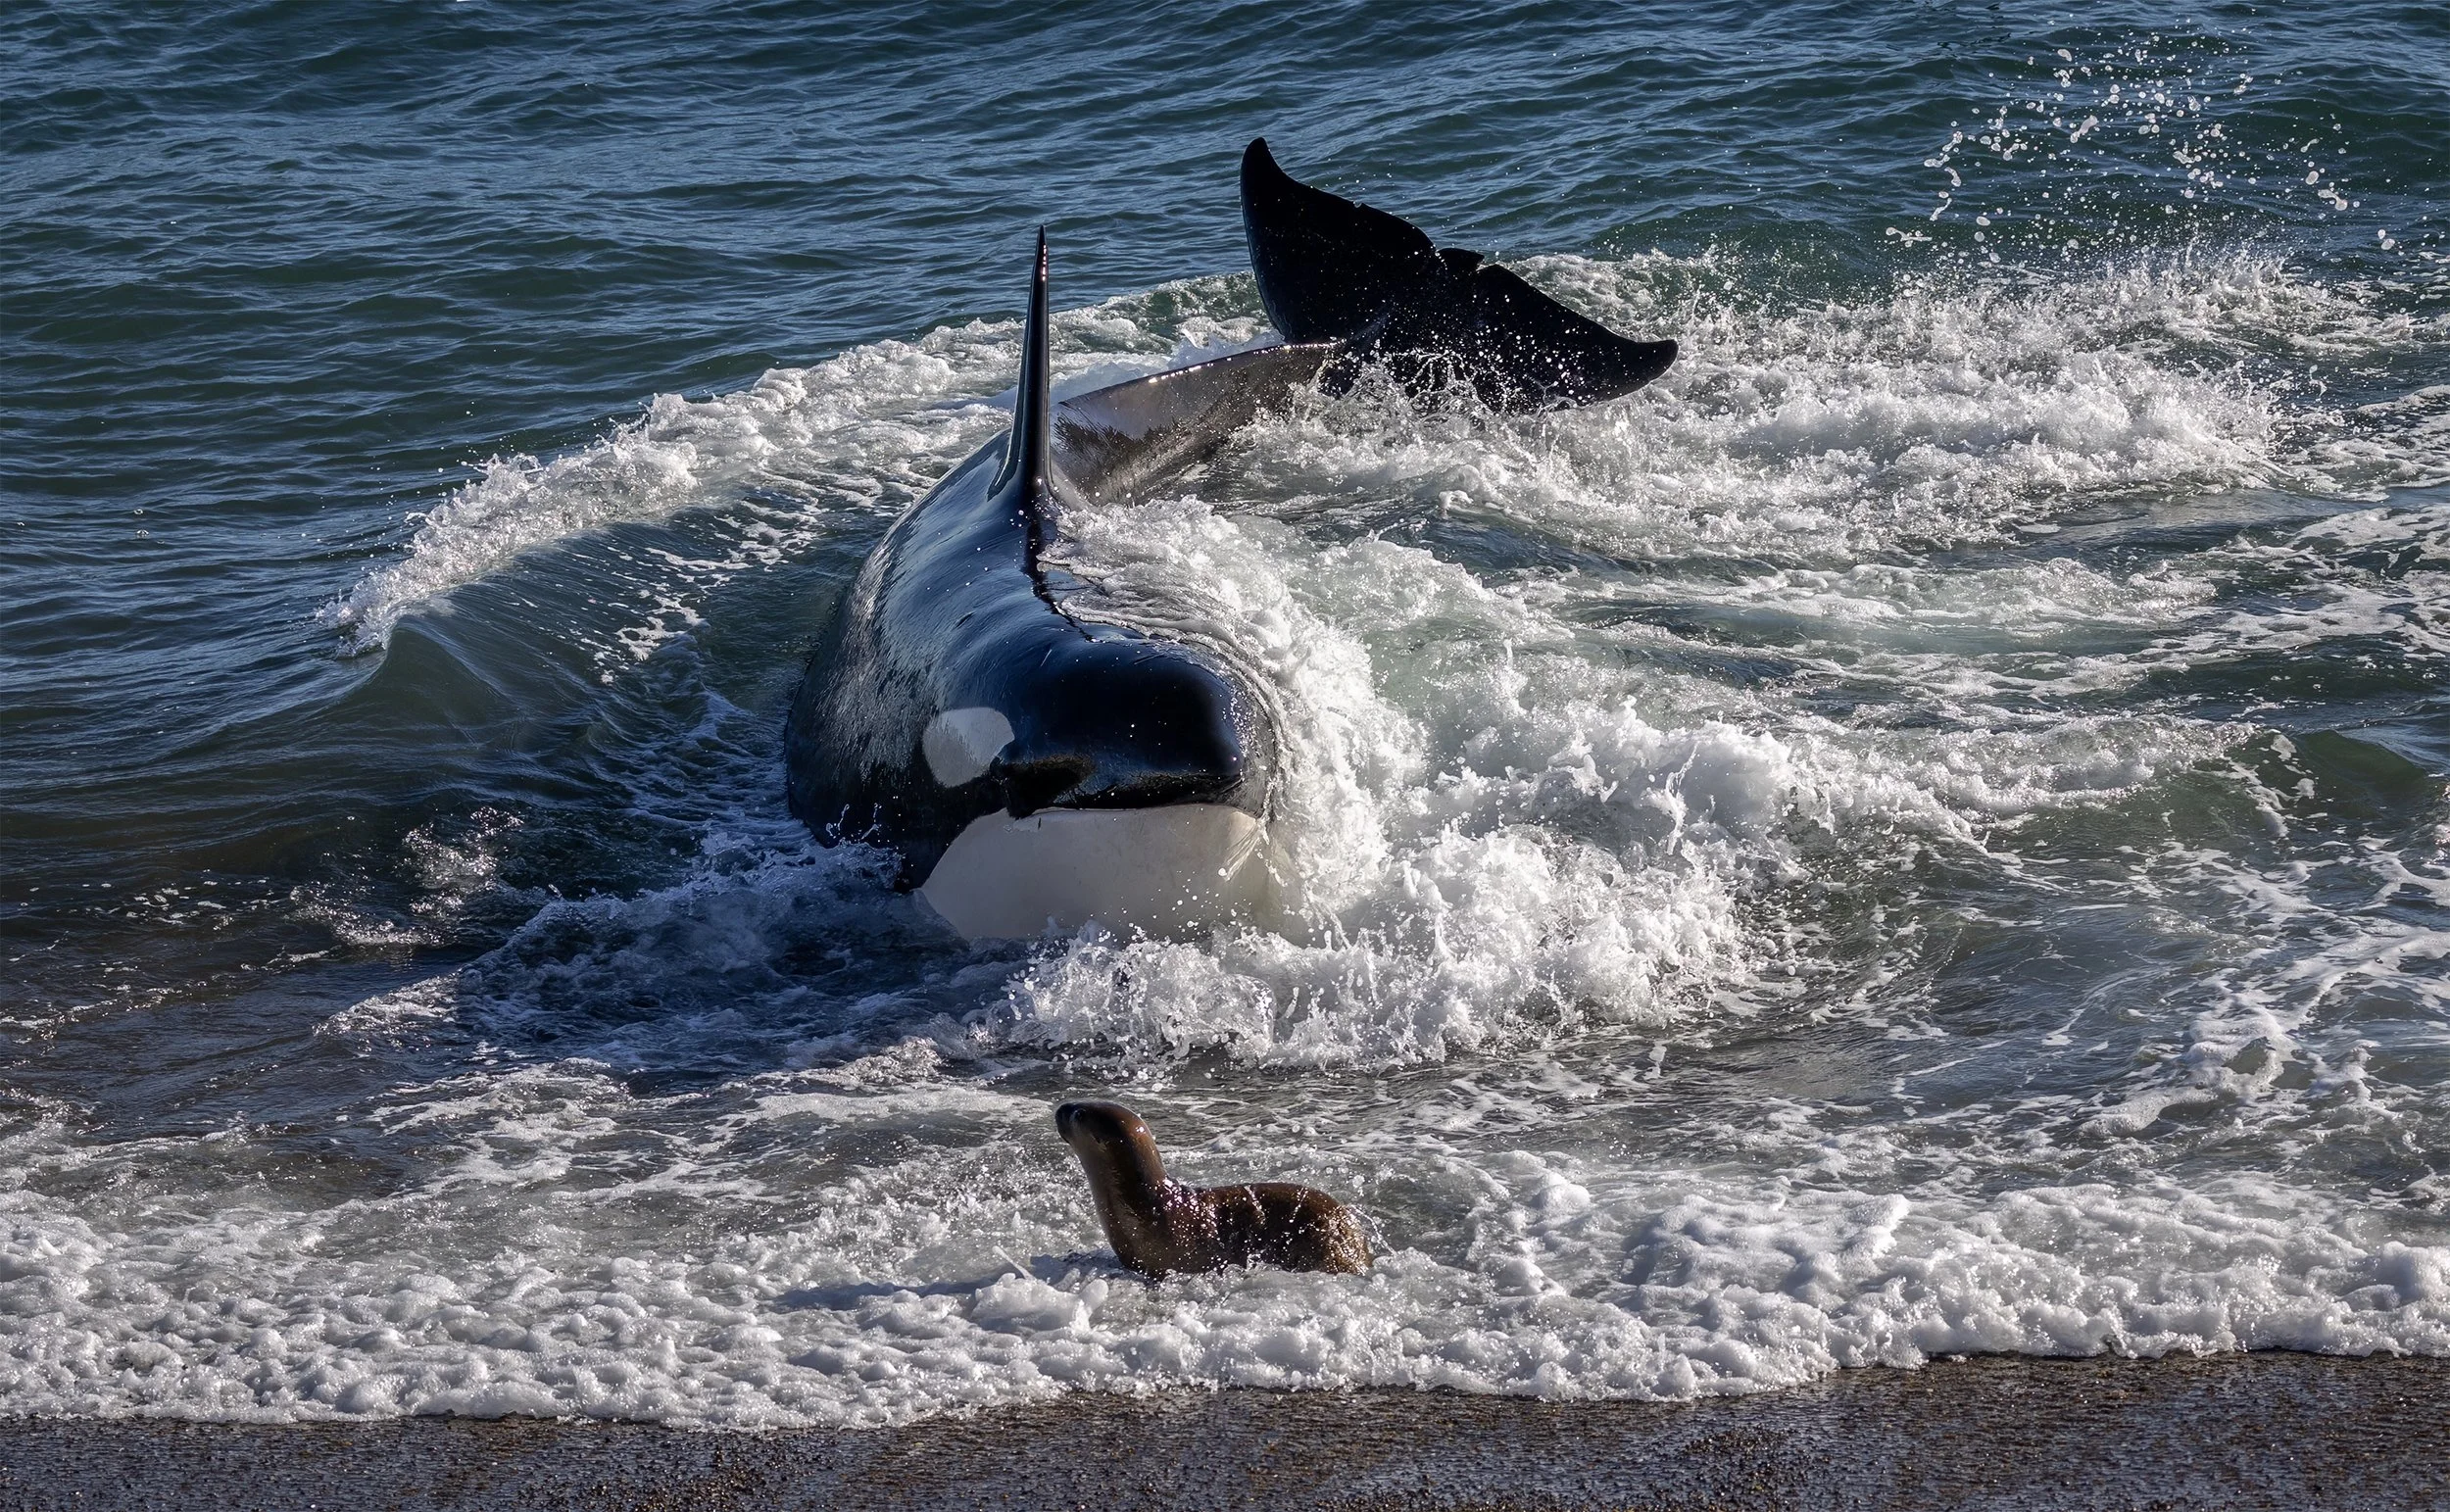
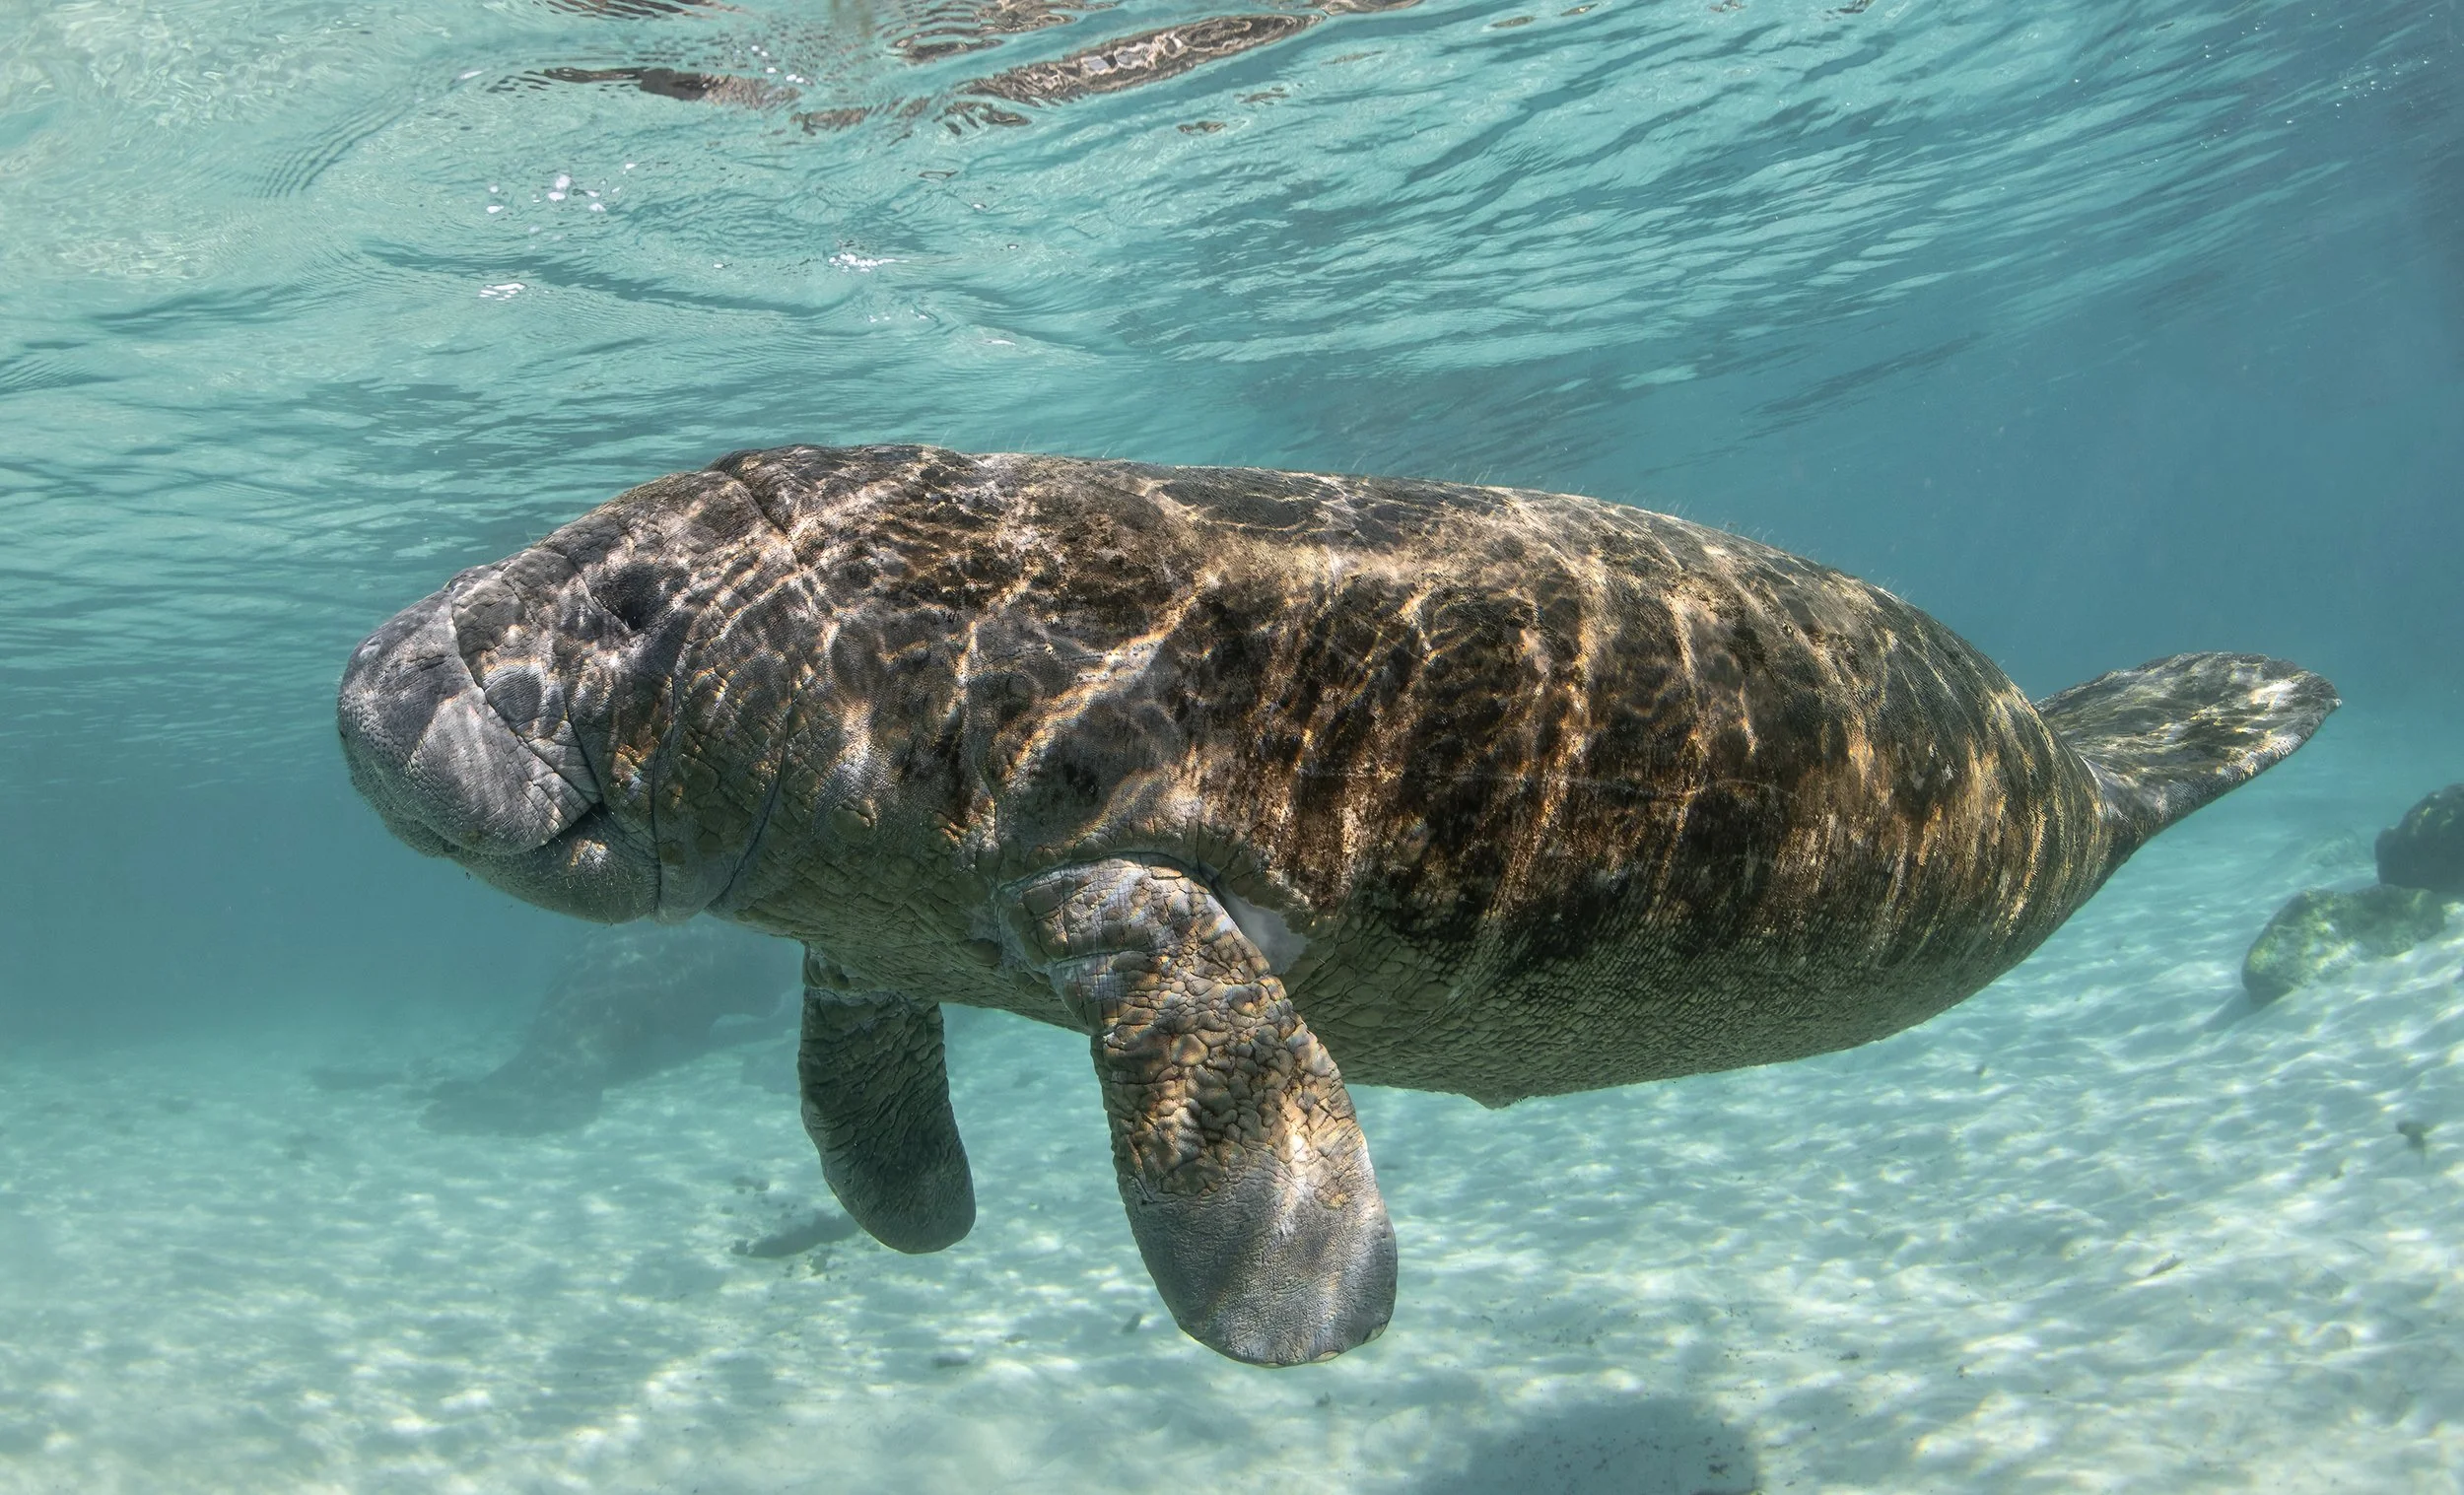
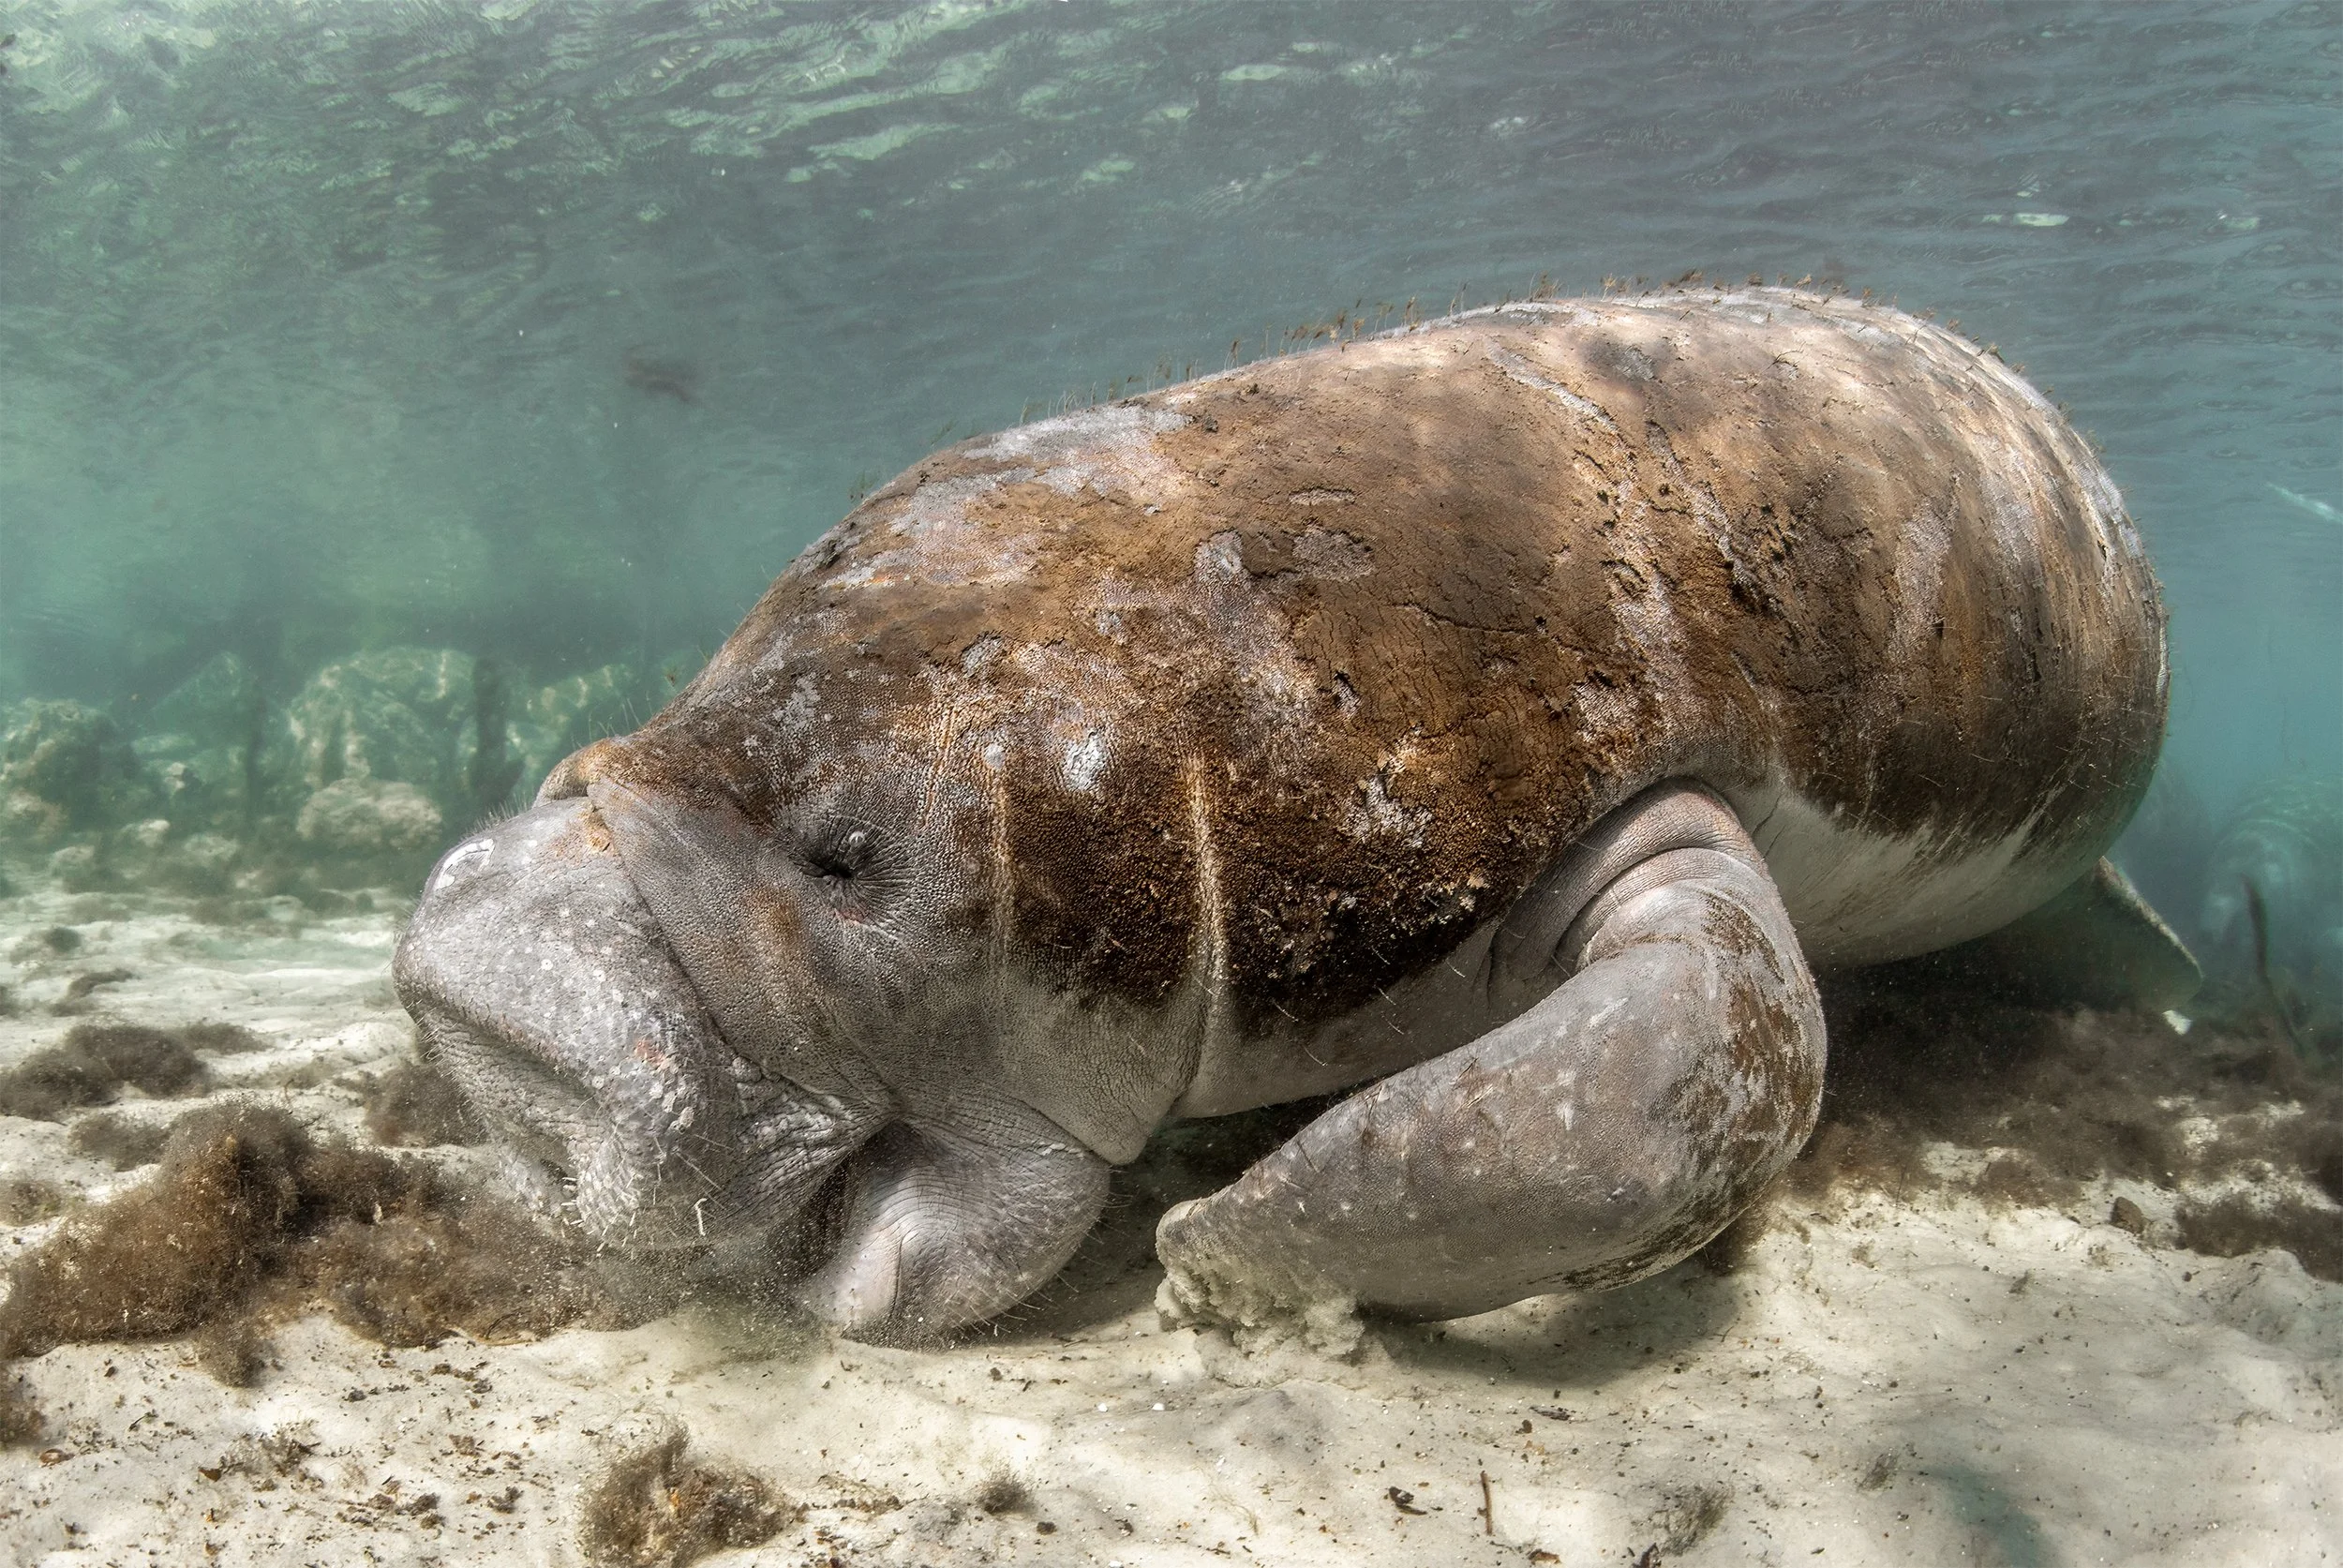
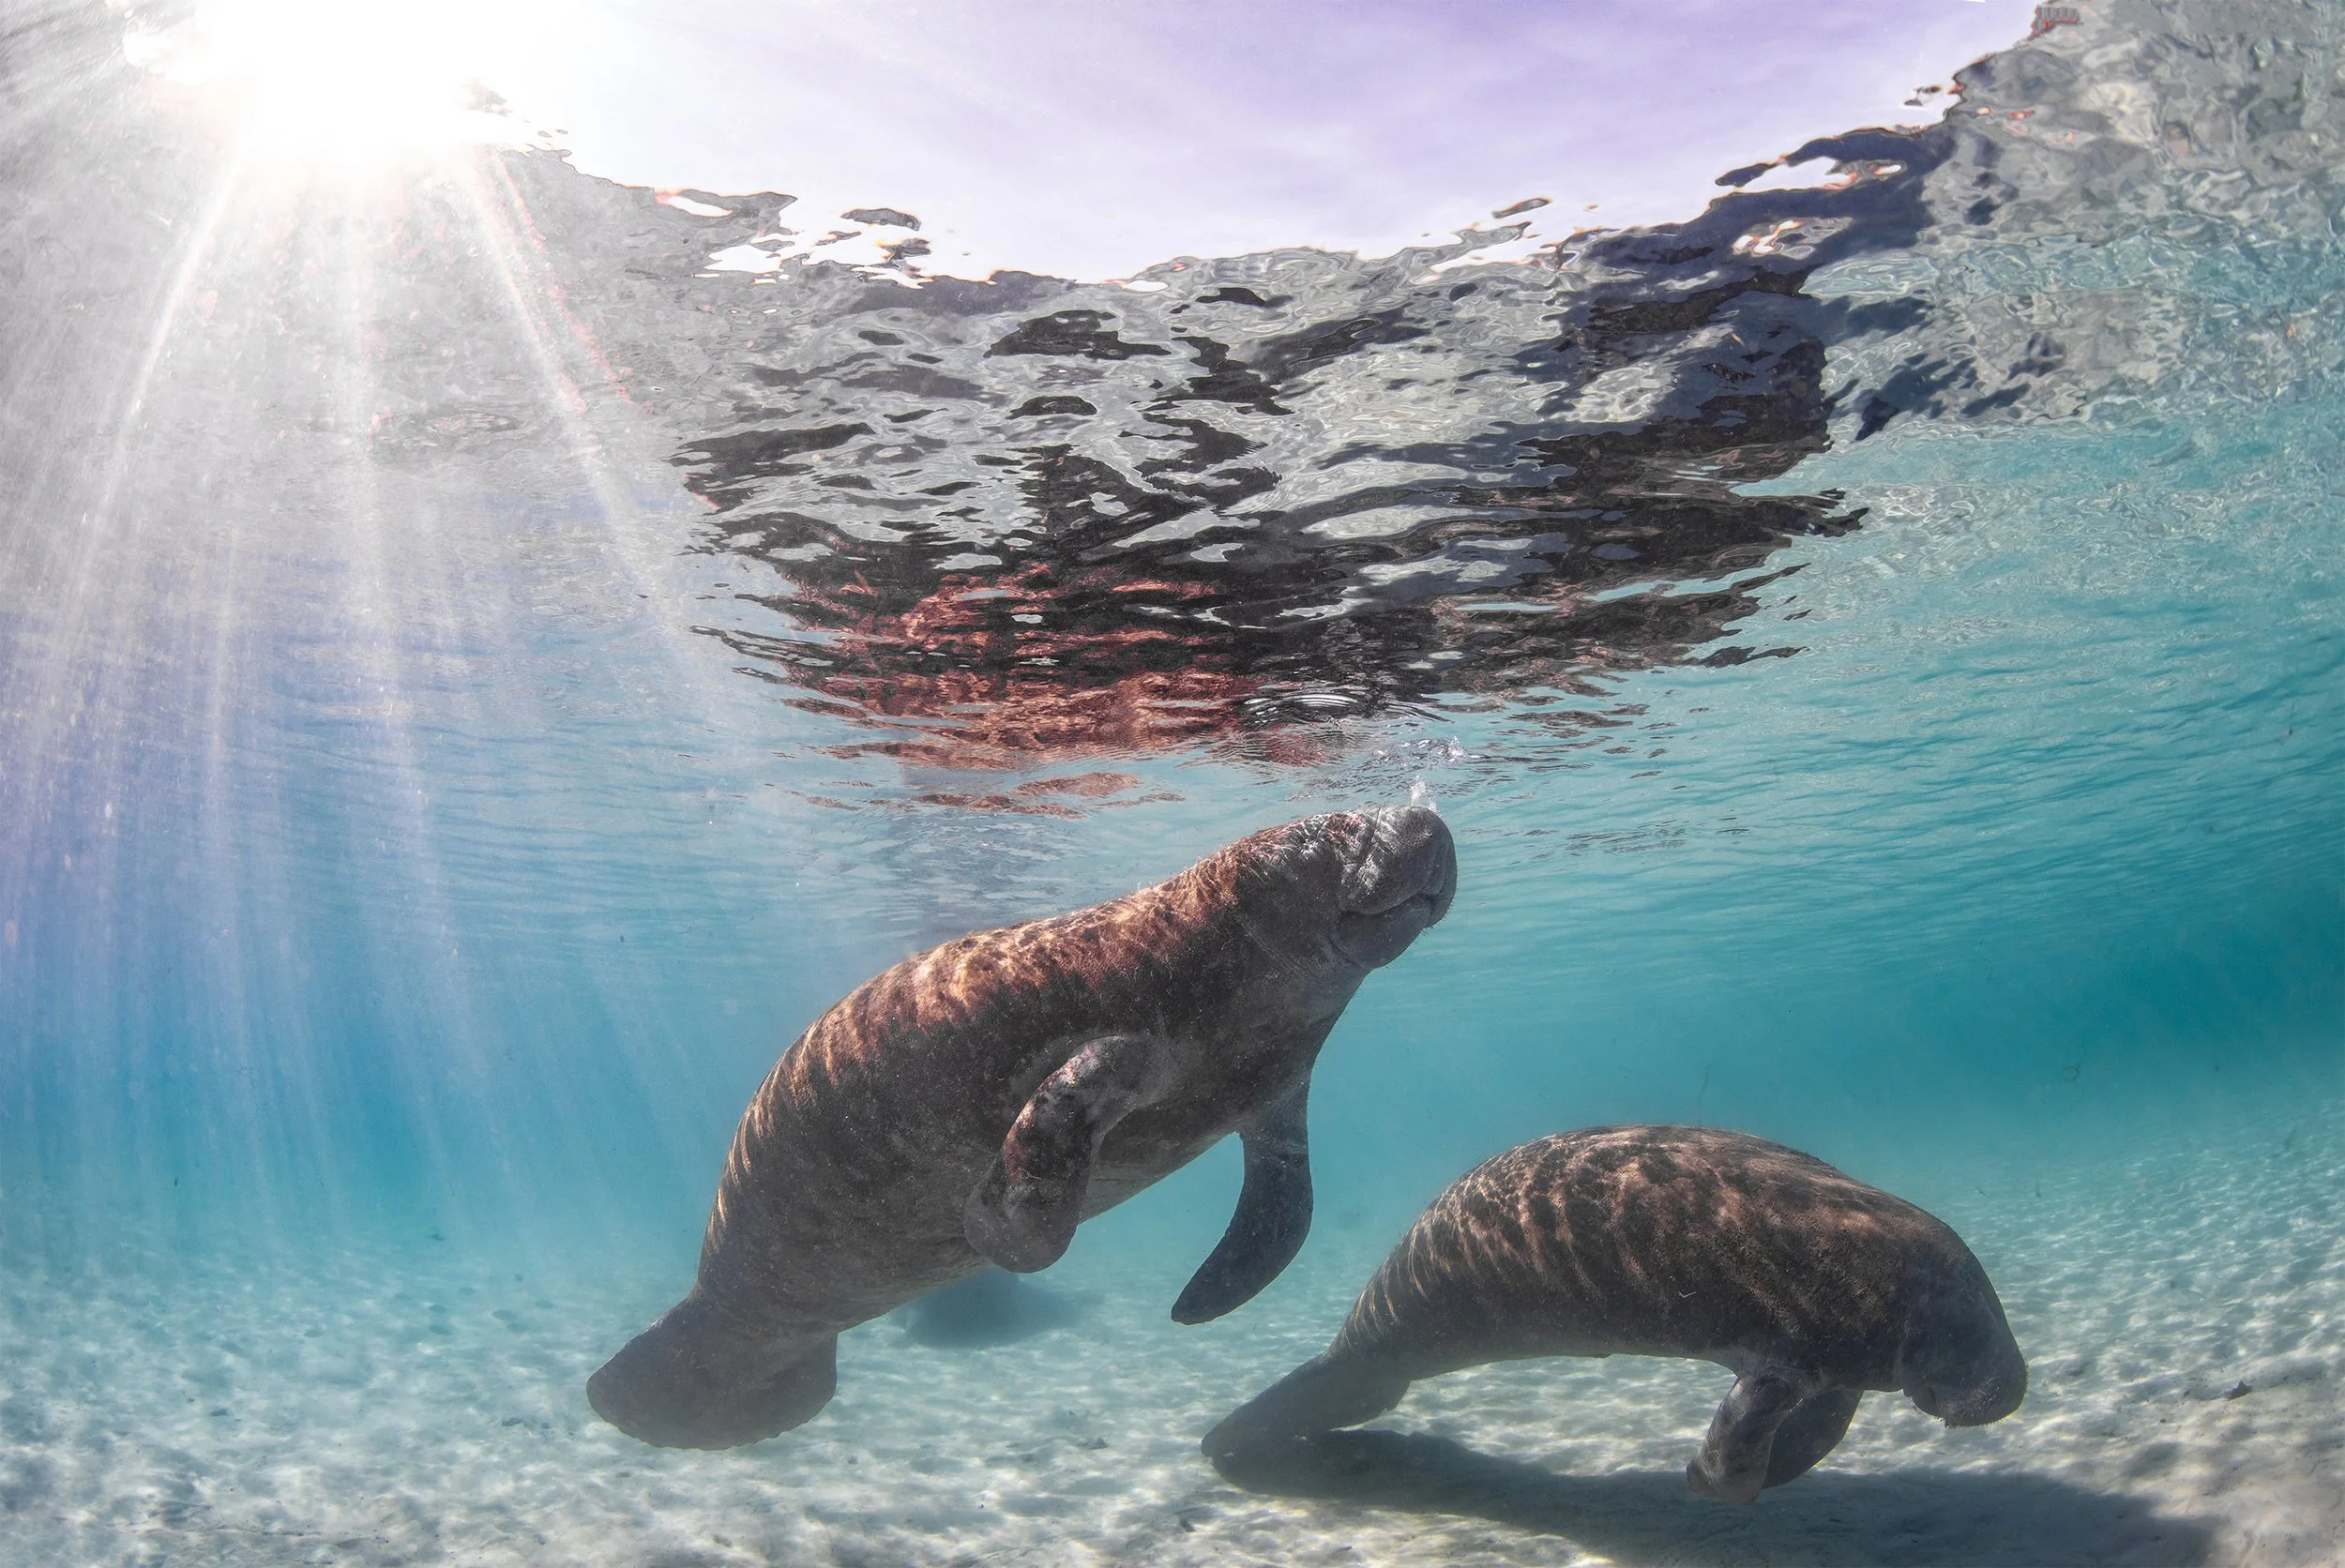
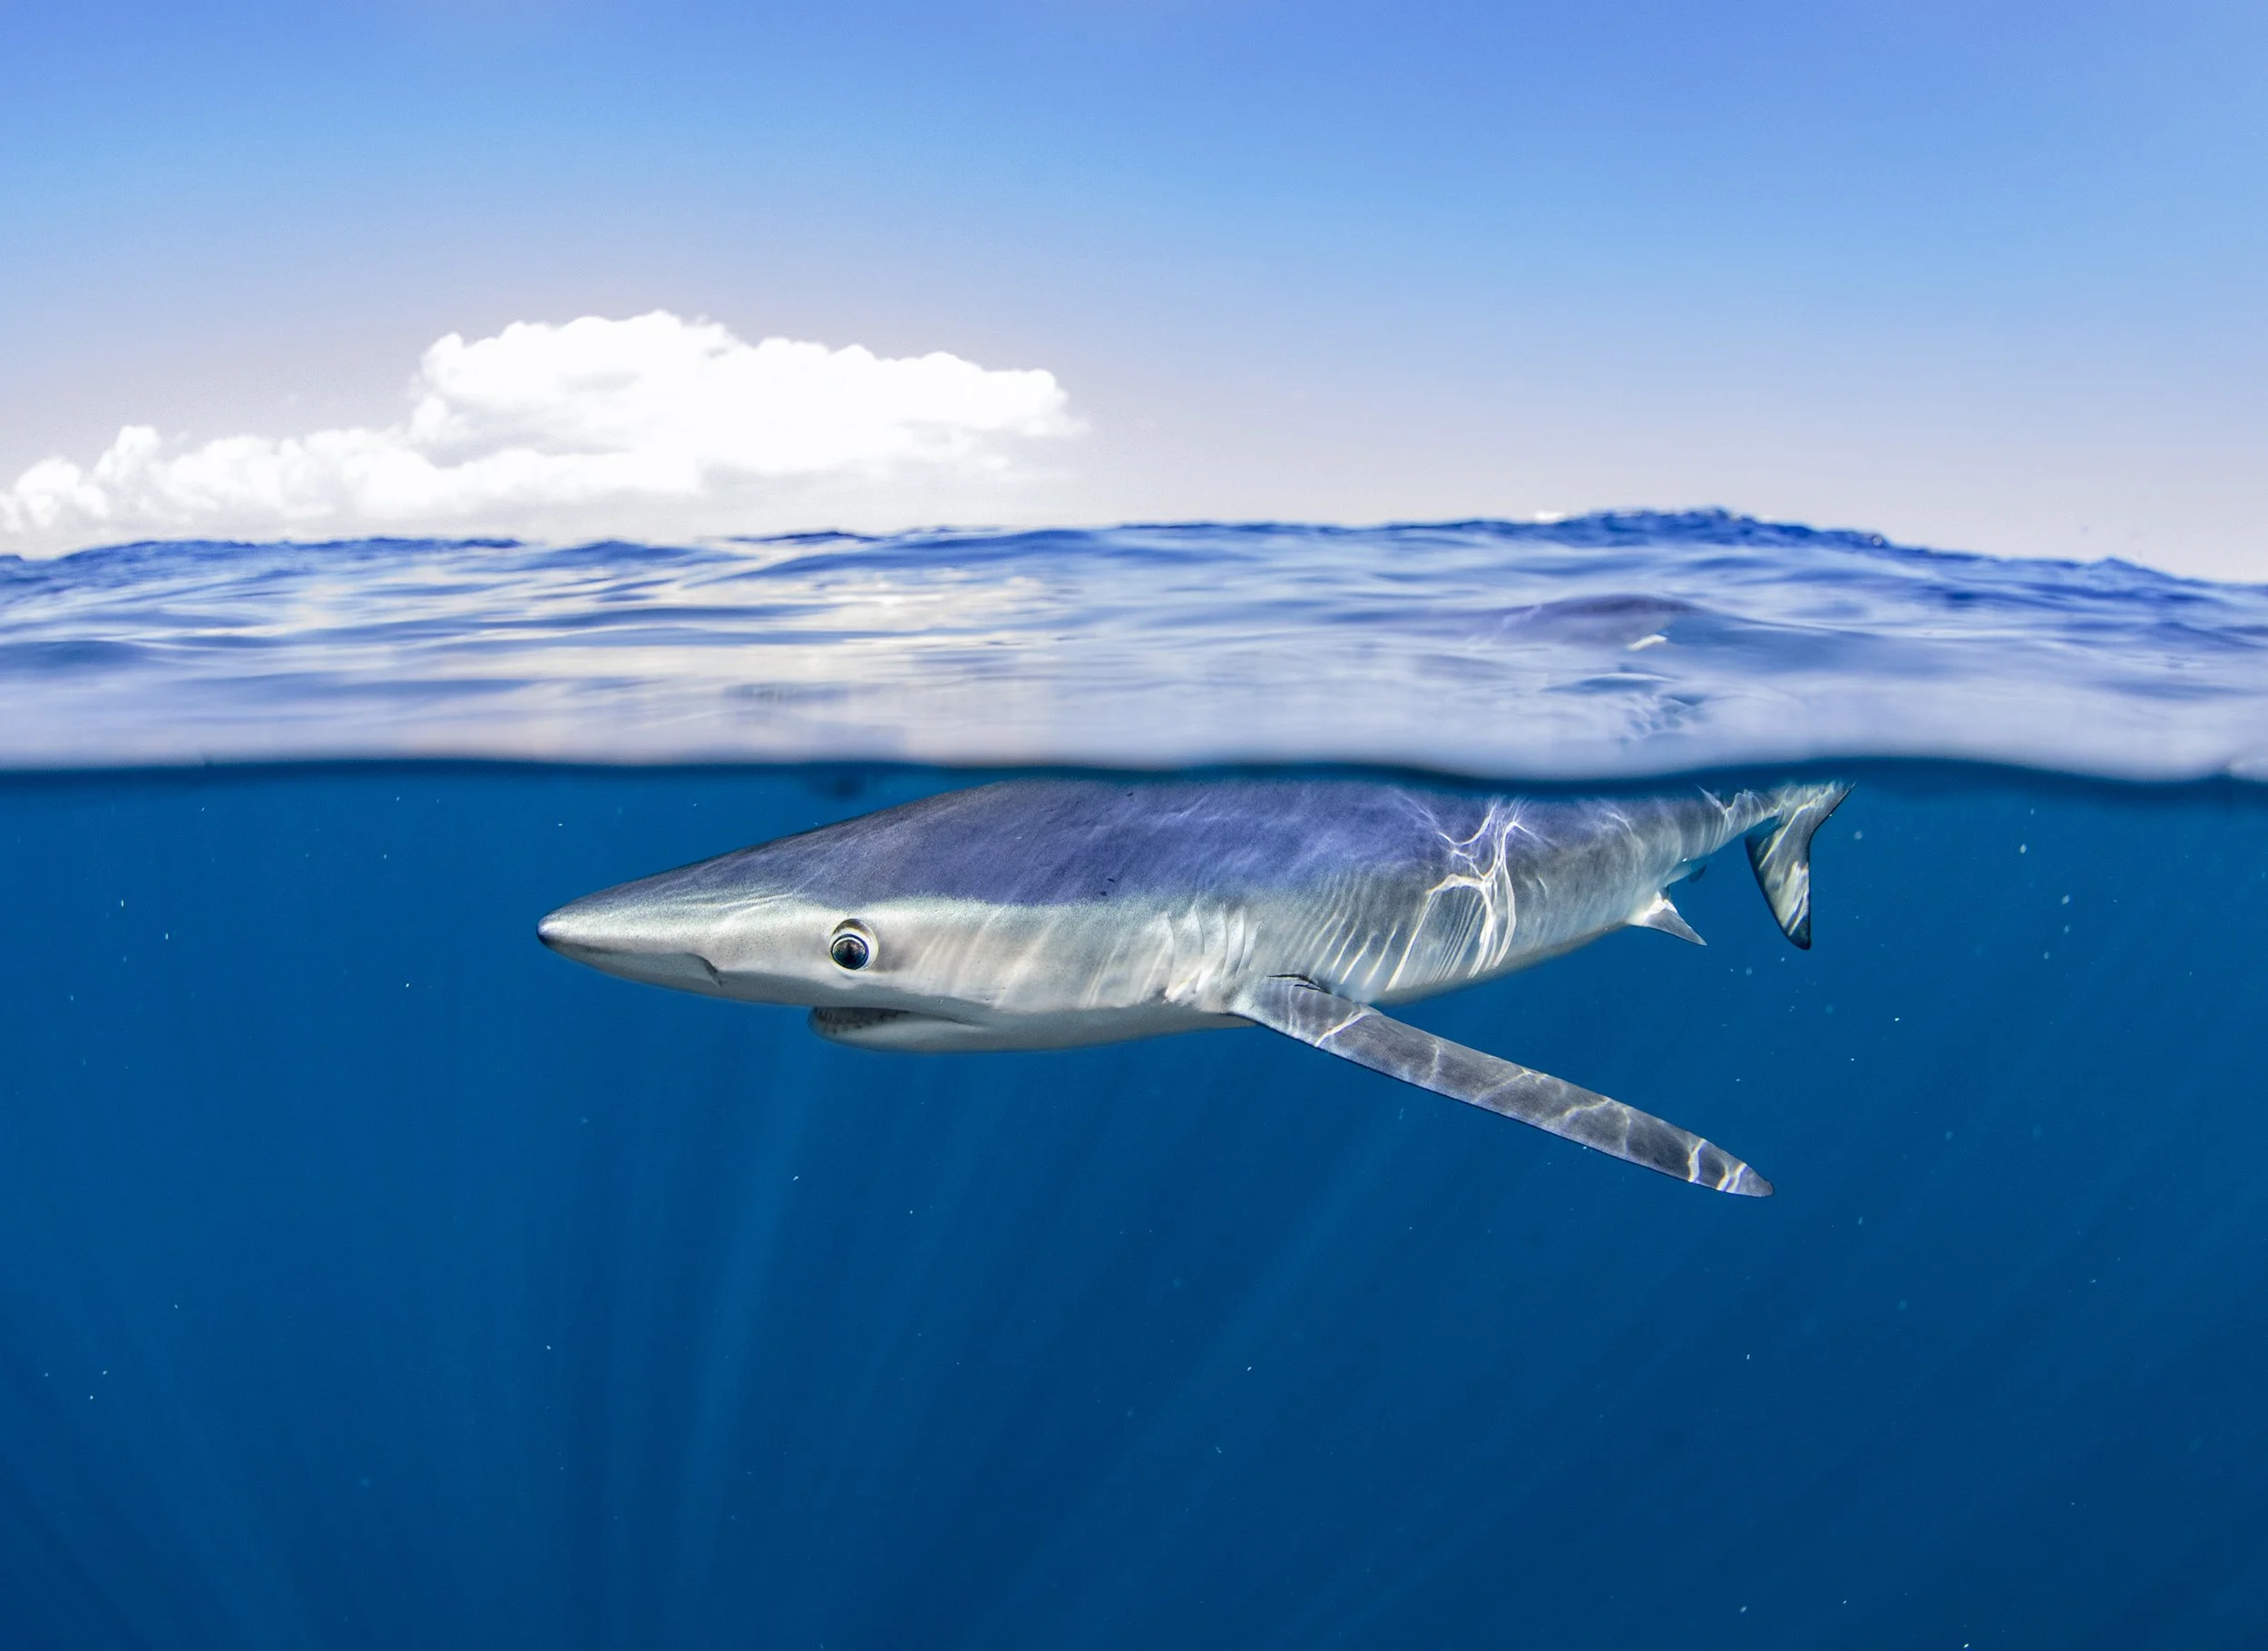
After more than twenty-three years on the road, my memories are filled with whale sharks, jaguars, sperm whales, brown bears, snow leopards, and countless acts of kindness from complete strangers.
Those are the things I was searching for.
And those are the things I found.
Because in my experience, the world is far kinder, more welcoming, and more beautiful than most people imagine.
So when people ask me if a destination is safe, I usually smile.
Then I tell them the truth.
Of course it is!