
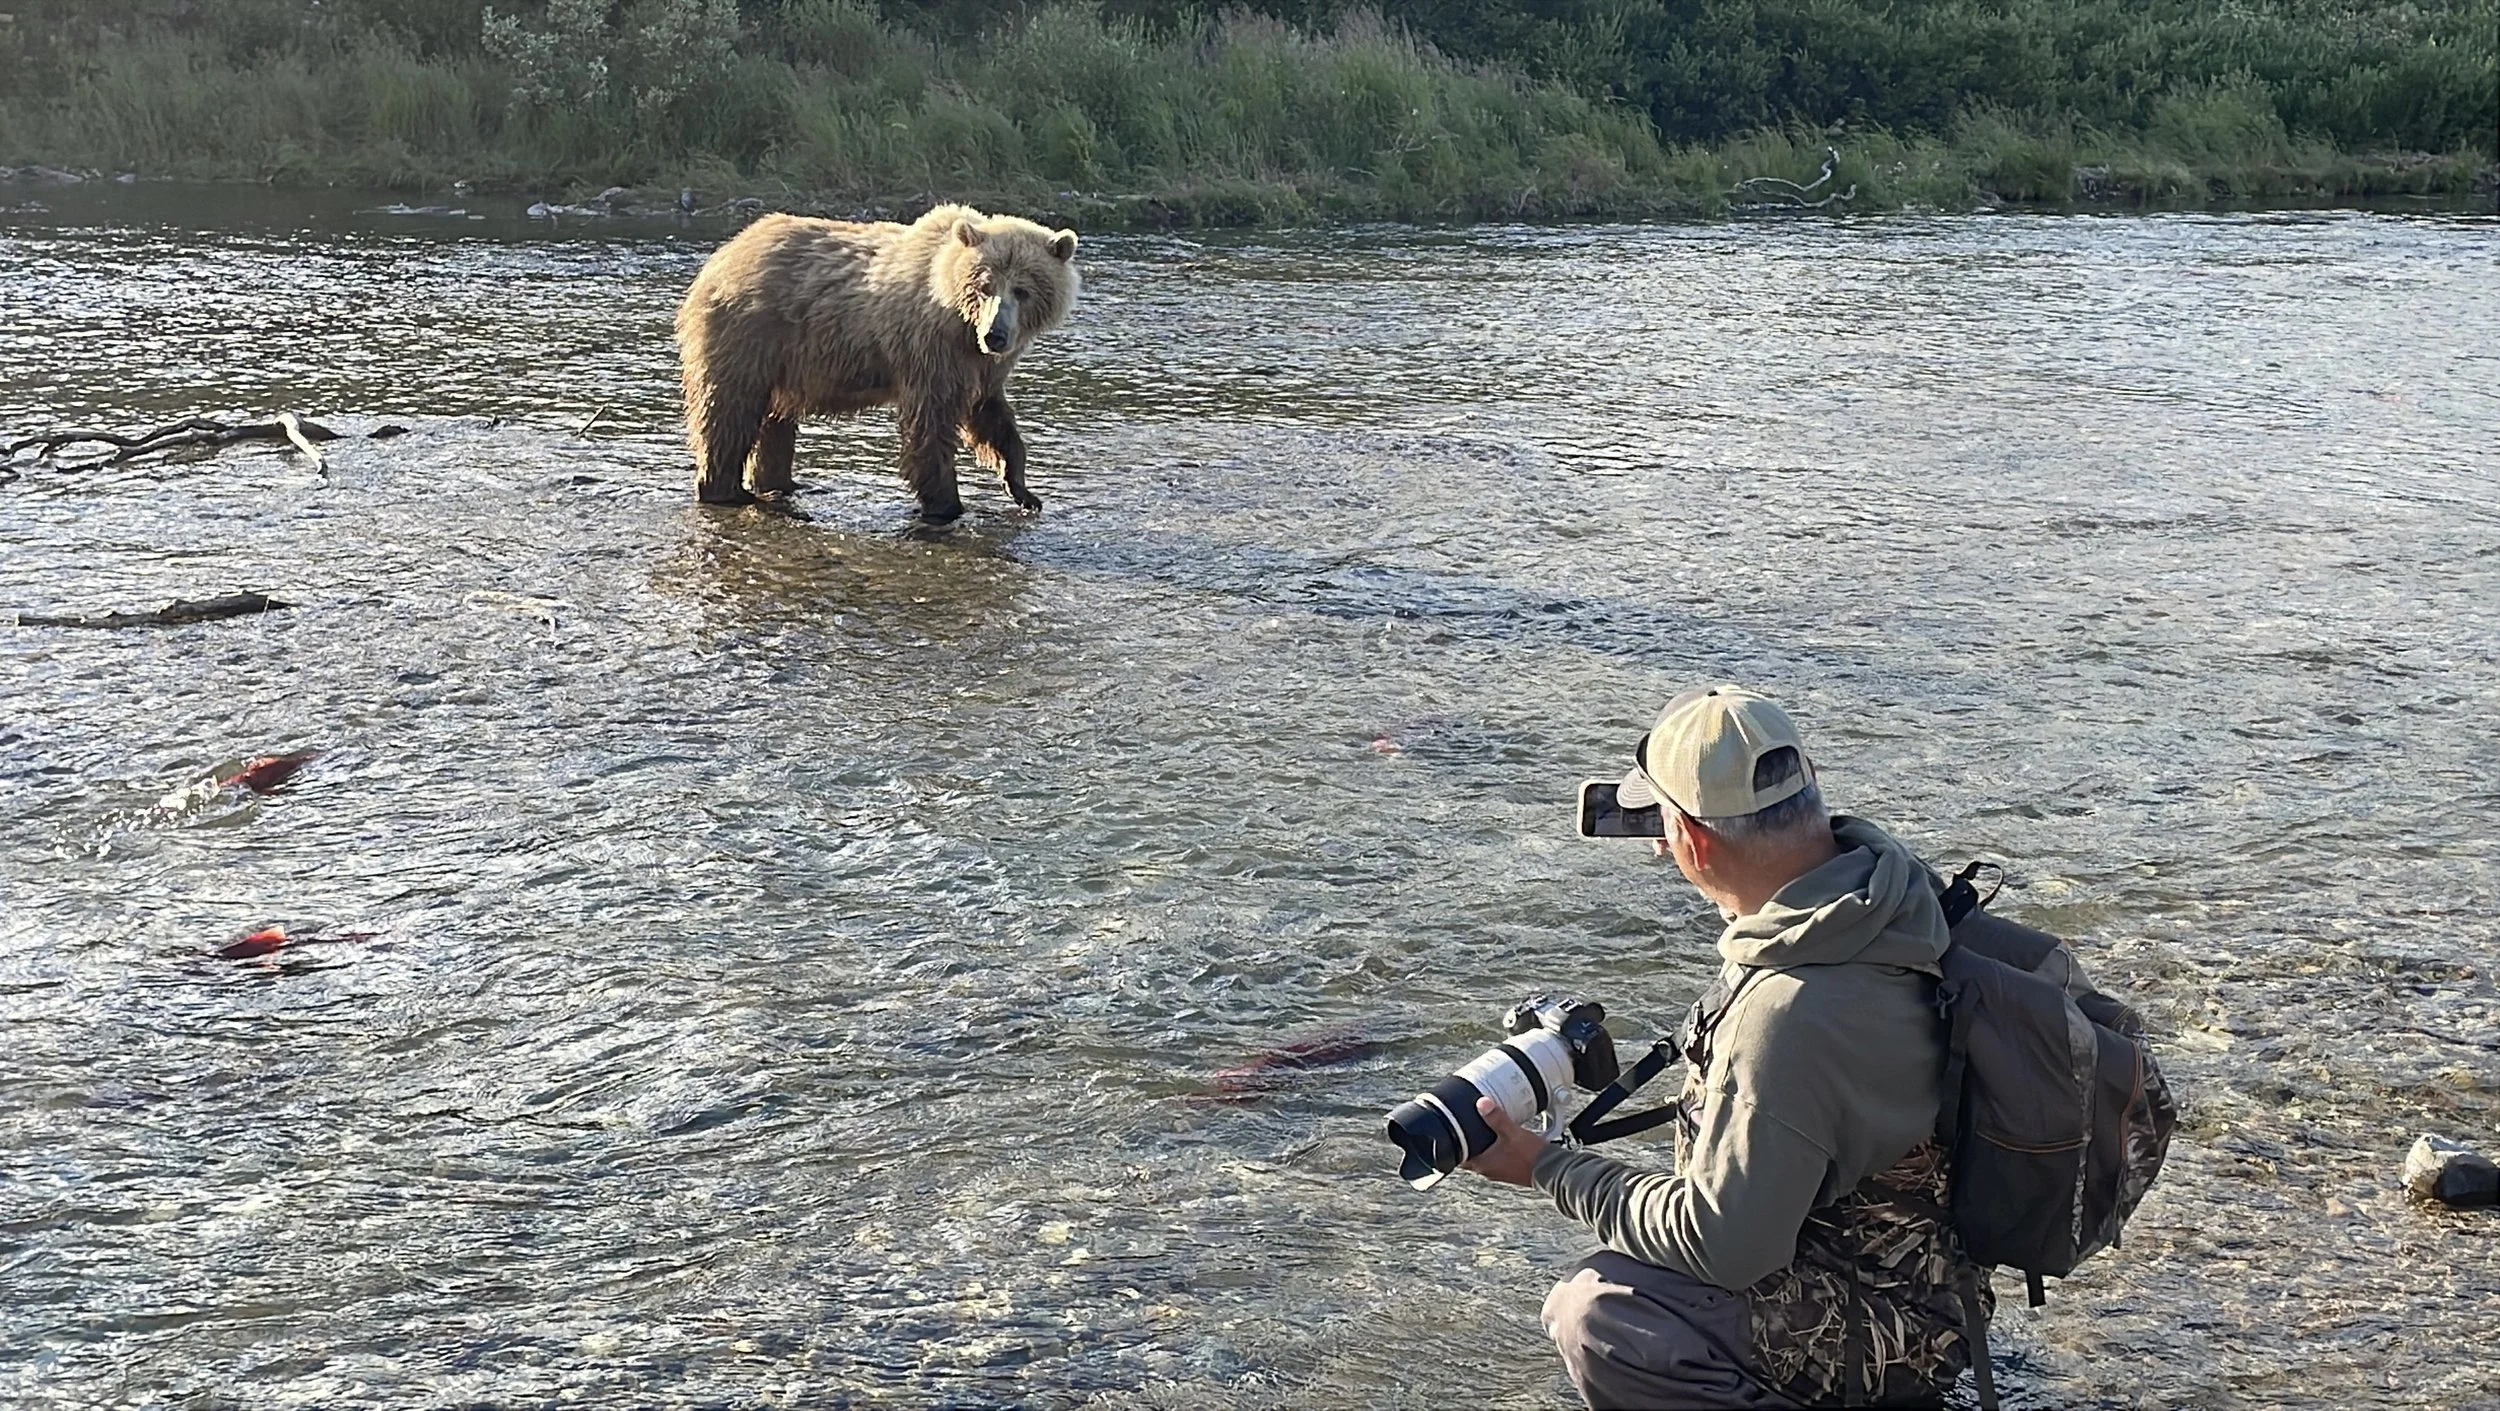

Image by Brad Roaman
I’ve never written about a camera system before—but Gloria deserves her moment.
For nearly 10 years, Gloria, my Aquatica housing for the Canon 5D Mark IV, has been right by my side.
From the Arctic seas to the warm rivers of Brazil, she has traveled the world with me. She's been the one constant in my journey as an underwater photographer.
*I’m not sponsored by Aquatica. This isn’t a sales pitch or a review—it’s just a thank you.
It’s a love letter to a piece of gear that has never let me down.

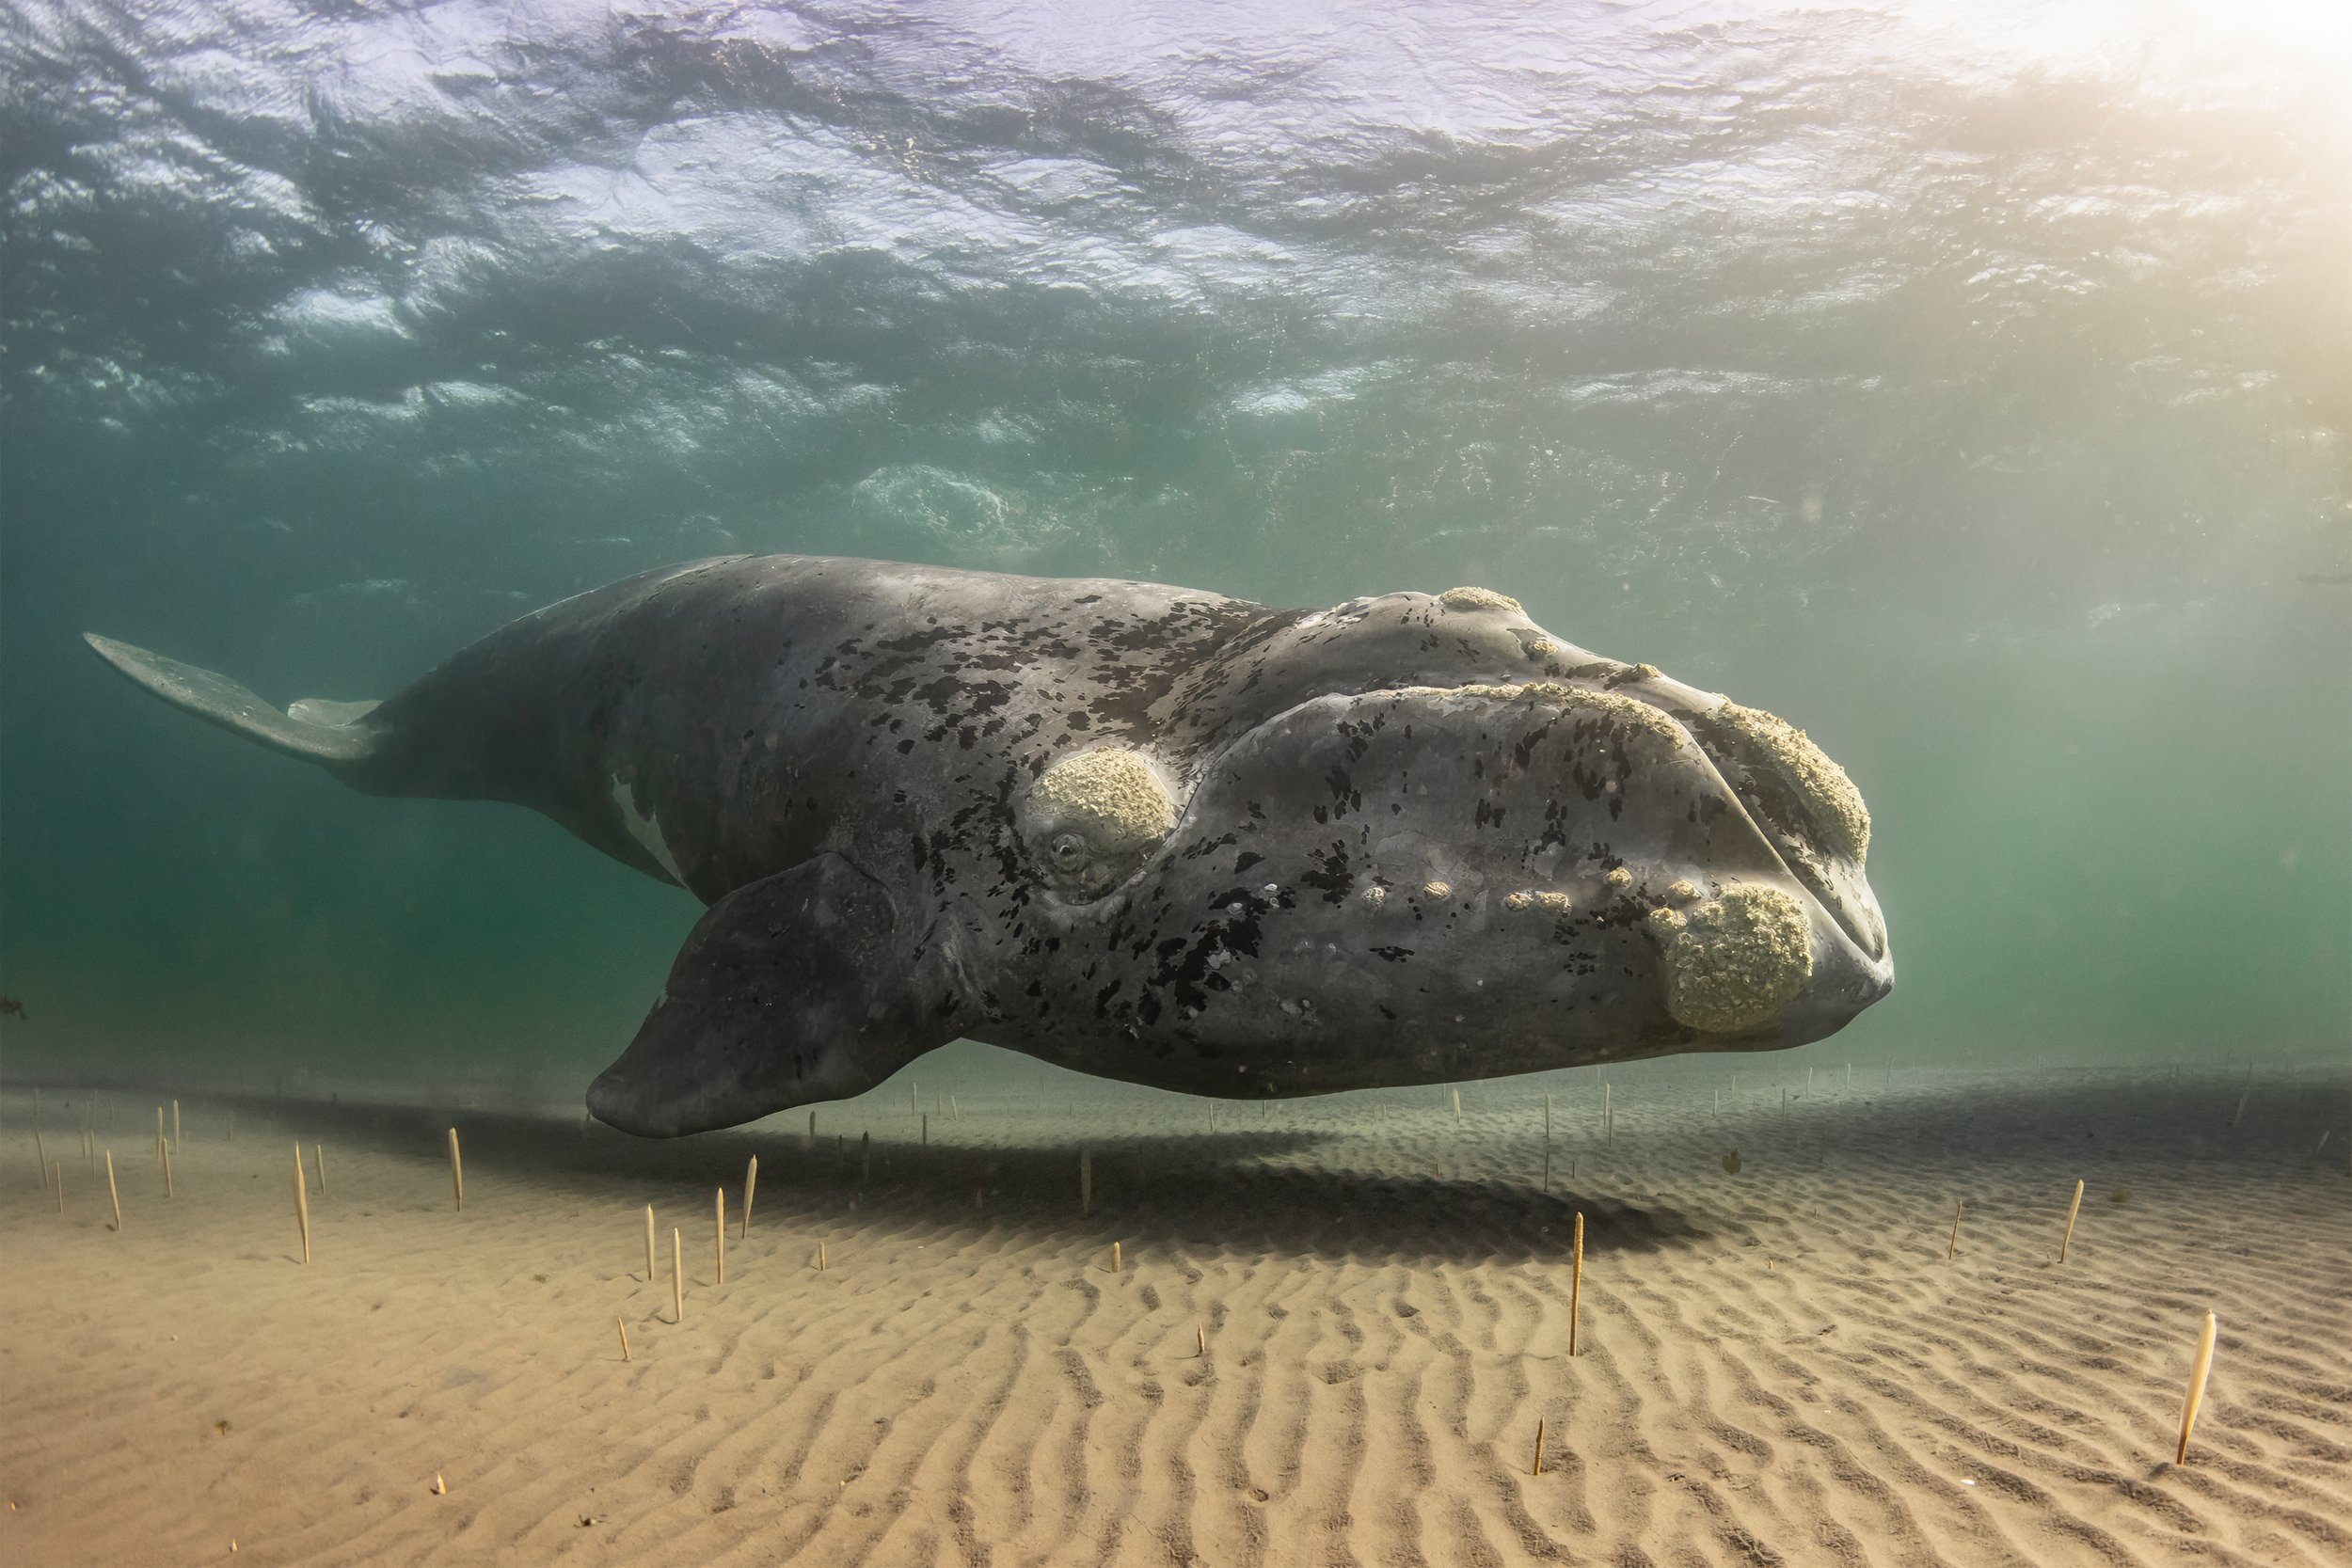
Image by Brad Roaman
Gloria has been dropped, dragged through the sand, banged around in pangas, and tossed into rinse buckets more times than I can count. But no matter where I’ve taken her, she’s held up.
She’s compact, tough, and reliable, and she’s done everything I’ve ever asked of her. From zero-visibility dives in the Amazon to crystal-clear encounters with orcas in Baja—Gloria has delivered.
Thanks to this housing, I’ve been able to grow and evolve as a photographer. Every shark pass, every dolphin glide, every rare wildlife moment captured underwater—Gloria helped make it happen.

That One Time She “Failed” Me (And Saved Me)
There’s only been one moment when Gloria didn’t respond.
I was at 150 feet—far deeper than I should have been. A couple dolphins had been hovering in front of me at 90 feet and were sinking slowly. I sank with them, caught in the moment. I think they did that on purpose.
Suddenly, my camera stopped working. I quickly tried to troubleshoot it, checking buttons and switches, but nothing was responding. In that moment of confusion, I looked at my depth gauge—and realized just how deep we had gone.
That brief equipment failure snapped me out of the moment. I ascended and regrouped. Looking back, I think Gloria was trying to tell me, “We’re not supposed to be here.”
So nope… she didn’t fail me. She helped keep me safe.

Image by Rodrigo Friscione
MY DOME PORT
Glass dome ports are beautiful—no doubt about it. They are the best way to photograph underwater. But I’ve always used acrylic. And here’s why:
Acrylic is forgiving. We live hard on our gear. From sandy beaches to rough boat rides to fast gear swaps in bad weather, things get banged up. If you scratch a glass dome, it’s game over. But acrylic? It is so forgiving.
I keep a bottle of Novus Fine Scratch Remover in my gear bag at all times. With a little care, I’ve been able to keep my dome port mostly scratch-free—even after all these years. And that’s saying something.
No, it’s not perfect. But it's good enough to keep shooting. And that’s what matters.
Underwater photography is demanding. The moments are fleeting. The conditions are brutal. But Gloria, has never let me down.
She’s helped me tell stories, capture dreams, and build a career I’m proud of.
So here’s to my girl.
To those perfect moments.
The wild places.
The calm water and the chaos.
To the images.
The close calls, and the quiet reliability.
Thank you, Gloria. You’ve been more than just a housing... You’ve been a partner.


What’s in My Bag: Gear I Trust and Recommend

Over the years, I’ve built a kit that works for me in real-world conditions.
Here are the essentials I always carry:
Aquatica Housing for Canon 5D Mark IV – My workhorse. Rugged, compact, and reliable.
Novus Fine Scratch Remover – Essential for acrylic dome maintenance.
Acrylic Dome Port – Not flashy, but field-tested and field-repairable.
Portable Handheld Comprerssed Airduster – Discovered thanks to my friend Brad. This thing removes water from buttons and seams so I can change batteries and cards between dives without risking leaks.
Lint-Free Cloths & Microfiber Towels – A single piece of lint inside your dome port can ruin a shoot. These help me avoid that nightmare.
*These aren’t “sponsored” items. They’re just the tools I rely on—gear that has helped me get the shot and stay in the water for over a decade.
Thank you for reading our Blog.
*New Blogs posted 3–4 times a week. (sometimes more.)
Follow along for fresh stories, trip updates, and raw moments from the wild.


