shark diving blog, video blog, swimming with sharks, eli martinez, eli the shark guy, eli the shark guy martinez, eli shark, shark diver magazine, shark diver

underwater camera settings

Aperture: Achieving Sharpness and Depth Underwater

This is Part 5 of a 10 part Natural Light Photography Series.

Orcas off Baja. 1/320, f9, ISO 800.

Aperture, or f-stop, is one of the most important settings in underwater photography. It controls the amount of light entering your camera and determines your depth of field—the range of focus in your image. For natural light photography, where light is limited and animals are constantly moving, understanding how to set your aperture is essential for creating sharp, well-composed shots.

My Go-To Aperture Settings

For most of my underwater photography, I stick to an aperture range of f/8 to f/11. These settings provide enough depth of field to keep the entire subject—whether it’s a shark, whale, or dolphin—in focus, even when shooting wide-angle.

Why f/9 is My Preferred Setting:

  • It ensures critical features, like the eyes, remain sharp.

  • It gives enough depth of field to account for slight errors in focus, especially when shooting “blind” (holding the camera away from your body to get closer to the subject).

When to Adjust Aperture

  1. Over/Under Shots:

    • Setting: f/11 to f/14 (or higher)

    • Why: For split shots capturing both underwater and above-water scenes, a smaller aperture ensures both planes are in focus.

  2. Low-Light Conditions:

    • Setting: Open the aperture as wide as your lens allows (e.g., f/4 or f/2.8).

    • Why: In dim conditions, opening the aperture maximizes the light reaching your sensor, though this reduces depth of field.

Tiger Shark off Tiger Beach Bahamas, 1/320, f8, ISO 800

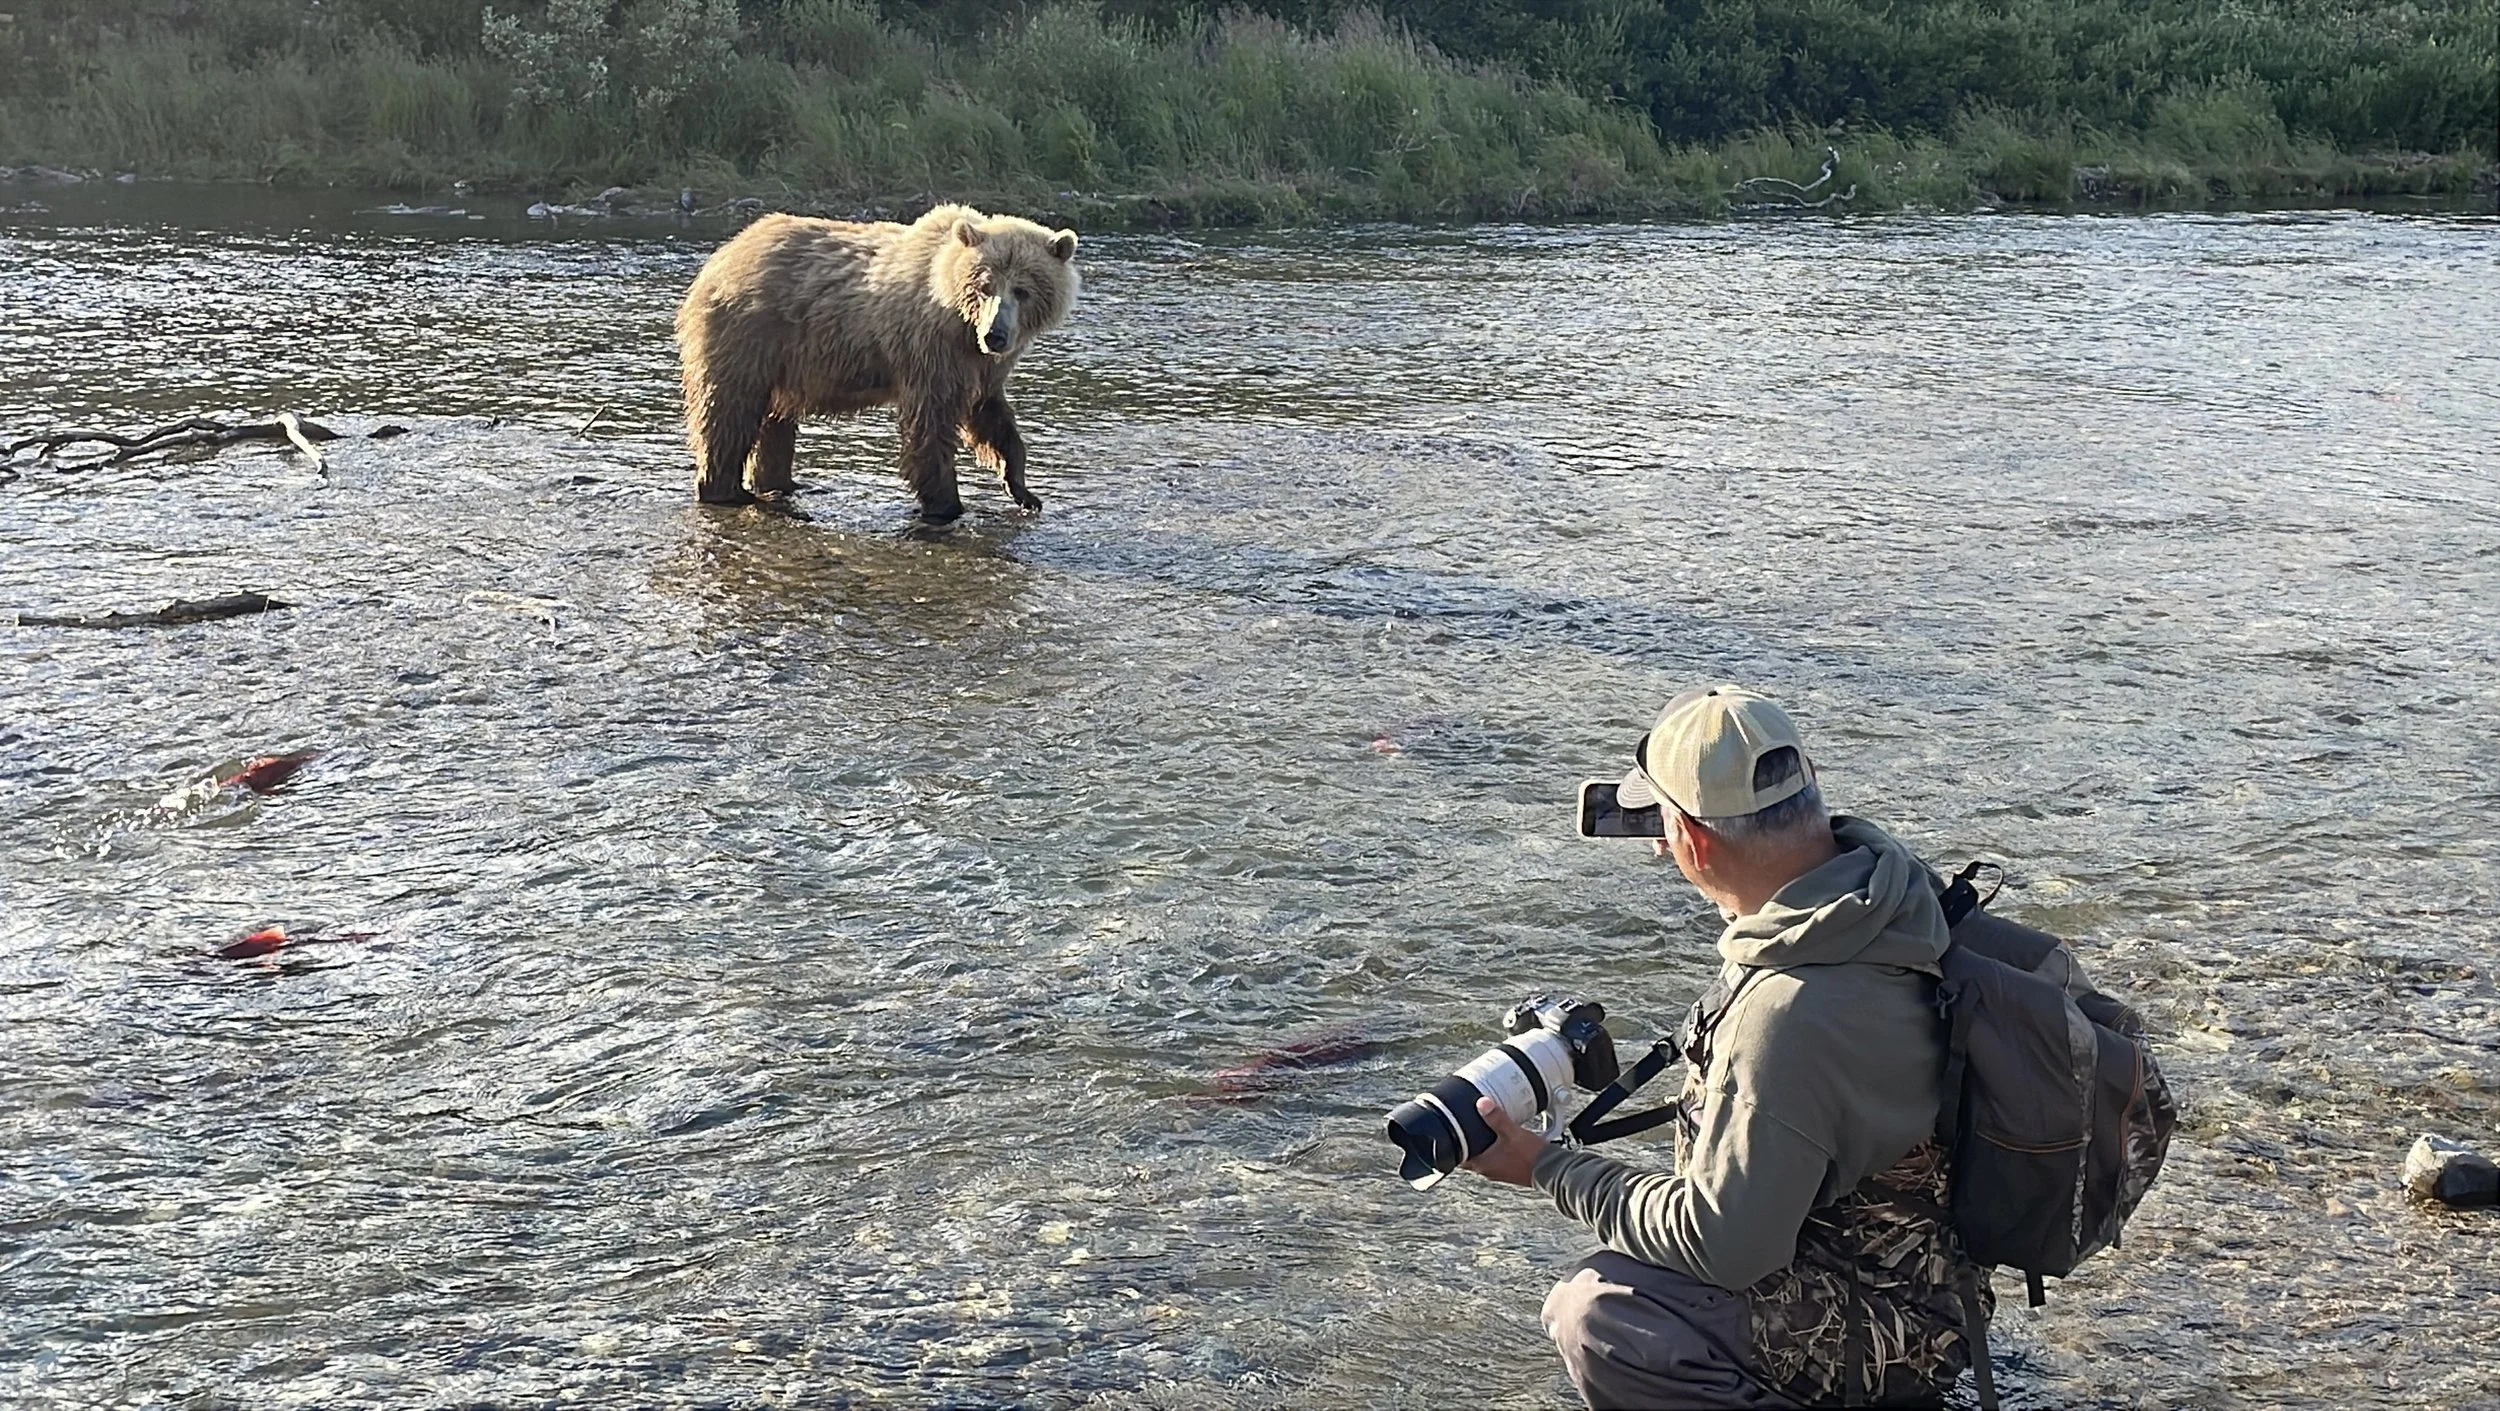
The Challenges of Big Animal Photography

When photographing large, fast-moving animals like sharks and whales, you often can’t look through the viewfinder. Instead, you’re shooting with your arms outstretched to get closer to your subject—a technique often referred to as “shooting blind.”

Every inch matters when using a wide-angle lens like an 8-15mm fisheye, as the best underwater images have minimal blue water between you and the animal.

By using a mid-range aperture like f/9, you can compensate for the challenges of shooting blind, ensuring that key features remain in focus even if your framing isn’t perfect.

A Safety Reminder

While getting close to your subject often leads to the best photos, always prioritize:

  • Your safety.

  • The well-being of the animal.
    No image is ever worth compromising the trust and safety of wildlife.

Practical Tips for Using Aperture Underwater

Bonito off Baja feeding on a sardine baitball. 1/500, f9, ISO 800

  1. Experiment with Depth of Field: Start with f/9 and adjust based on your subject and lighting conditions. For larger animals, a smaller aperture (f/11) can help ensure the entire subject is sharp.

  2. Pair Aperture with Shutter Speed: Remember, changing your aperture affects the amount of light entering your camera, so adjust your shutter speed and ISO to maintain proper exposure.

  3. Test Your Lens Limits: Practice with your lens to understand how it performs at different apertures. Wide-angle lenses are forgiving but still require attention to detail.

Whale Shark off Baja, Mexico. 1/320, f9, ISO 500

The Magic of Aperture in Natural Light

Aperture settings can make or break your underwater images. With the right adjustments, you can achieve sharp, vibrant photos that showcase the beauty of the underwater world. Whether you’re aiming for a detailed close-up of a shark’s eye or a dramatic over/under shot, understanding aperture is key to capturing the moment.

Coming Next

In the next blog, I’ll tackle ISO—a setting that can make or break your images in varying underwater conditions. Learn how to balance light sensitivity and noise to achieve the perfect exposure. Stay tuned!

THIS IS PART 5 OF A 10 PART SERIES.

PART ONE - Is Natural Light Photography Photography For You?
PART TWO - The Euphotic Zone! Your best friend.
PART THREE - Custom White Balance, Natural Lights Secret Weapon.
PART FOUR - Shutter Speed: Freezing Moments Underwater.
PART FIVE - Aperture: Achieving Sharpness and Depth Underwater
PART SIX - ISO: Balancing Light Sensitivity Underwater
PART SEVEN - Focus Points: Keeping Your Subject Sharp Underwater
PART EIGHT - The Histogram: Your Underwater Photography Lifeline
PART NINE - Post-Processing: Bringing Your Underwater Images to Life.
PART TEN - The Freedom of Natural Light Photography: A Connection to the Wild

Shutter Speed: Freezing Moments Underwater

This is Part 4 of a 10 part Natural Light Photography Series.

In underwater photography, your shutter speed plays a crucial role in capturing sharp, dynamic images. Whether you’re photographing the graceful glide of a shark or the lightning-fast movements of a dolphin, choosing the right shutter speed is essential. In this blog, I’ll share my approach to setting shutter speed for natural light photography and explain why it’s one of the most critical tools in your underwater arsenal.

The Basics of Shutter Speed Underwater

Shutter speed determines how long your camera’s sensor is exposed to light. A faster shutter speed freezes motion, while a slower shutter speed lets in more light but risks motion blur. In underwater photography, where both you and your subject are often moving, this balance becomes even more delicate.

Understanding Shutter Speed: From freezing fast motion to creating smooth, dreamy effects – master the art of light and movement.

When shooting with strobes, a common shutter speed is 1/125, but for natural light photography, it’s a whole different story. Your settings will depend on:

  • The subject’s speed and movement

  • The available light

  • Your ability to stay steady while shooting

My Go-To Shutter Speeds

  1. Slow-Moving Subjects (e.g., Tiger Sharks, whales):

    • Shutter Speed: 1/320

    • Why: Tiger sharks and whales move at a slow, deliberate pace, but both the animals and I are in motion. At 1/320, I can confidently capture their details without motion blur.

  2. Fast-Moving Subjects (e.g., Dolphins, Sea lions):

    • Shutter Speed: 1/500

    • Why: Dolphins and sea lions are incredibly fast and often unpredictable. A faster shutter speed ensures I can freeze their motion, even while swimming hard to keep up. For fast-moving animals, 1/500 is my absolute minimum. While I would prefer to go higher for an even crisper image, doing so often requires increasing the ISO, which can introduce too much noise into my photos. Finding the right balance is key when shooting in natural light underwater.

  3. Low-Light Conditions (e.g., Orcas in Norway):

    • Shutter Speed: 1/125 or lower (if necessary)

    • Why: In places like Norway, where sunlight is limited or non-existent during winter, slower shutter speeds are unavoidable. While this can lead to some blur or grain (due to higher ISO), it’s often the only way to get a usable image.

Why I Stick to 1/320 for Most Shots

For the wildlife I typically photograph—big, toothy animals like sharks—1/320 has become my magic number. It’s fast enough to freeze motion while still allowing enough light for a well-exposed image. Some might say it’s on the higher side, but for me, it strikes the perfect balance for sharp, detailed results.

When to Adjust Shutter Speed

  • Increase Shutter Speed: For faster animals or when shooting in bright conditions.

  • Decrease Shutter Speed: In low-light environments or when photographing slower-moving subjects.

Practical Tips for Underwater Shutter Speed

  1. Keep Your Camera Steady: Even the slightest movement can cause blur when shooting underwater. Practice controlling your breathing and staying as still as possible.

  2. Test and Adapt: Start with a base shutter speed (like 1/320) and adjust based on the animal and lighting conditions.

  3. Use Your Histogram: Check your histogram regularly to ensure your exposure is balanced, especially when adjusting shutter speed.

The Importance of Experimentation

Shutter speed isn’t a one-size-fits-all setting. It depends on your subject, the conditions, and your creative goals. The more you experiment, the better you’ll understand what works for your style of photography and the animals you love to capture.

Coming Next

In the next blog, I’ll dive into aperture—another critical setting for natural light photography. Learn how to achieve the perfect depth of field and ensure your subjects are always in focus, even when shooting blind. Stay tuned!

THIS IS PART 4 OF A 10 PART SERIES.

PART ONE - Is Natural Light Photography Photography For You?
PART TWO - The Euphotic Zone! Your best friend.
PART THREE - Custom White Balance, Natural Lights Secret Weapon.
PART FOUR - Shutter Speed: Freezing Moments Underwater.
PART FIVE - Aperture: Achieving Sharpness and Depth Underwater
PART SIX - ISO: Balancing Light Sensitivity Underwater
PART SEVEN - Focus Points: Keeping Your Subject Sharp Underwater
PART EIGHT - The Histogram: Your Underwater Photography Lifeline
PART NINE - Post-Processing: Bringing Your Underwater Images to Life.
PART TEN - The Freedom of Natural Light Photography: A Connection to the Wild

Custom White Balance: The Key to Vibrant Underwater Images

This is Part 3 of a 10 part Natural Light Photography Series.

Thresher Shark off Malapascua Island, Phillipeans. Depth 70’ 1/250, f8, ISO 1250

When it comes to natural light photography underwater, no tool is more important than custom white balance. This technique allows you to compensate for the loss of color as you descend and is essential for capturing vibrant, true-to-life images. If you don’t master this skill, you’ll struggle to retain the natural beauty of the underwater world in your photos.

Why Custom White Balance Matters

Underwater, colors disappear quickly:

  • Reds vanish at around 15 feet.

  • Oranges at 30 feet.

  • Yellows at 60 feet.
    By the time you’re at 100 feet, you’re left with muted greens and blues.

Reef off Malapascua Island, Philippines. Depth 50 feet. 1/160, f4.5, ISO 800

Custom white balance tells your camera what “white” should look like in your current conditions, helping it correctly interpret other colors. Without it, even the most perfectly composed shots will appear dull and washed out. While post-processing can help to some extent, getting it right in-camera is the best way to ensure your images look stunning.

How to Set Custom White Balance

  1. Ignore Camera Presets:
    Built-in white balance presets (e.g., “daylight” or “cloudy”) aren’t designed for underwater use and won’t give you accurate results. Go straight to custom white balance mode.

  2. Find a Reference Object:
    Snap a photo of something white or gray that’s lit by the same light you’ll be shooting in. This tells your camera what white should look like in those conditions. Common references include:

    • White balance cards (designed for underwater use)

    • The sand on the ocean floor (a favorite of mine)

    • White fins, wetsuit trim, or dive slates

  3. Recalibrate Often:
    Light changes as you descend or ascend, so you’ll need to adjust your custom white balance every 10 to 20 feet to maintain accurate color representation.

Great Hammerhead off Tiger Beach, Bahamas. Depth 40 feet. 1/320, f8, ISO 250

What If You Don’t Have a White Balance Card?

Improvisation is key! Some options I’ve used include:

  • The bottom of a boat (if it’s white)

  • A diver’s tank (as a gray reference)

  • Propeller blades when swimming near the surface

Just be sure to communicate with your dive buddies beforehand if you plan to use their gear for calibration. No one wants to feel awkward when they catch you taking close-ups of their fins or tank!

Schooling Jacks at Cabo Pulmo, MX. Depth 50 feet. 1/320, f9, ISO 640

Tips for Success

  • Experiment Until You’re Happy: Don’t be afraid to adjust multiple times during a dive. Each dive site and condition is different, and the more you practice, the better you’ll become.

  • Pre-Set Your Camera Settings: Before setting white balance, make sure your shutter speed, aperture, and ISO are already dialed in for the conditions. This ensures a balanced exposure and gives you a better foundation to work with.

  • Use the Histogram: Check your histogram regularly to confirm proper exposure and avoid relying solely on the camera’s LCD screen, which can be misleading underwater.

The Freedom to Create

Once you’ve mastered custom white balance, you’ll unlock a new level of creative freedom in your photography. You’ll be able to produce vibrant images that capture the underwater world as you see it—full of life and color.

Coming Next

In the next blog, we’ll explore shutter speed and how to use it effectively to capture movement underwater. From slow-moving sharks to speedy dolphins, mastering your shutter speed is critical to creating sharp, dynamic images. Stay tuned!

THIS IS PART 3 OF A 10 PART SERIES.

PART ONE - Is Natural Light Photography Photography For You?
PART TWO - The Euphotic Zone! Your best friend.
PART THREE - Custom White Balance, Natural Lights Secret Weapon.
PART FOUR - Shutter Speed: Freezing Moments Underwater.
PART FIVE - Aperture: Achieving Sharpness and Depth Underwater
PART SIX - ISO: Balancing Light Sensitivity Underwater
PART SEVEN - Focus Points: Keeping Your Subject Sharp Underwater
PART EIGHT - The Histogram: Your Underwater Photography Lifeline
PART NINE - Post-Processing: Bringing Your Underwater Images to Life.
PART TEN - The Freedom of Natural Light Photography: A Connection to the Wild

Why Choose Natural Light for Underwater Photography?

Wildlife photographer Jean Dubois, shooting using natural light… Crocodile Diving off Banco Chinchorro, MX. 1/320, f8, ISO 500

When it comes to underwater photography, strobes are often the go-to choice for professionals. They bring out vibrant colors and allow for incredible detail in any lighting condition. However, there’s another side to underwater photography that’s often overlooked but equally exciting… Natural Light Photography.

This approach leverages ambient light from the sun to create images with a more organic and authentic feel. It’s less intrusive to wildlife, offers greater freedom of movement, and provides a unique challenge that pushes your skills as a photographer.

Black Manta Ray off Socorro Island, Mexico. 1/320, f8, ISO 1000

Let’s dive into why natural light photography is worth exploring.

One of the biggest advantages of natural light photography is the freedom it gives you underwater. Without strobes and bulky strobe arms attached to your camera rig, you’re far more streamlined. This makes swimming easier, especially when free diving or dealing with strong currents.

Great Hammerheads off Bimini Bahamas. 1/320, f8, ISO 320

More importantly, it allows you to move fluidly and follow wildlife with minimal disruption.

Animals are often spooked by flashing lights, but with natural light, you can get closer and stay longer, building trust and capturing more intimate moments.

Natural light photography is less intrusive, which can be a game-changer when photographing sensitive marine animals like sharks, whales, and dolphins. Without the startling pop of a strobe, they are more likely to stay calm and tolerate your presence.

Some of my favorite moments underwater have been with animals mere inches from my dome port, calmly going about their lives. It’s these moments that make natural light photography so rewarding—it’s not just about capturing a shot but trying to experience a genuine connection with the wildlife.

Right Whale off Patagonia, photographed under permit. 1/320, f9, ISO 800

Of course, natural light photography comes with its challenges. The underwater environment absorbs light and color at different depths:

  • Red disappears around 15 feet.

  • Orange fades by 30 feet.

  • Yellow is gone by 60 feet.

  • Greens fade by 100 feet, leaving mostly blues.

This means your ability to capture vibrant images depends heavily on factors like depth, water clarity, and time of day. Cloudy skies or low light conditions can make it even more difficult, requiring careful adjustments to your camera settings.

Great White Shark off Guadalupe Island, MX. 1/320, f8, ISO 400.

Despite the challenges, natural light photography is incredibly rewarding.

It forces you to think creatively, adapt to your environment, and work within the constraints of the available light. But, when you nail the exposure, composition, and timing, the results are nothing short of magical.

To me, natural light images have a raw, authentic feel that strobes can’t replicate. They reflect the beauty of the underwater world as it truly is—dynamic, ever-changing, and awe-inspiring.

Sailfish off Magdalena Island, MX. 1/640, f8, ISO 1600

Is Natural Light Photography for You?

Shooting with natural light allows you the opportunity to connect with wildlife on a deeper level. It’s not just a technique; it’s an experience that pushes you to grow as a photographer and a storyteller.

Stay tuned for the next blog in this series, where I’ll dive into the euphotic zone… the key to understanding how sunlight interacts with the underwater world and how to use it to your advantage.

THIS IS PART 1 OF A 10 PART SERIES.

PART ONE - Is Natural Light Photography Photography For You?
PART TWO - The Euphotic Zone! Your best friend.
PART THREE - Custom White Balance, Natural Lights Secret Weapon.
PART FOUR - Shutter Speed: Freezing Moments Underwater.
PART FIVE - Aperture: Achieving Sharpness and Depth Underwater
PART SIX - ISO: Balancing Light Sensitivity Underwater
PART SEVEN - Focus Points: Keeping Your Subject Sharp Underwater
PART EIGHT - The Histogram: Your Underwater Photography Lifeline
PART NINE - Post-Processing: Bringing Your Underwater Images to Life.
PART TEN - The Freedom of Natural Light Photography: A Connection to the Wild