photography inspiration

The One Rule I Always Break in Wildlife Photography

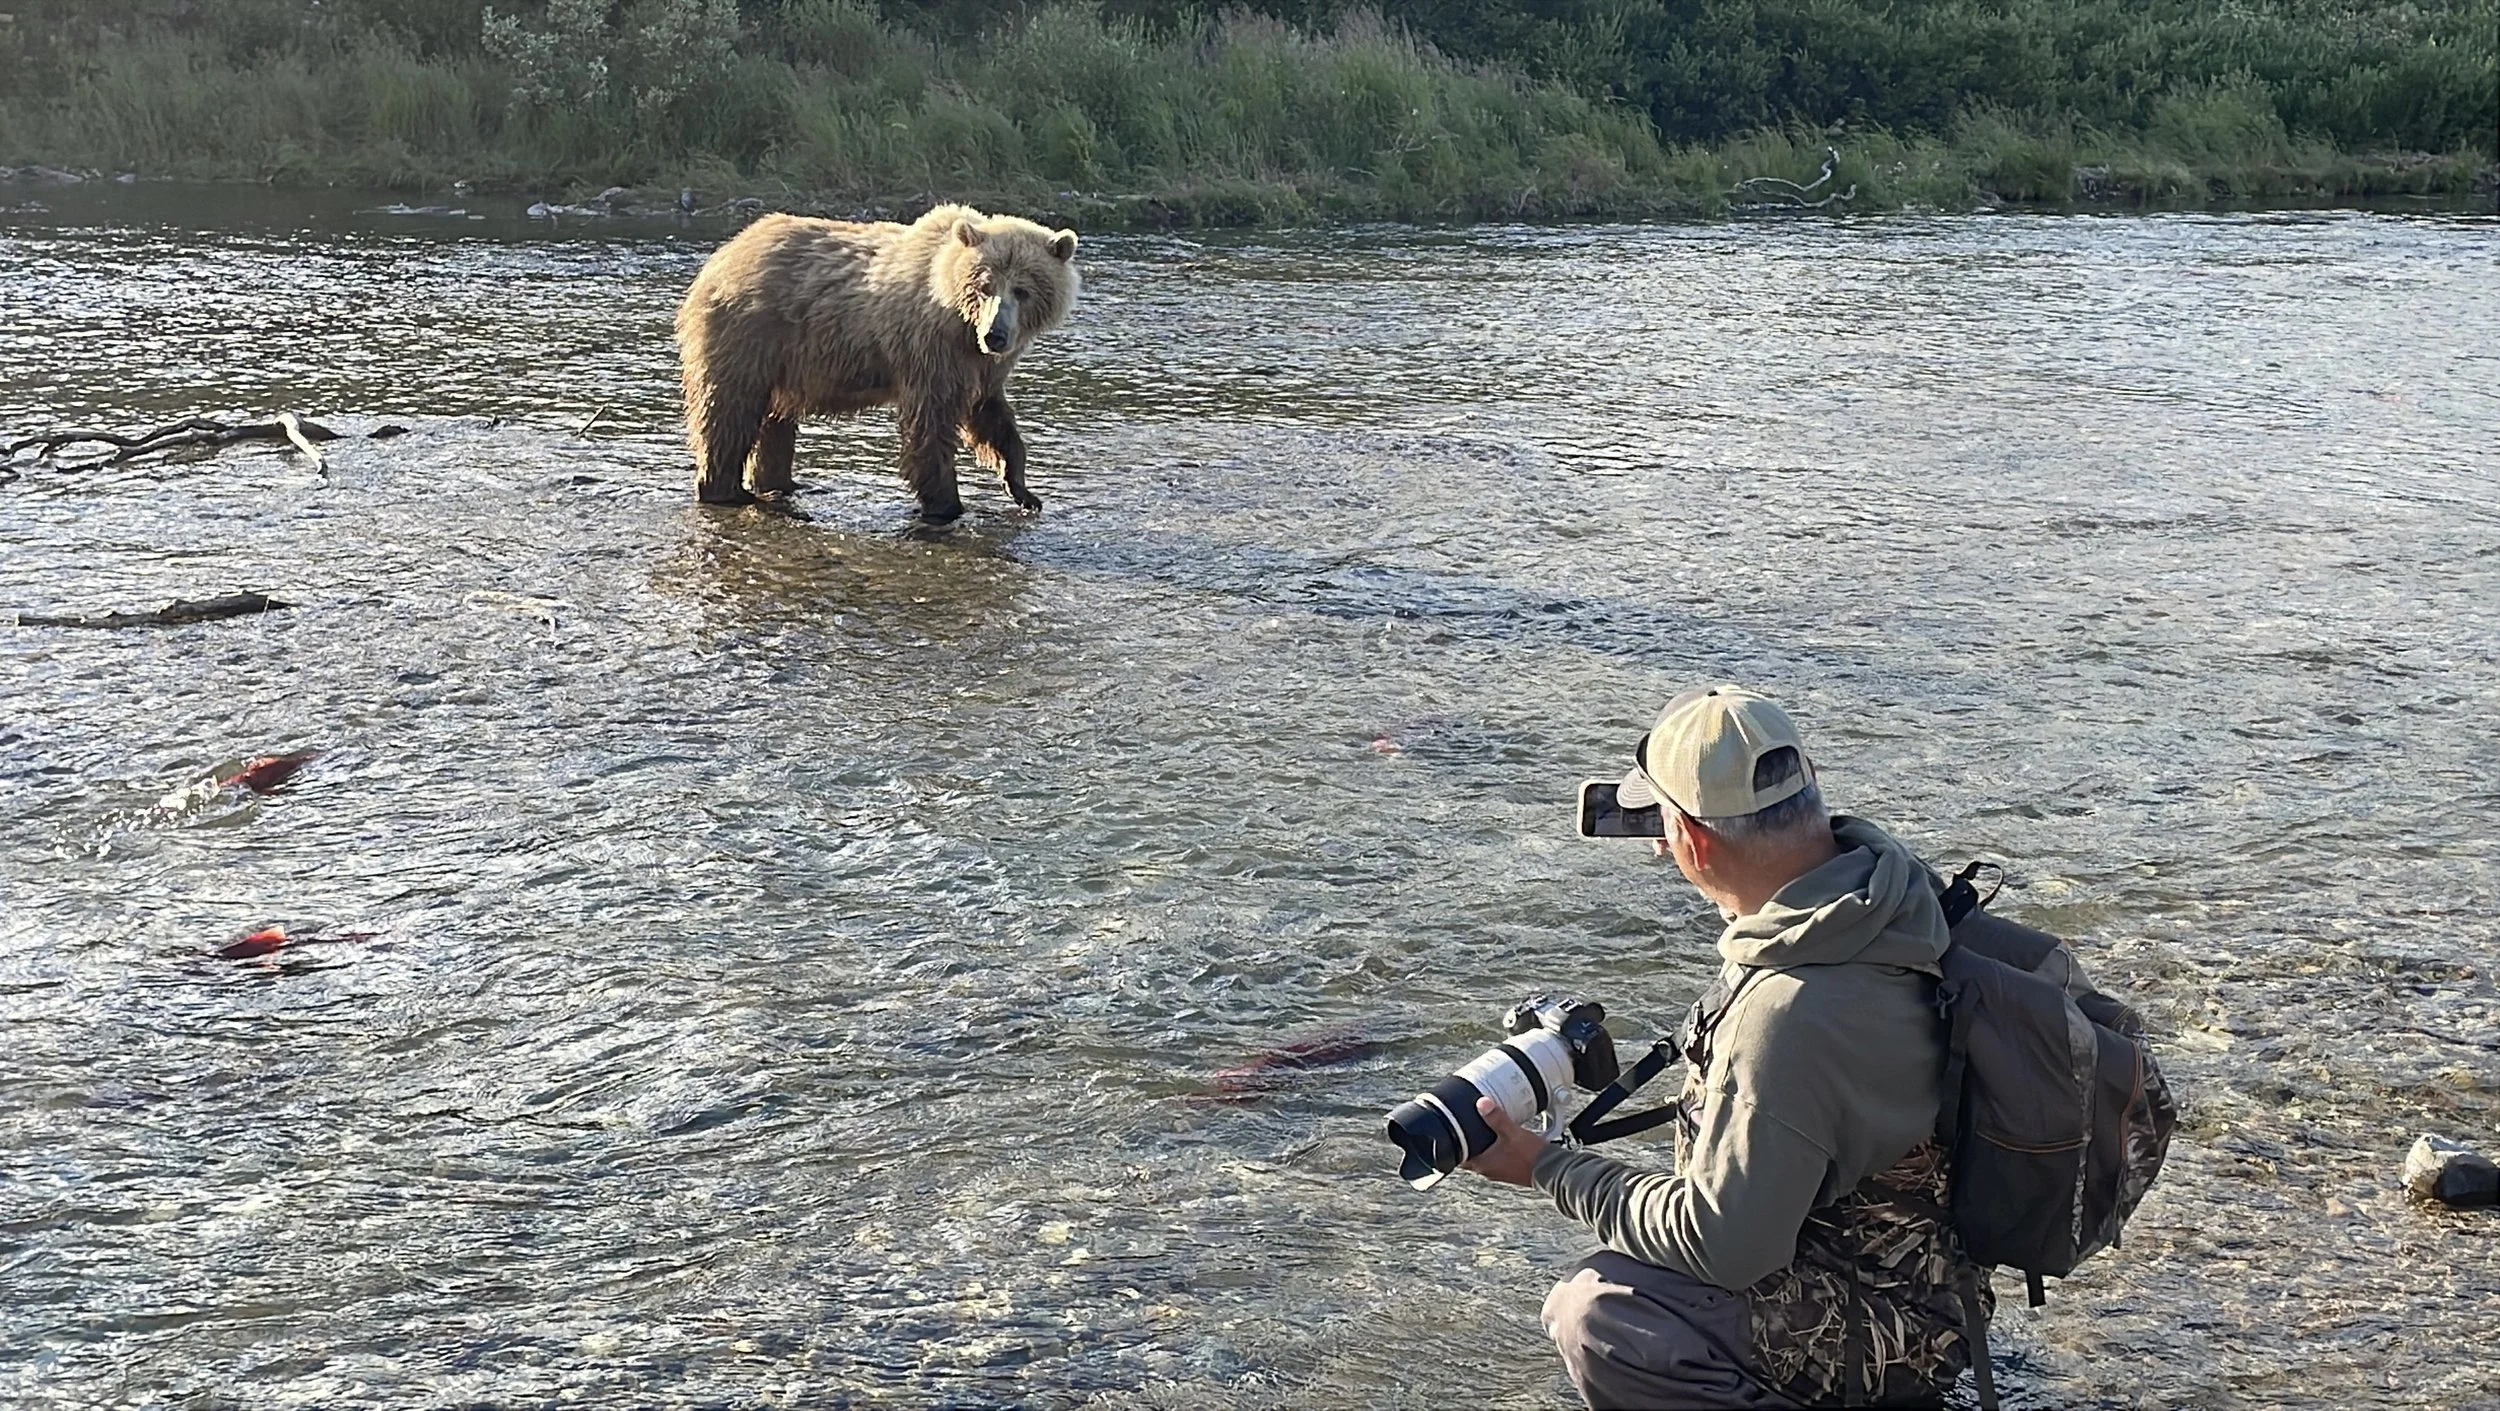
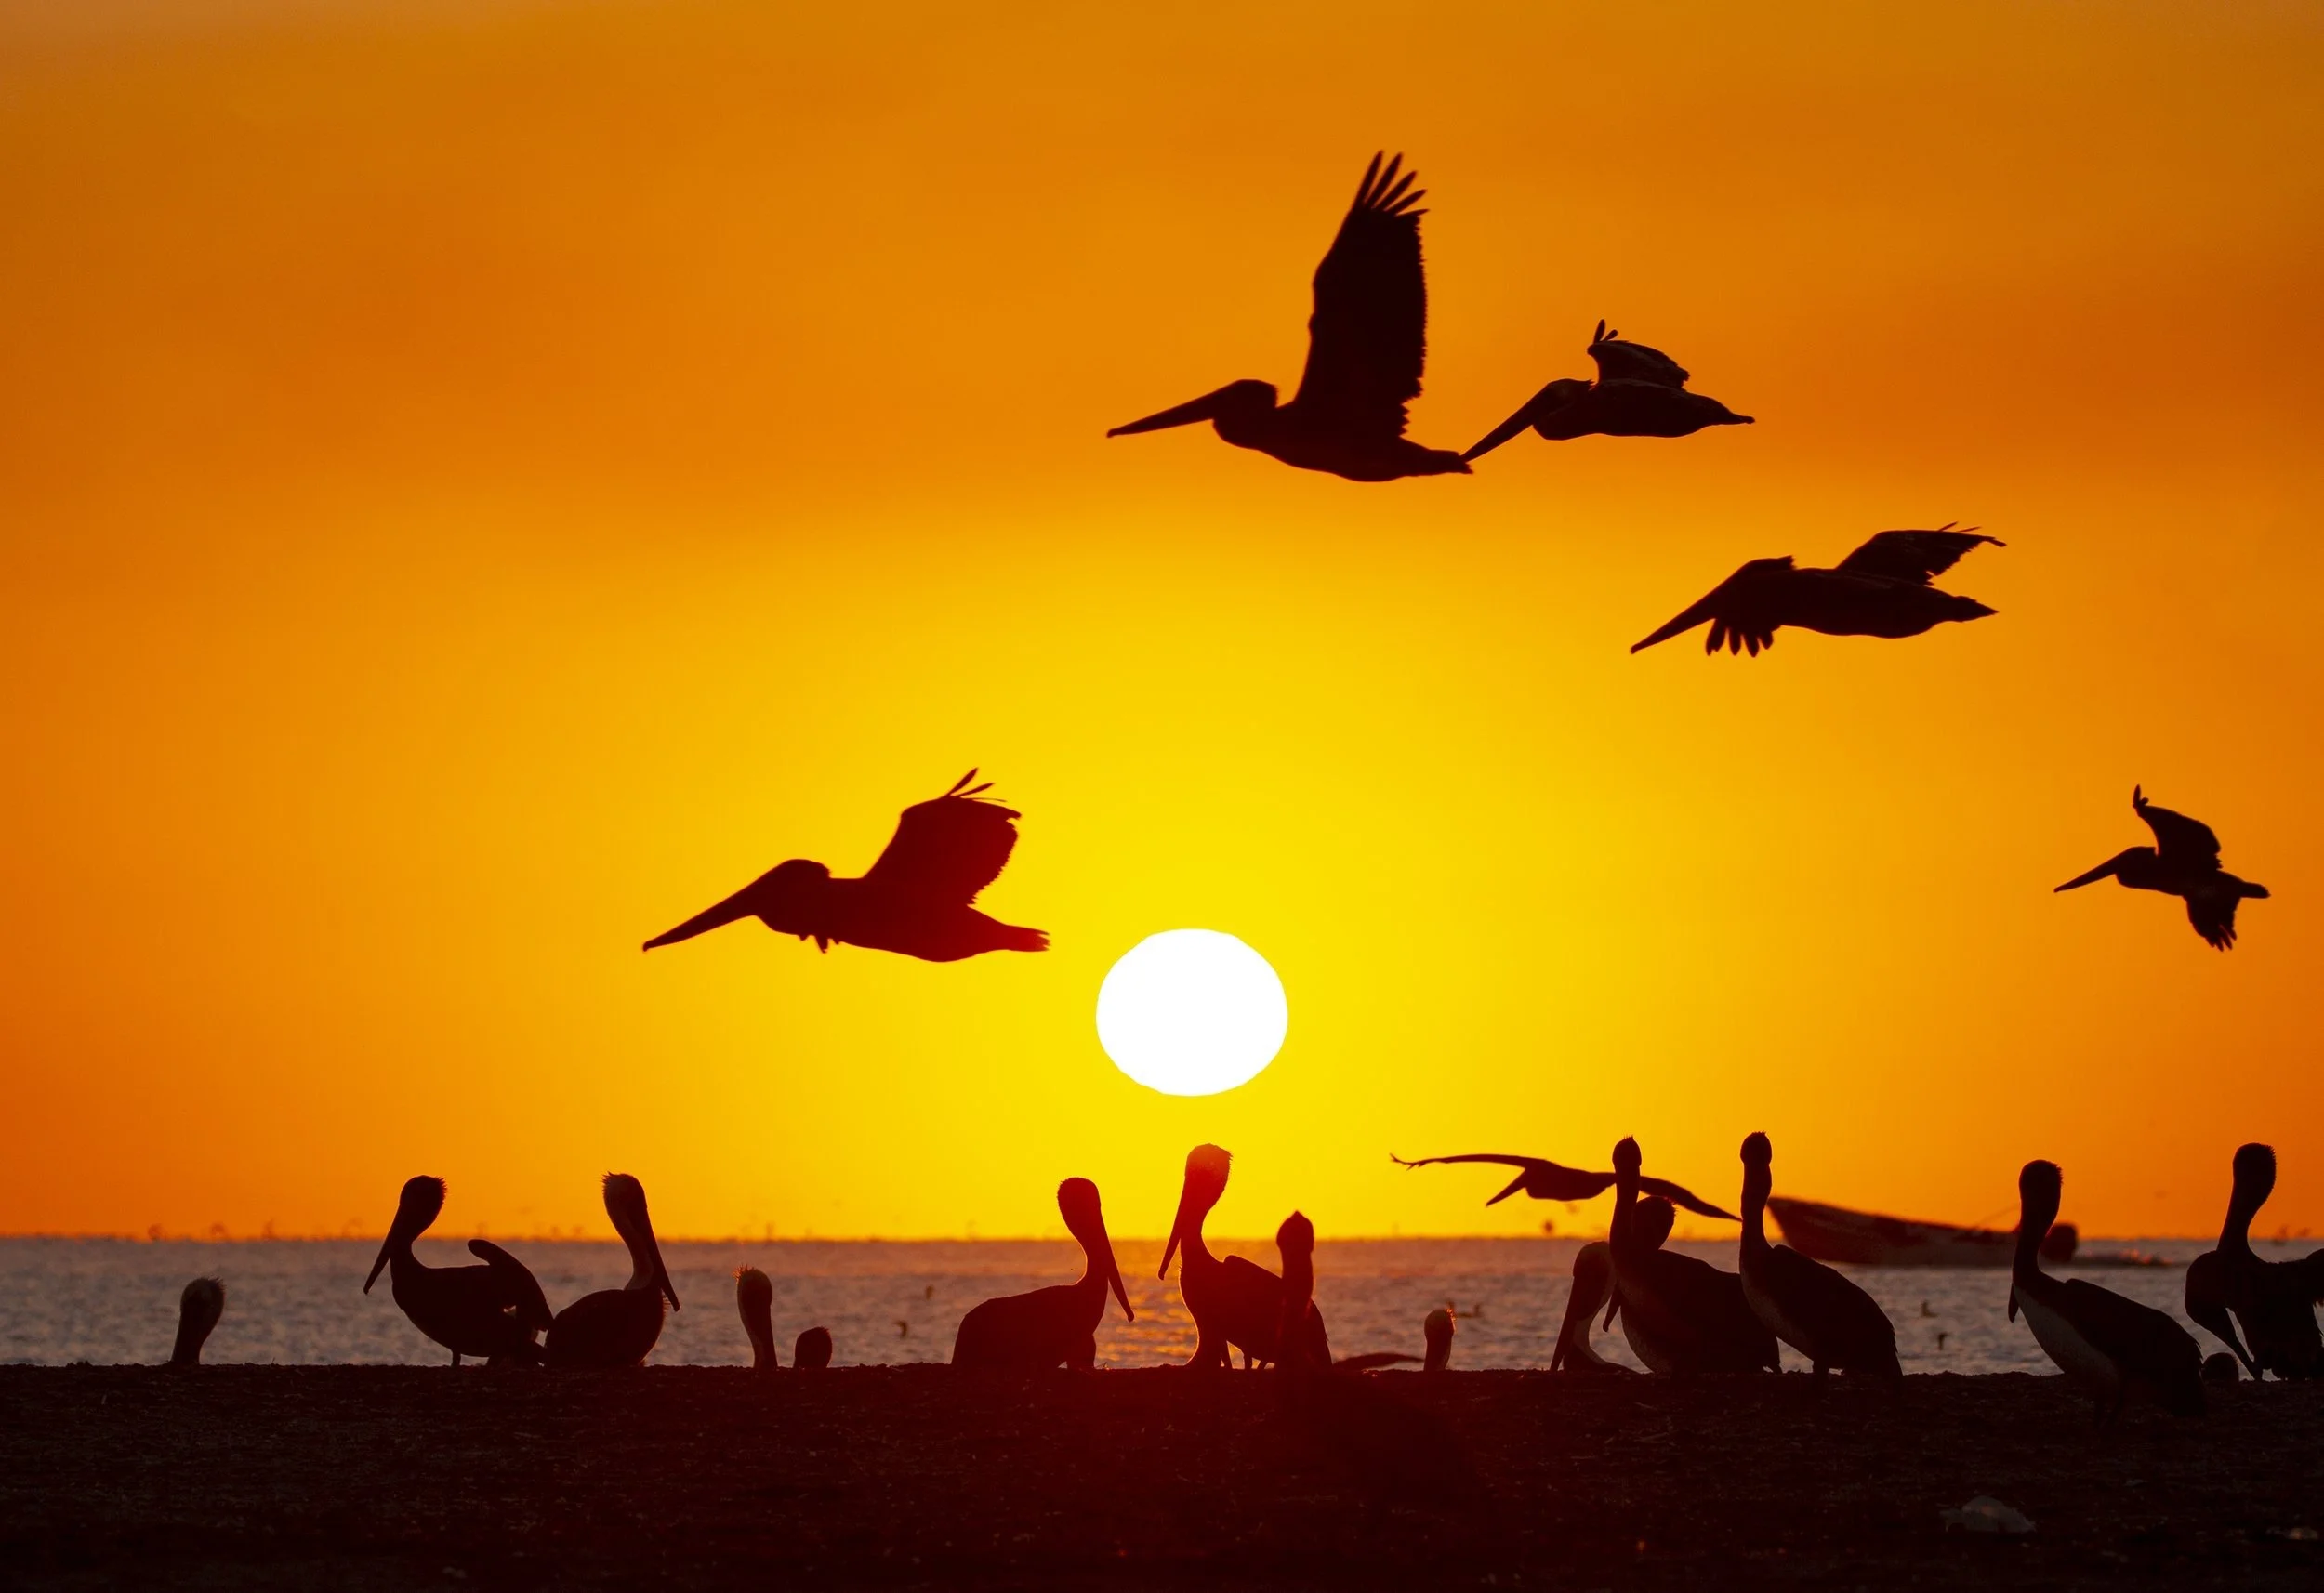
Brown pelicans off Magdalena Bay, MX.

Every photographer has a list of rules they were taught to follow… the golden ratios, the perfect exposures, the “never shoot into the light” kind of advice.

But here’s the thing…

I break that last one all the time.

Some of my favorite wildlife photos were taken against the light, silhouettes of bears in the sunset, bobcats glowing in golden dust, orca breaking the surface as the last of Norway’s light descends behind the mountains. 

Orcas off Norway. 1/1600, f5.6, ISO 800

Shooting into the light isn’t easy. 

It’s messy. It blows out highlights, hides details, and breaks every clean rule of composition. 

But it also makes the wild feel alive.

And honestly, I struggle most of the time to get it right. 

When you’re shooting backlit subjects, figuring out the best ISO and shutter speed is always a challenge. 

You rarely have much time to adjust. 

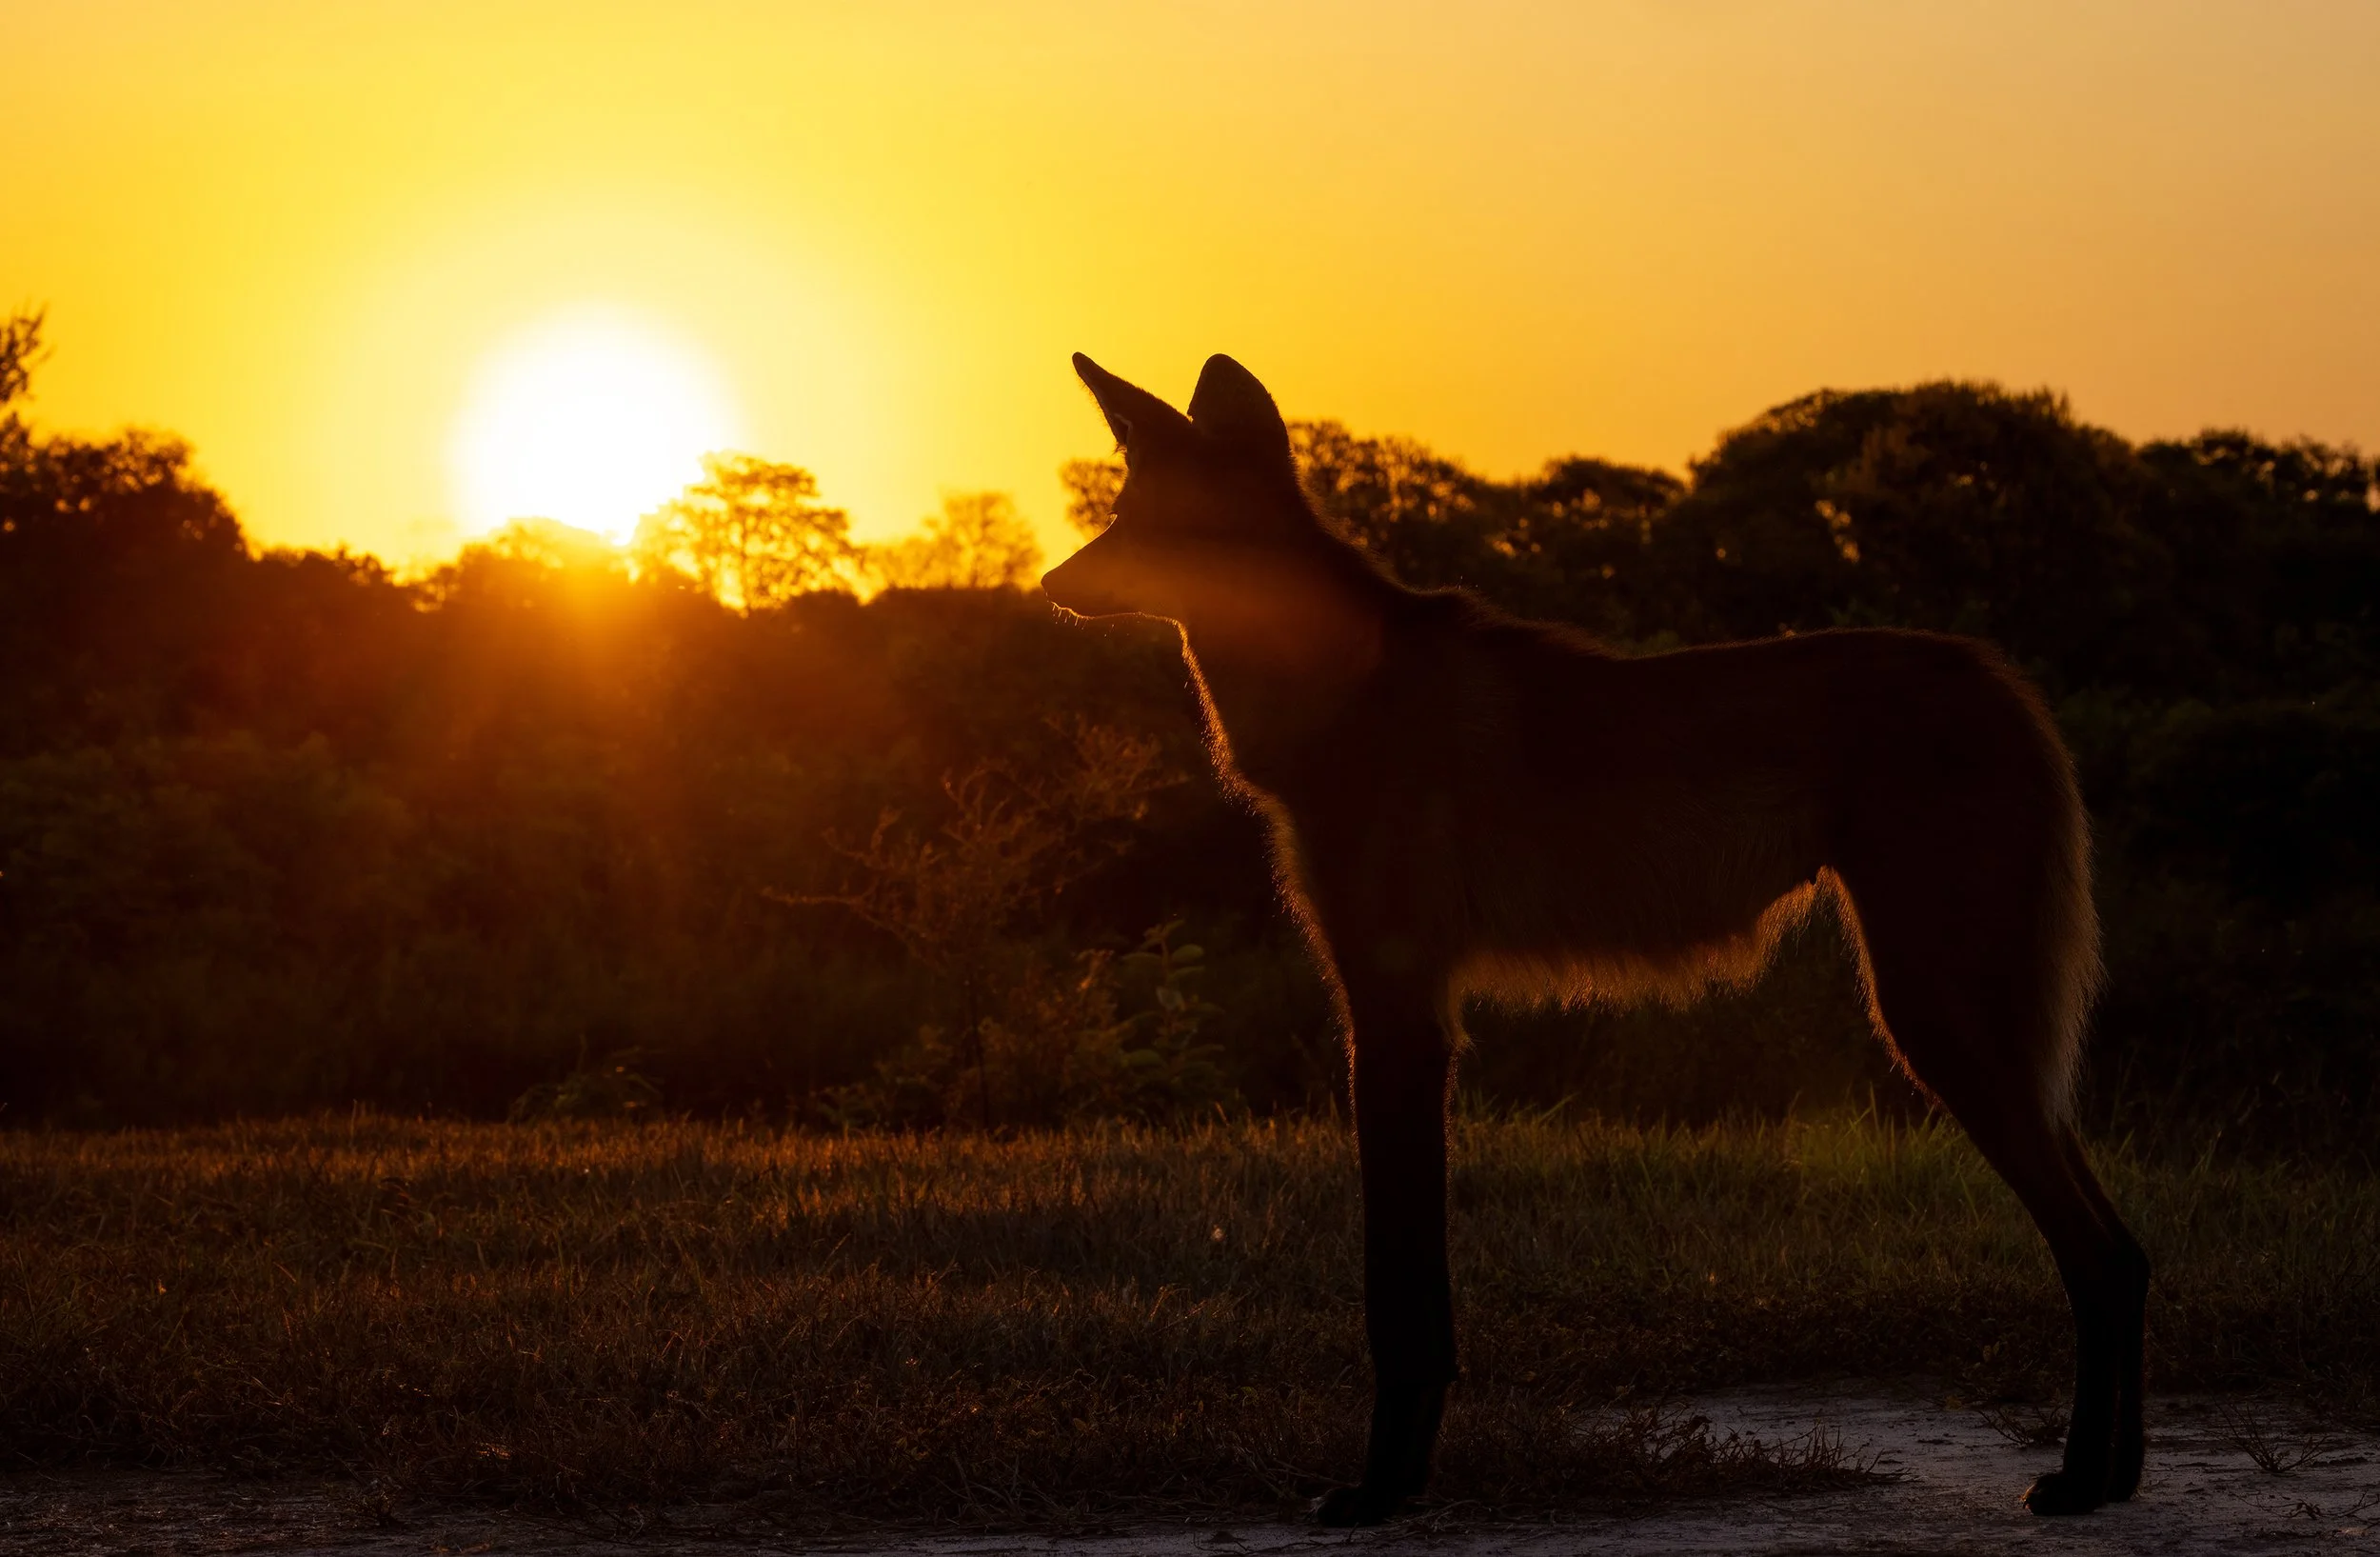
Maned Wolf off the Northern Pantanal. 1/640, f14, ISO 800

With wildlife, you don’t plan for backlit images, you get lucky with them.

Maybe you’re sitting in an area where you know elephants will be passing along a well-worn trail, and you get that perfect chance to prepare. 

But most of the time, you don’t get that choice. 

You’re gifted the moment when the animal suddenly turns left instead of right, or when the whale passes on the “wrong” side, and suddenly, the sun is behind them.

That’s when it happens.

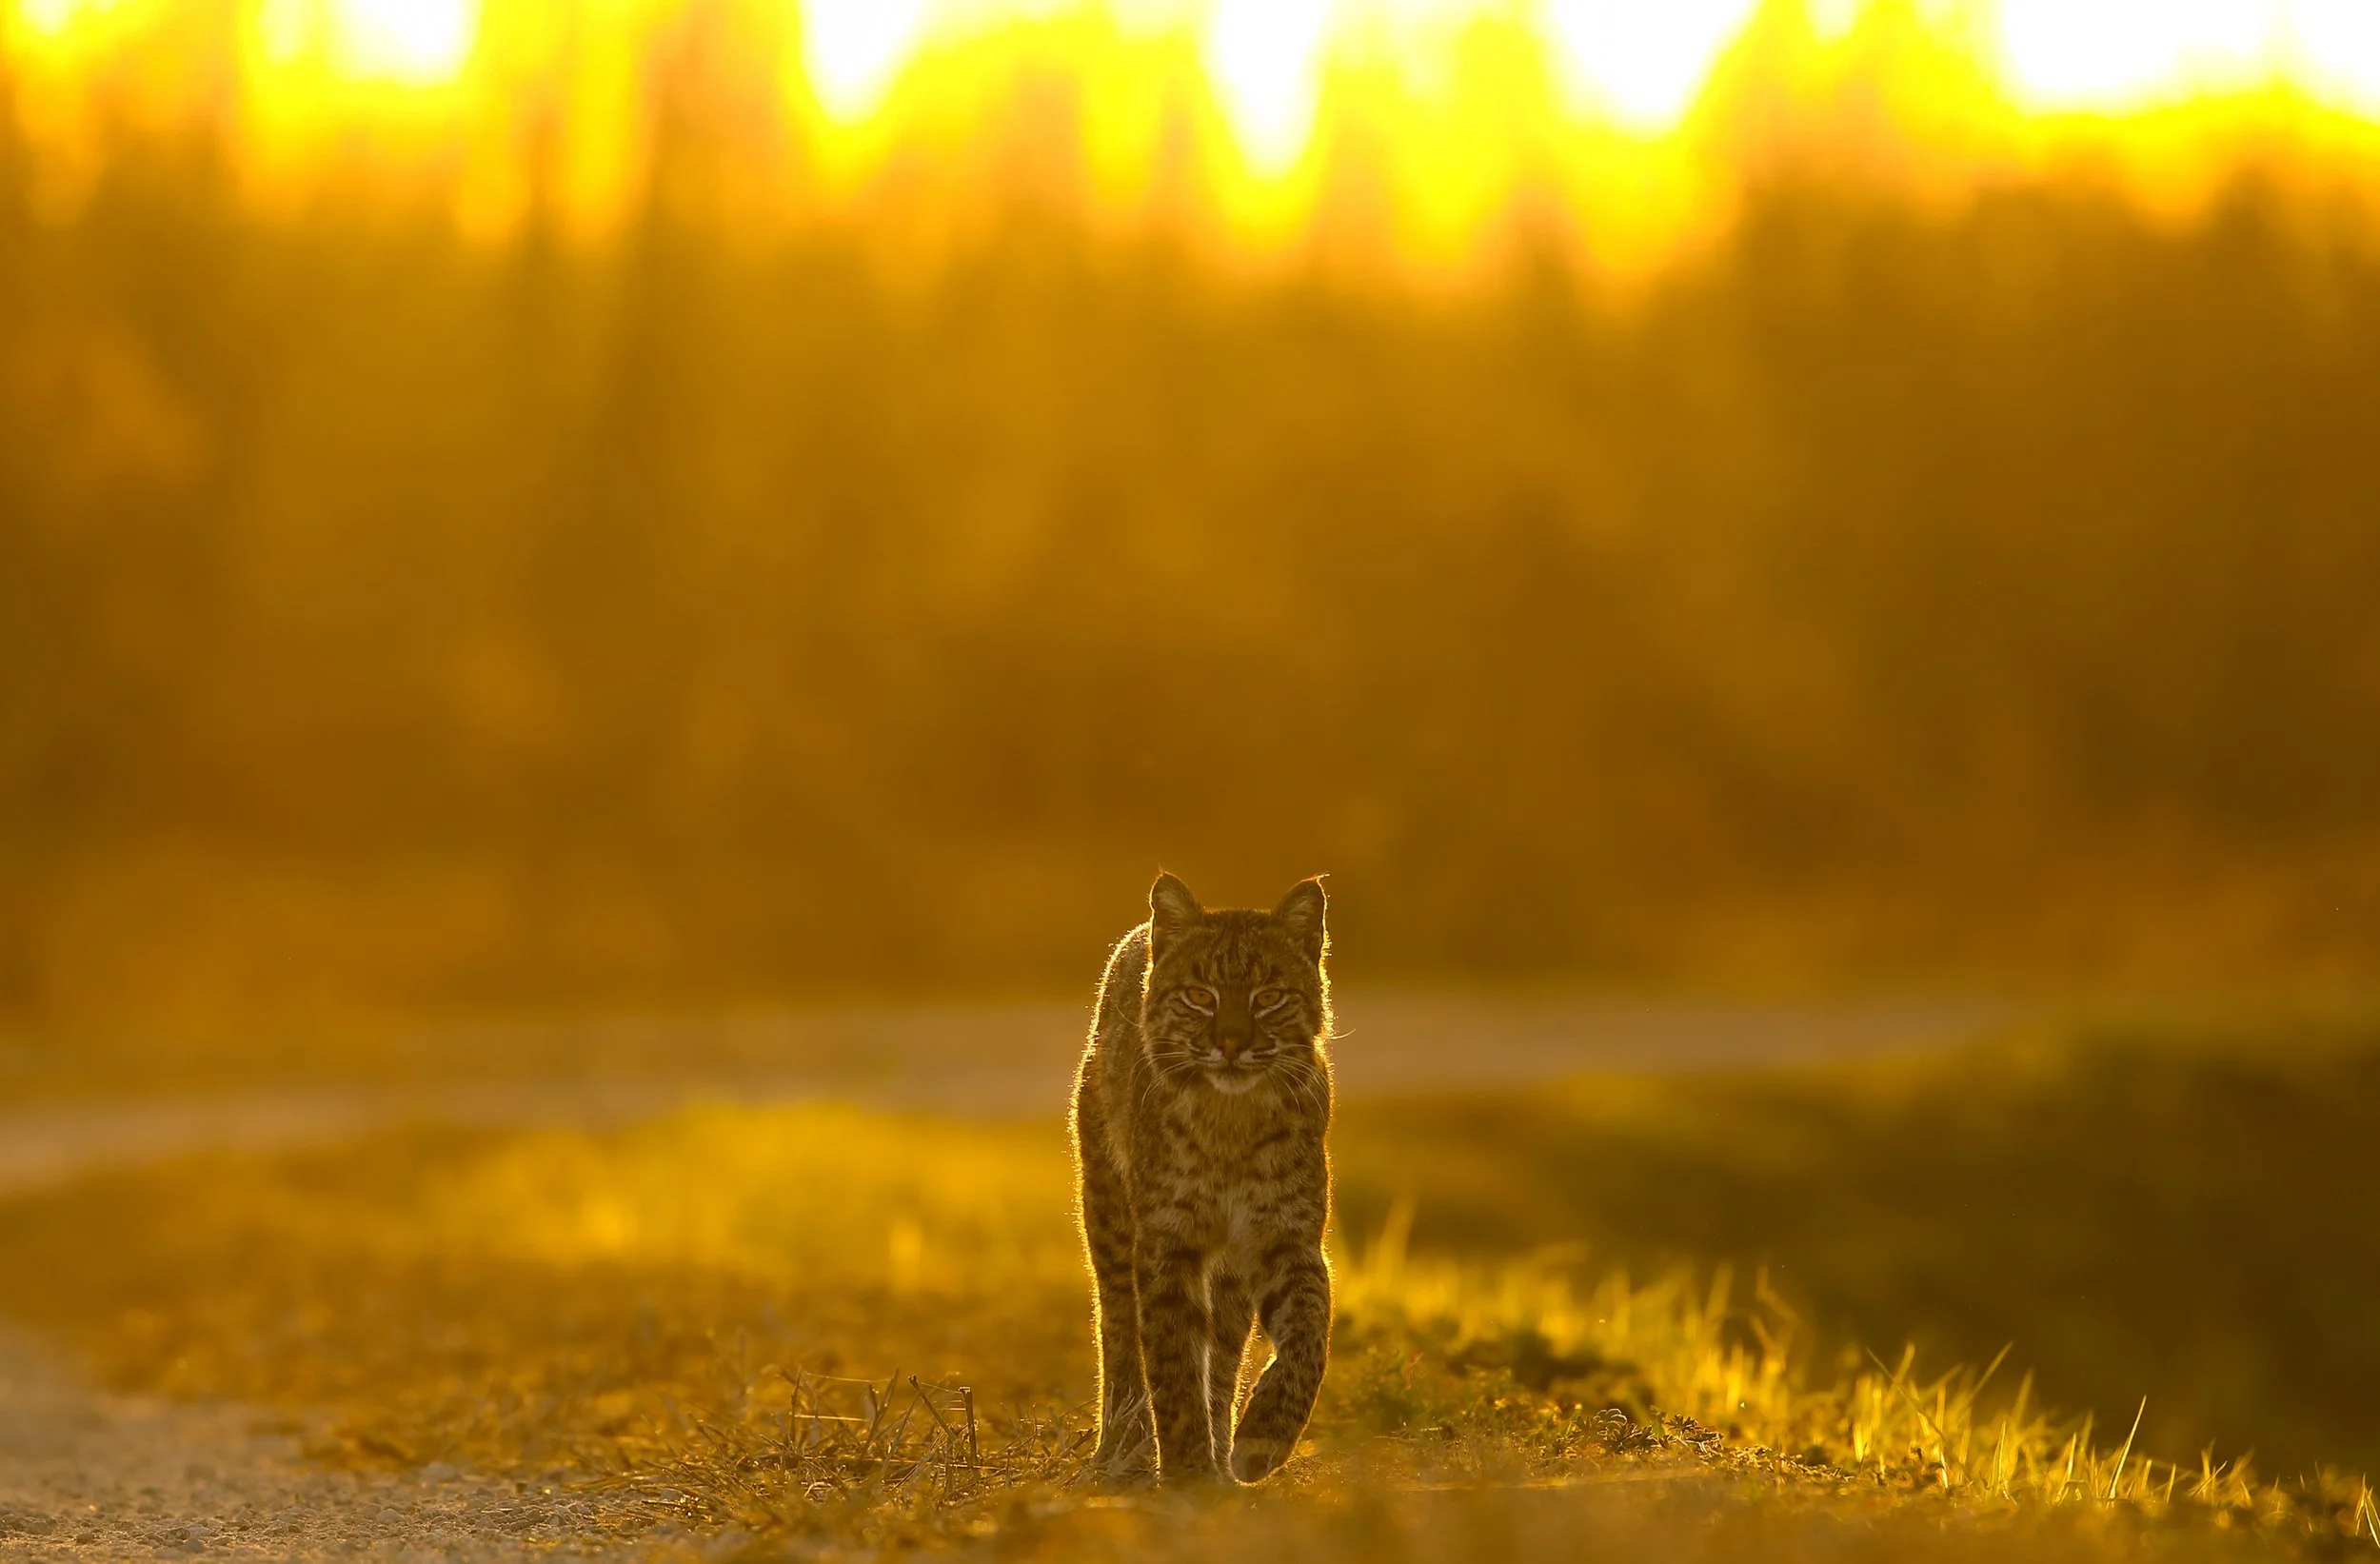
Bobcat off Florida. 1/1000, f5.6, ISO 400

The light burns through the edges of their body, wrapping them in fire, color, and shadow. 

It’s beautiful chaos, the kind that tests your instincts and rewards your patience.

Most animals prefer to keep the sun behind them as they move past people, it helps them see us better. 

And when they can see us better, they relax. 

That small bit of awareness gives us something real: a moment of trust, framed in gold.

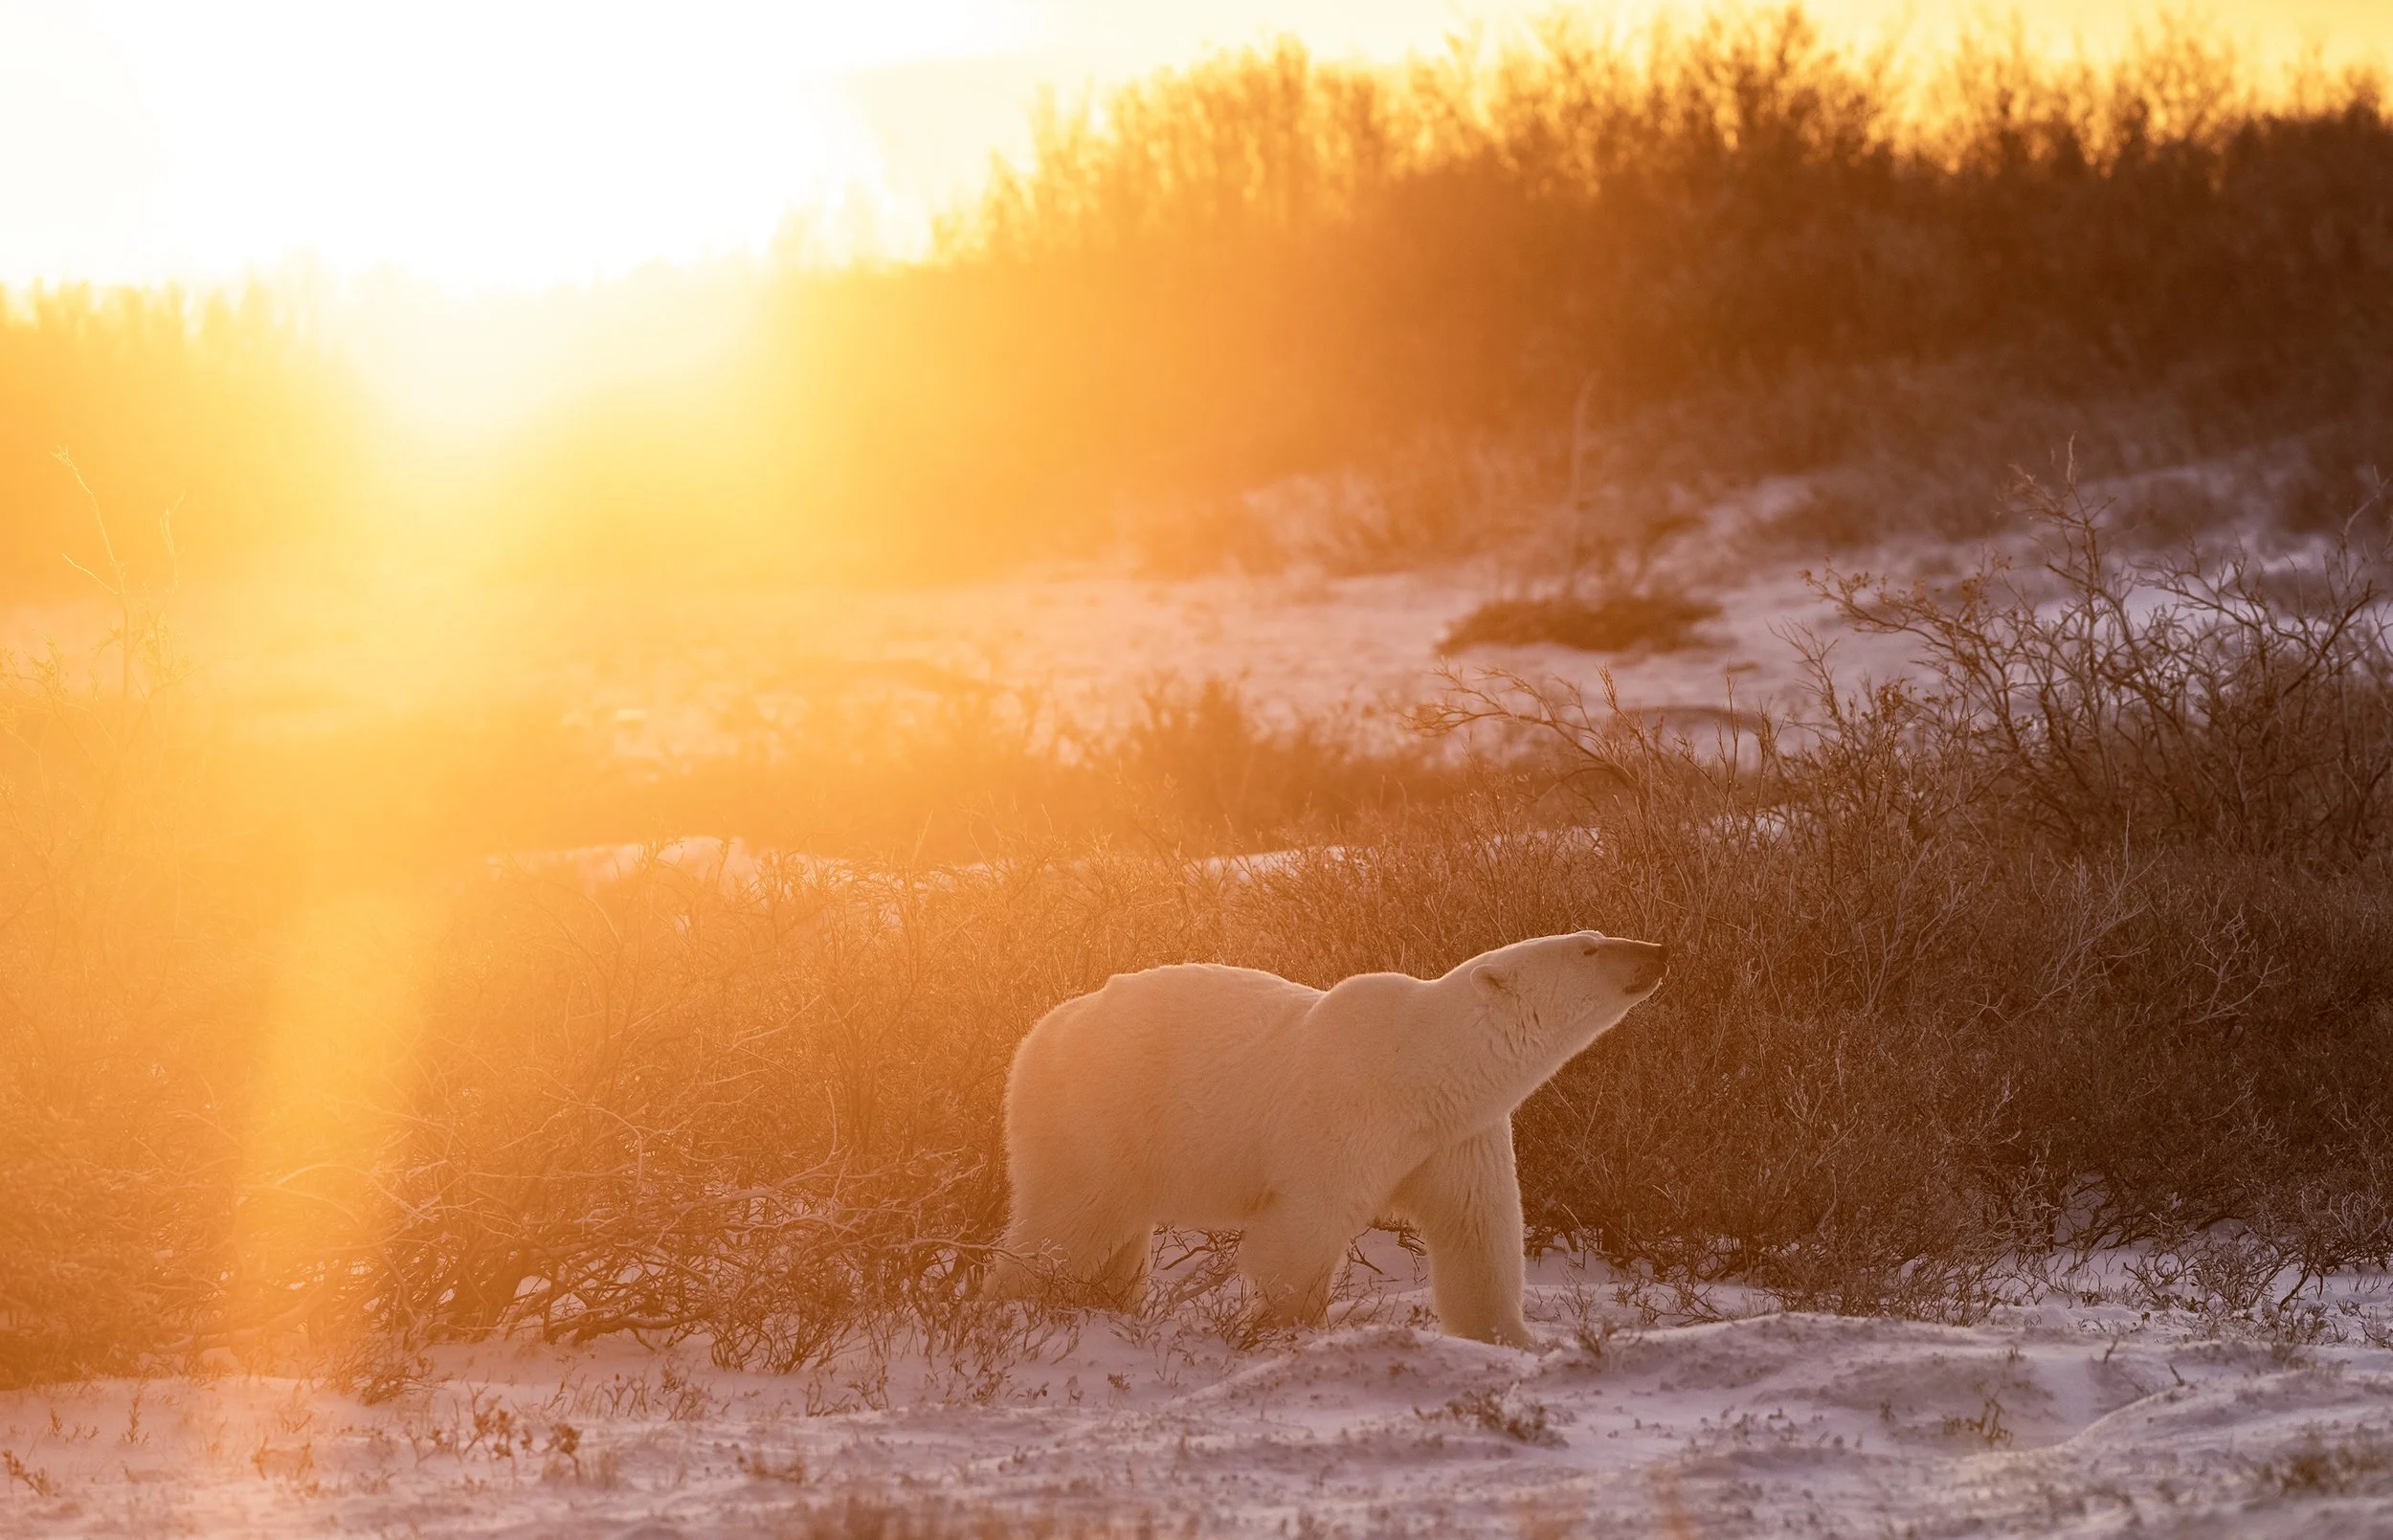
Polar Bear off Churchill. 1/1000, f5.6 ISO 640

Photography is supposed to make you feel something, and light, real light, isn’t always neat and controlled. 

Sometimes it’s harsh, unpredictable, wild… like the animals themselves.

If you only ever follow the rules, you’ll get good photos, sharp, balanced, technically correct.

But if you’re willing to bend them, that’s where the magic starts. 

Brown Bear family off Katmai, Alaska. 1/1250 f32, ISO 1250

The image might not be perfect, but it will have a heartbeat.

Every time I press the shutter into the light, I’m reminded that photography isn’t about perfection. 

It’s about emotion, the quiet honesty of what it felt like to be there.

So yes, I shoot into the light. I chase it, even. 

Because the wild isn’t meant to be tamed… and neither is the way we capture it.


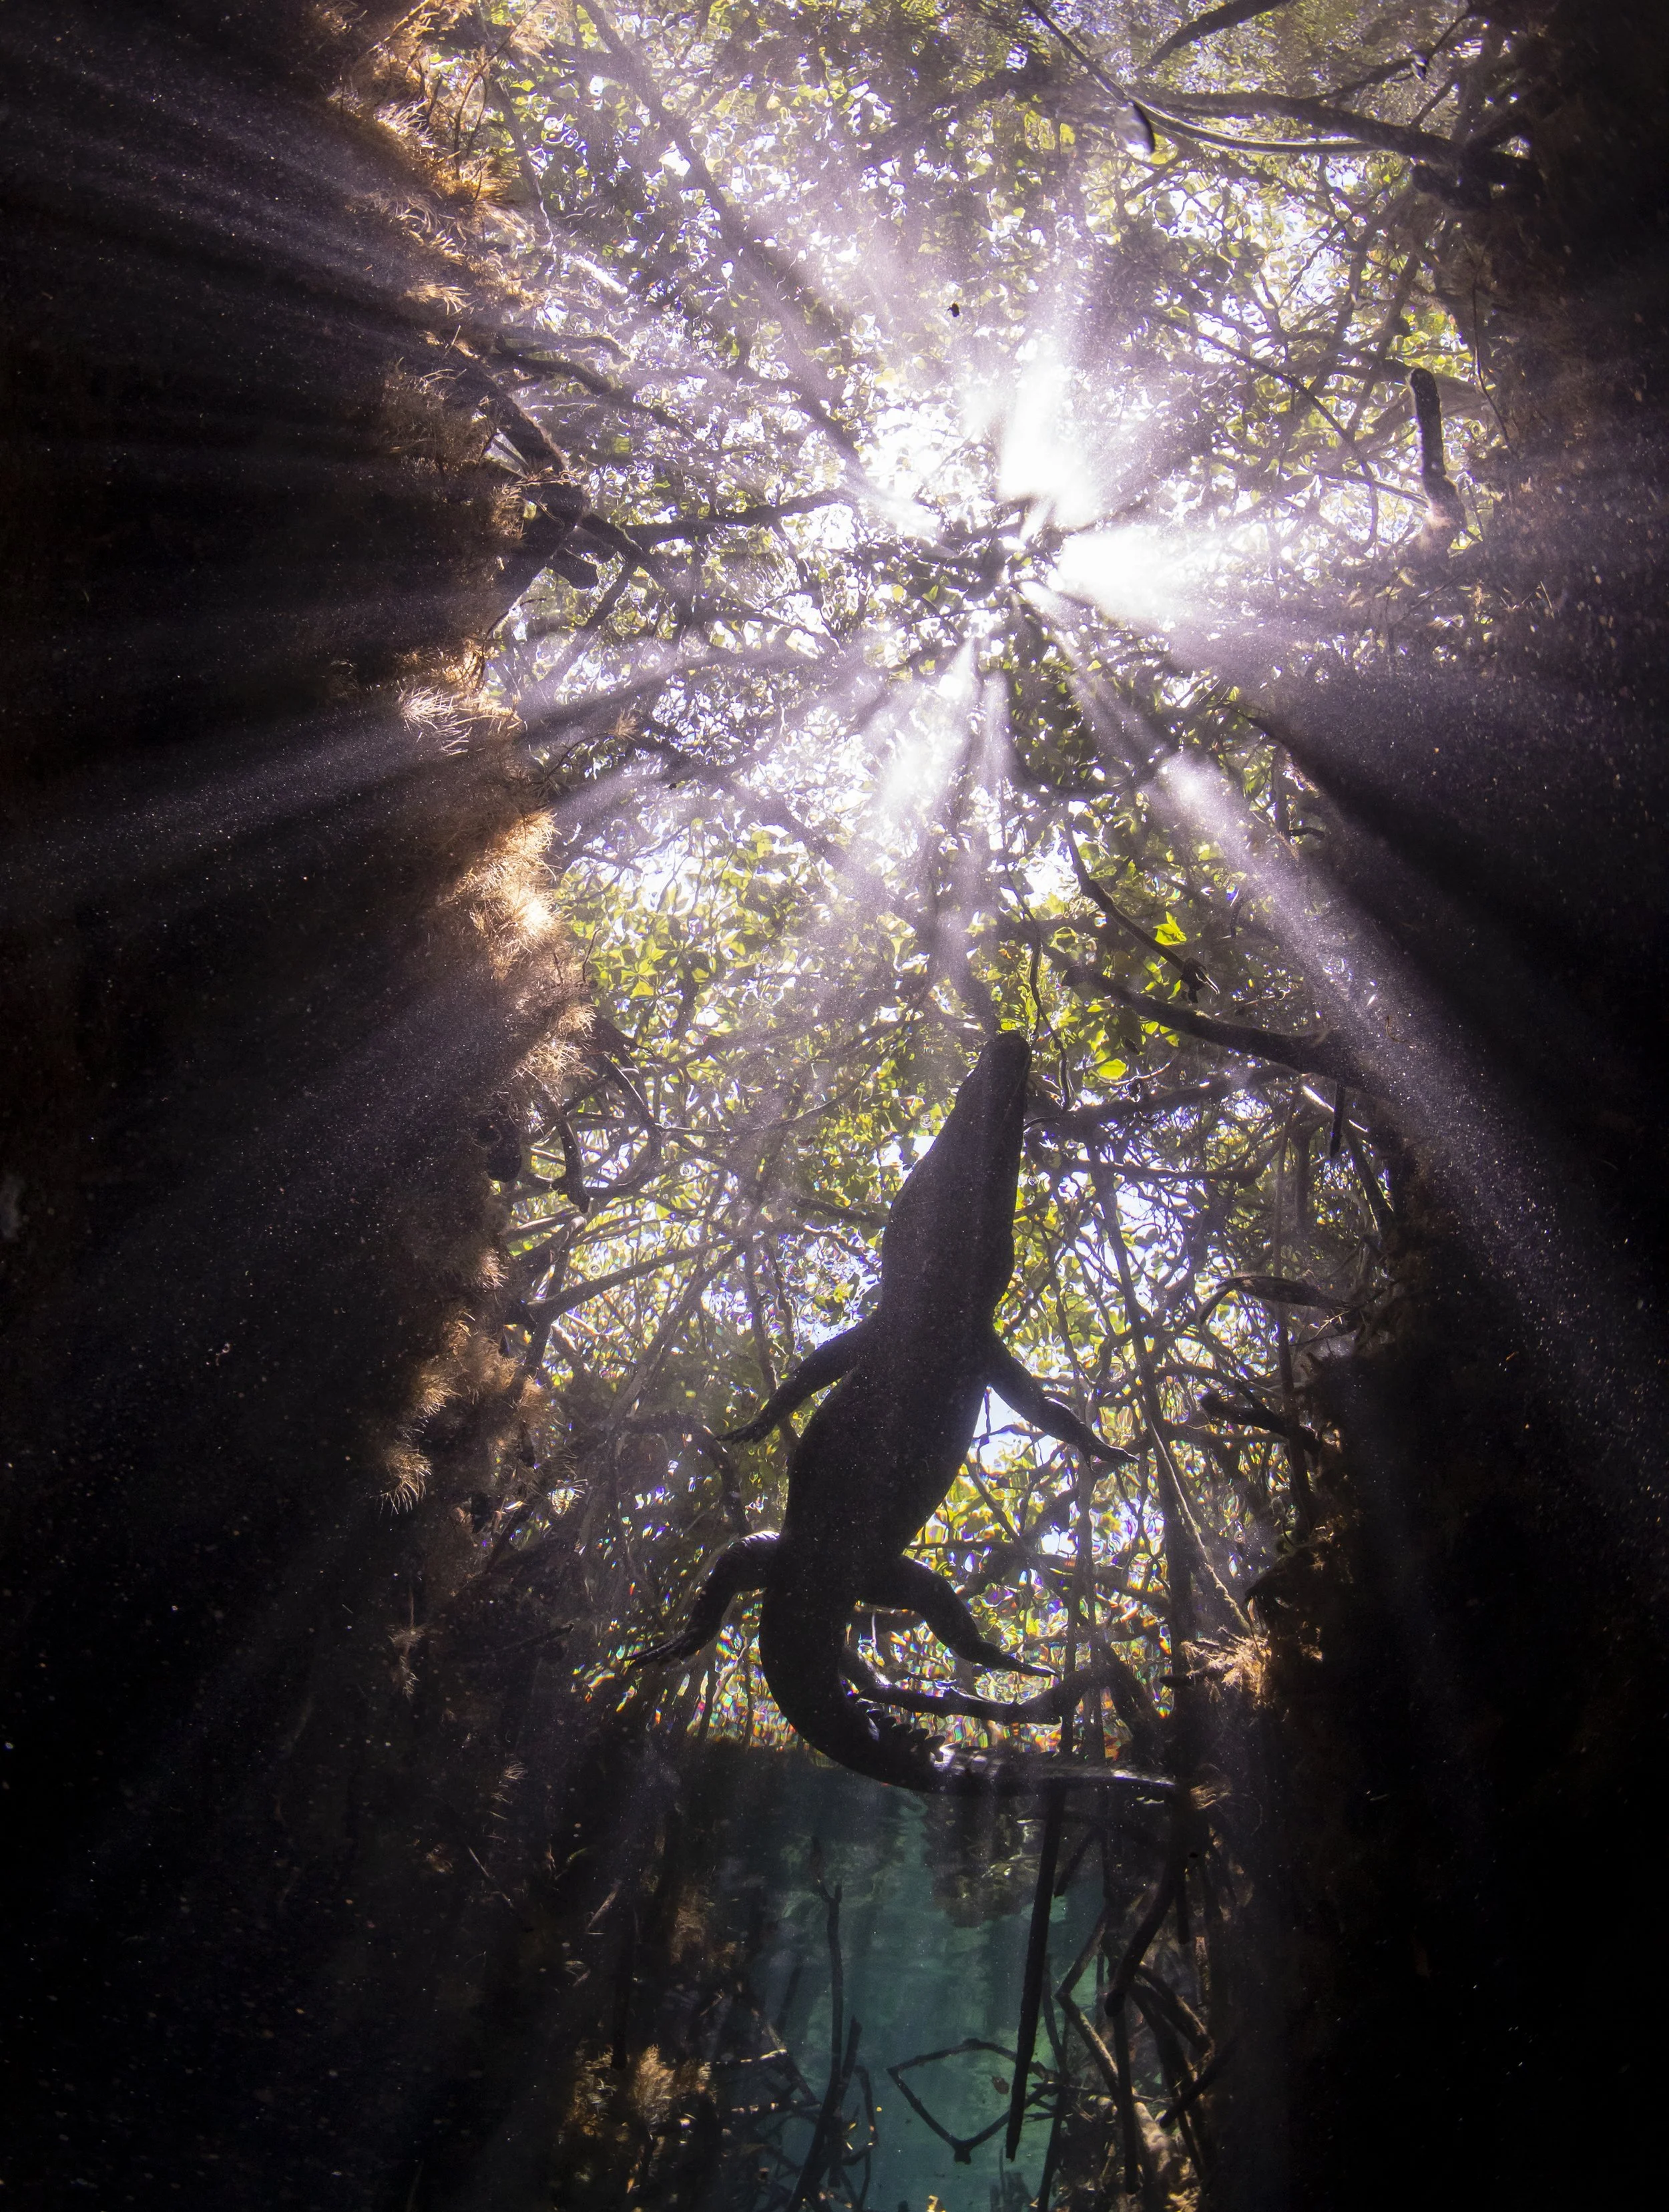
Morelet’s crocodile in the Mangroves, Tulum, MX. 1/250, f9, ISO 1600.
No golden light here, underwater backlit photos are different. Instead of warm tones, you get God rays. Streaks of light firing through the water.

A Few Tips for Shooting Into the Light

Shooting backlit wildlife is one of the hardest things to get right, but when it works, it’s magic. 

Here are a few things I’ve learned
(mostly the hard way):

  • Watch your exposure, not your instincts.
    Backlight fools your camera’s meter into underexposing. Don’t trust the screen, watch your histogram and move it slightly to the right to preserve shadow detail.

  • Use spot metering when you can.
    Expose for the light on the animal’s face or body, not the sky. That’s where the story is.

  • Embrace imperfection.
    Backlit shots rarely look clean, and that’s the point. Let the light spill, let the edges glow, let the wild be wild.

The Euphotic Zone: Your Best Friend in Natural Light Photography

Beluga Whale off Churchill, Canada. 1/400, f9, ISO 1000.

This is Part 2 of 10 Part Underwater Natural Light Photography Series.

When shooting underwater using natural light, the euphotic zone is your playground. This is the uppermost layer of water that sunlight penetrates, and it’s where natural light photography truly comes to life. Understanding how light interacts with water in this zone is essential for creating stunning underwater images.

What is the Euphotic Zone?

The euphotic zone is the part of any body of water that receives bright and clear sunlight. Even in turbid, murky water, there’s always a euphotic zone—though it might only extend a few inches deep. In the tropics, where water clarity is exceptional, the euphotic zone can extend well beyond 260 feet—far past recreational diving depths.

This zone is where sunlight, or ambient light, allows photographers to capture natural, vibrant underwater scenes. For those relying on natural light, the euphotic zone is your best friend.

Pink Dolphin in the Amazon River, Brazil. 1/320, f5.6, ISO 2000

Here are two examples of wildlife thriving in very different Euphotic Zones: the pink dolphin of the Amazon River and the lemon shark of the Bahamas. Each represents the unique beauty and diversity of life in their distinct aquatic worlds. The pink dolphin thrives in the dim, low-light conditions of the Amazon River, navigating its murky waters with remarkable adaptations that allow it to flourish in this unique environment. In stark contrast, the lemon shark thrives in the clear, sunlit waters of the Bahamas, where high visibility and abundant light create the perfect conditions for this sleek predator to navigate and hunt.

Lemon Shark at Tiger Beach, Bahamas. 1/320, f8, ISO 400

How Light Behaves Underwater

Light behaves very differently underwater than it does on land. Water is about 800 times denser than air, which causes light to scatter and absorb quickly as it penetrates. The deeper you go, the more light—and color—you lose.

Hawksbill Sea Turtle off Playa Del Carmen, MX. 1/320, f5, ISO 800

Here’s how color disappears at different depths:

  • Red vanishes around 15 feet.

  • Orange fades by 30 feet.

  • Yellow disappears by 60 feet.

  • Green is absorbed around 100 feet, leaving only blues.

This means that the deeper you dive, the more muted and monochromatic your images will appear. Natural light photographers need to work within these limitations to create vibrant and well-exposed photos.

Whale Shark off Isla Mujeres, MX. 1/320, f9, 1/800

Tips for Working in the Euphotic Zone

  1. Stay Shallow:
    The closer you are to the surface, the more light and color you’ll have. For the best results shoot wildlife above 30 feet where reds and oranges are still visible.

  2. Time Your Dives:
    Early morning and late afternoon offer soft, diffused light that can add mood and dimension to your photos. Midday dives provide the most light penetration, which is great for capturing vibrant colors at deeper depths.

  3. Understand Water Clarity:
    Clear tropical waters extend the depth of the euphotic zone, while murky or nutrient-rich waters will reduce it significantly. Adjust your expectations and camera settings accordingly.

  4. Position the Sun Behind You:
    Just like on land, keeping the sun at your back ensures your subject is well-lit and shadows are minimized. Unless you are going for an artsy image and then you want your subject to be backlit by the sun.

Tiger Shark at Tiger Beach, Bahamas. 1/250, f8 ISO 400

The Challenges of the Euphotic Zone

Natural light photography in the euphotic zone is not without its difficulties. Clouds, tides, and weather can all affect light penetration. Additionally, the further you descend, the harder it becomes to maintain vibrant colors without proper camera settings and techniques like custom white balance (which I’ll cover in a future post).

Why the Euphotic Zone is Worth It

Despite the challenges, the euphotic zone offers unparalleled opportunities for natural light photographers. The sunlight filtering through water creates breathtaking effects, like god rays that cut through the blue, or the shimmering light patterns on the ocean floor. These natural phenomena can add depth and drama to your images, creating compositions that feel both authentic and otherworldly.

Sealion off Baja, MX. 1/400, f9, ISO 640

ALWAYS Bring Your Camera!

IMG_4056.JPG

There’s a stretch of country road I drive almost daily here in South Texas, whenever I’m home. It runs alongside a wide brush field—raw land growing wild with cactus, tall grasses, and scattered mesquite trees. As soon as I hit that road, I instinctively slow down and start scanning the field. There’s almost always a herd of wild nilgai grazing out there.

They’re never close. But they’re there. Every day.

I usually pull over for a few minutes to watch them. Even from a distance, their size is impressive—nilgai are massive antelopes, striking and out of place in a way that makes you look twice.

I’ve always wanted to photograph them. Not from across two football fields, but up close. Close enough to show the texture in their coats, the power in their build, the wary look in their eyes. But they always keep their distance, so I’ve contented myself with just watching—at least for now.

Still, it makes me happy. Happy to know that places like this still exist. That here, in my own backyard, there’s land wild enough for animals to stay wild.

nilgi 2.jpg

Of course, nilgai don’t actually belong here in South Texas. They’re native to the northern Indian subcontinent. But in the 1930s, the King Ranch imported a few for game hunting. The species adapted quickly and flourished. Today, the population in South Texas is estimated at around 37,000.

Because they’re considered invasive, nilgai can be hunted year-round—and they know it. The local population is incredibly skittish. Anytime I pull over, even at a distance, their ears snap to attention. Moments later, they begin their slow retreat into the thick brush, taking no chances.

But then... magic happened.

After seeing them out there for weeks, one afternoon I spotted them much closer to the road. Close enough for some clean shots with a 400mm lens. It was a group of male bachelors—the kind of moment I’ve been waiting for. The males are giants, sometimes tipping the scales at 700 pounds. They are powerful, beautiful animals.

And guess what? I didn’t have my camera.

Not even my backup. Gloria (my main camera) was sitting at home. All I could do was watch in frustration, cussing and kicking myself for leaving it behind. It was one of those perfect wildlife moments… and I missed it.

Lesson learned. Again.

bucks.jpg

After that brain fart, I’ve been bringing my camera with me every time. Of course, since then, I’ve only seen the nilgai way out in the distance again. But I’m happy to report I did manage to capture a few images—nothing I’m crazy about, but a few decent landscape-style shots, and some with the early morning fog rolling in, which gave them a nice moody feel.

What I’m really after, though, is a close-up of a big buck—face forward, looking straight into the lens, that massive neck filling the frame. That’s the shot I want. So I’ll keep showing up, camera in hand, waiting for the day the nilgai get brave enough to wander in close and give me that moment.

This a good perspective shot to see the size difference between a nilgai buck near a white tailed deer

This a good perspective shot to see the size difference between a nilgai buck near a white tailed deer

I’ll be back out there tomorrow, hoping it’s my lucky day.
Until next week, my friends…

Thanks for reading.