I get asked about camera equipment on almost every trip.
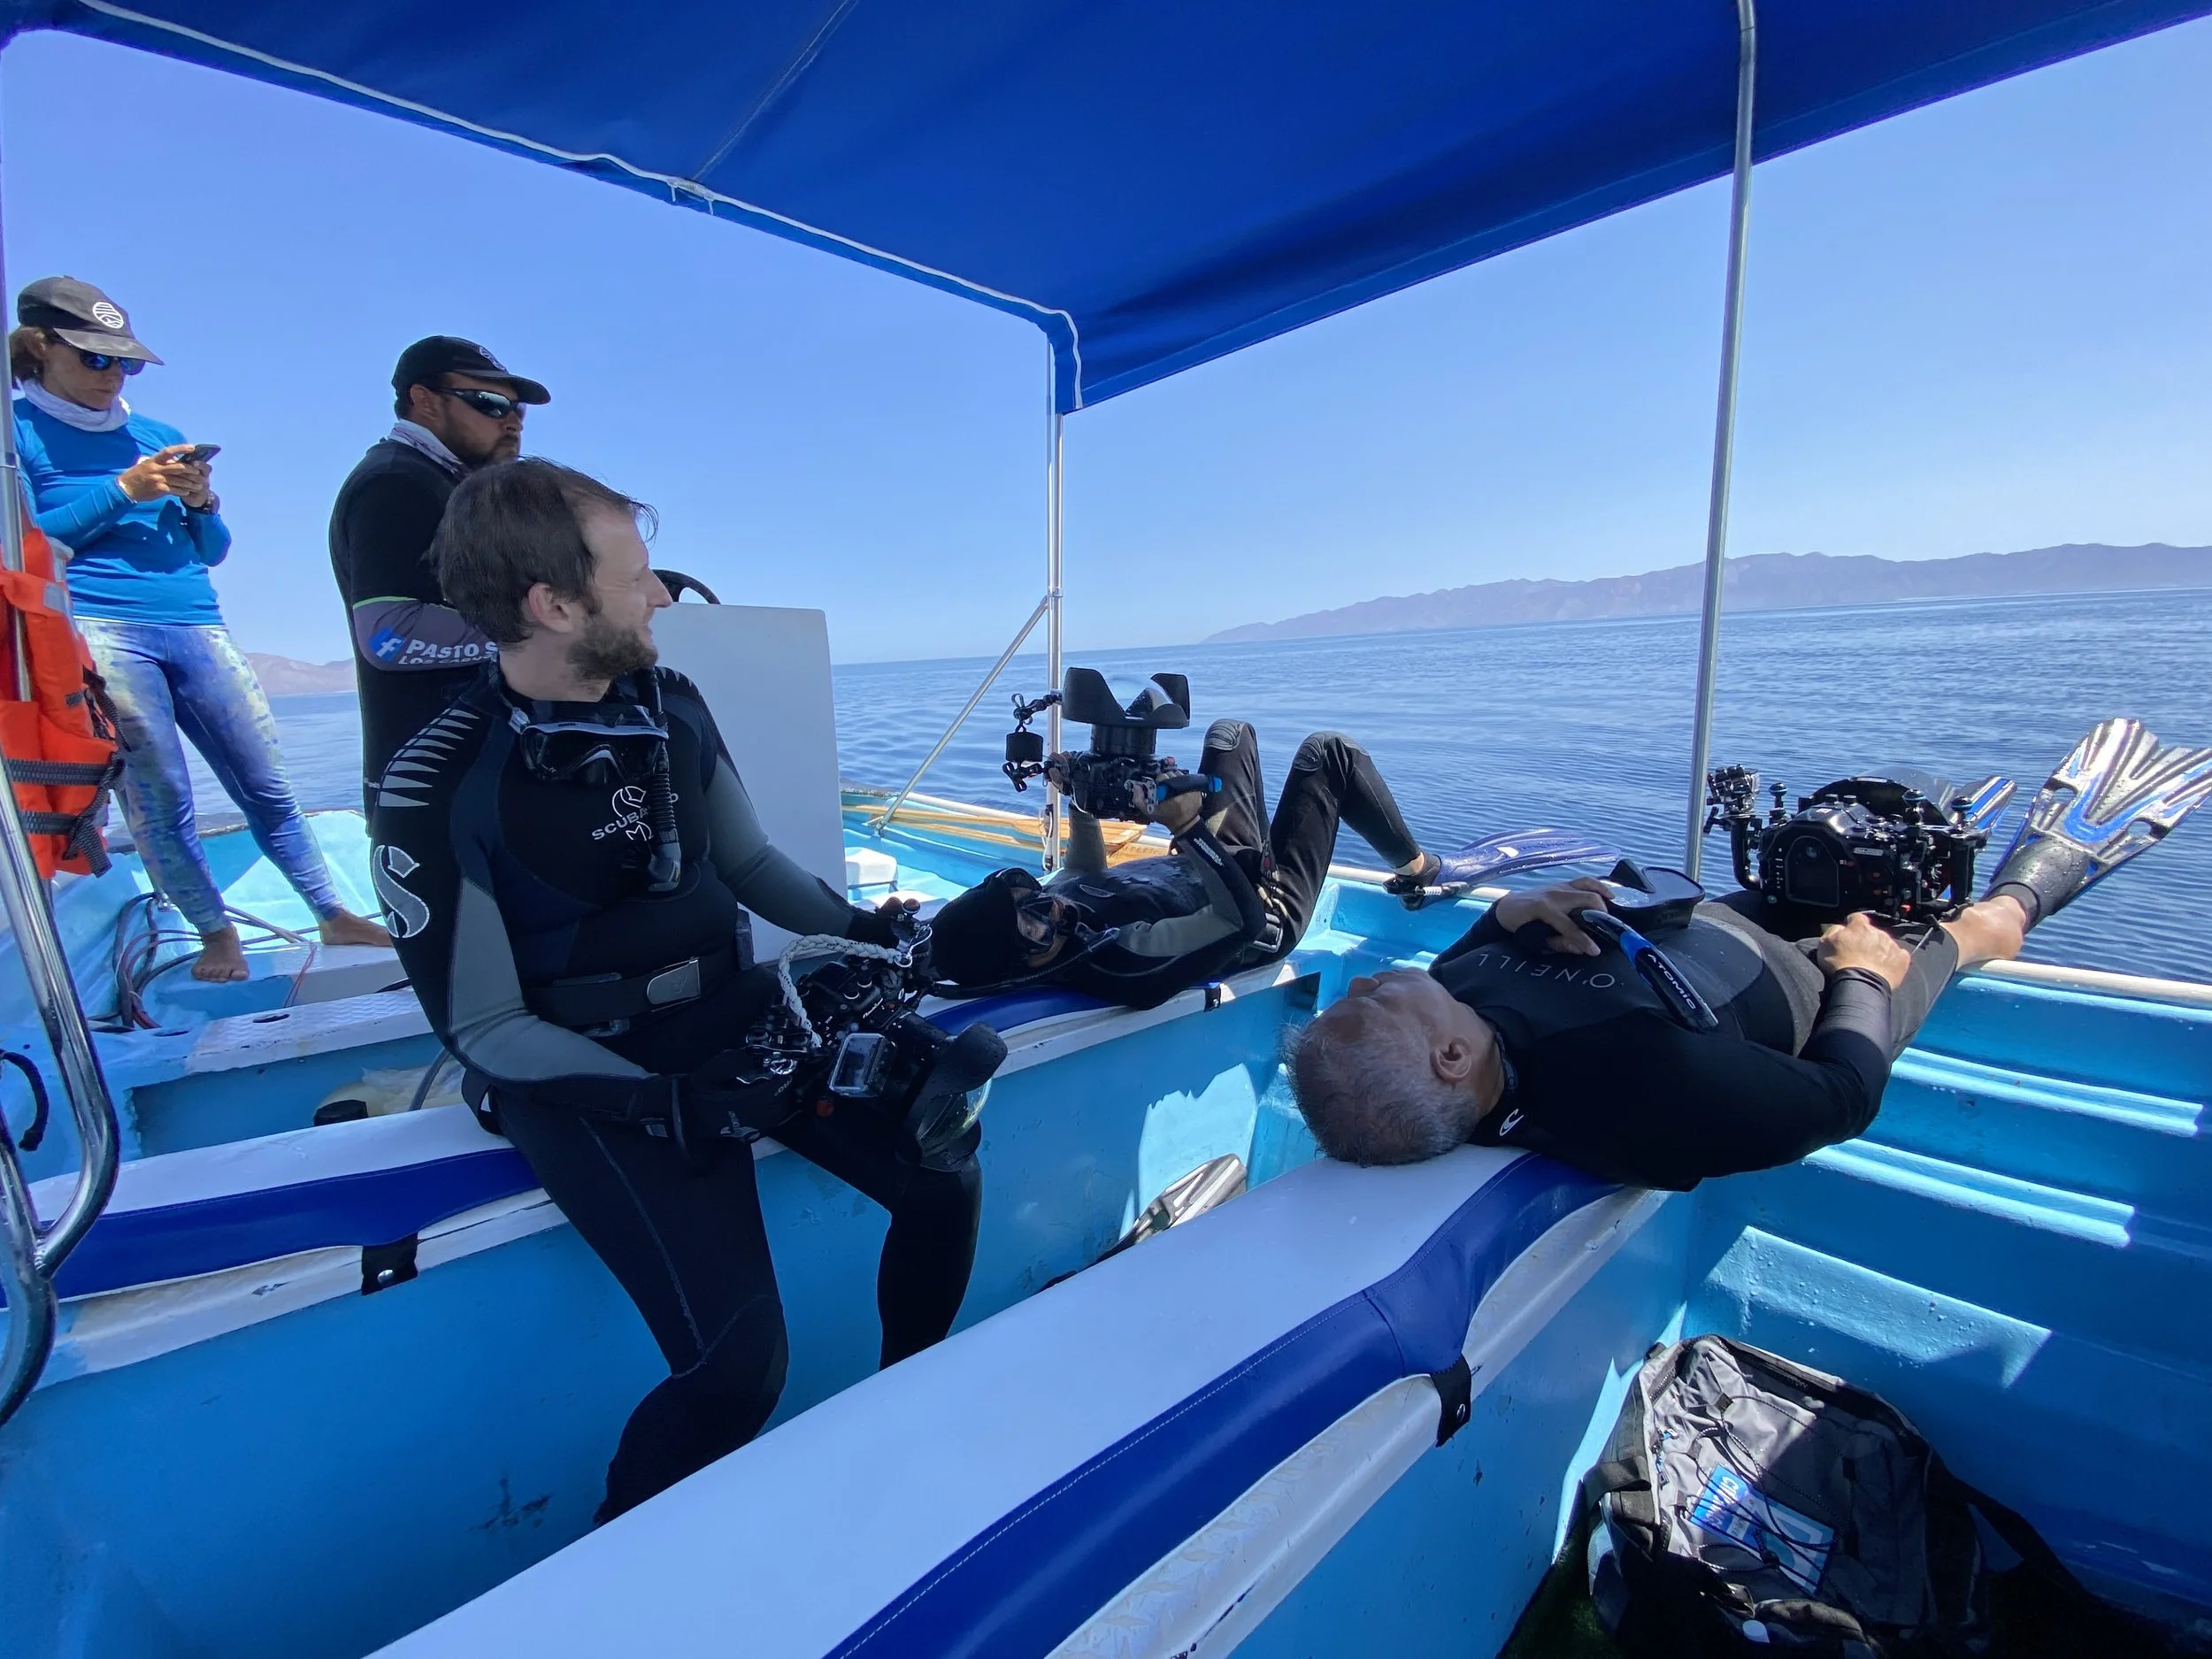
People show up with everything you can imagine; brand new mirrorless rigs, older DSLRs, compact cameras, Gopros, phones, housings held together with hope.
Some guests feel confident. Others feel instant camera envy the moment they see what someone else is shooting with.
And I see it happen every time.
Someone looks at another guest’s setup and quietly wonders if they brought the wrong camera. If their images will somehow matter less.
If they’ll fall short.
Here’s the truth.
Yes… some cameras capture light, color, and dynamic range better than others.
That’s real. Technology moves fast.
New gear is impressive.
But none of that matters if you forget to enjoy the moment you’re standing in.
It’s easy to feel bad about what you brought because someone else has more.
A newer body. A faster lens. A shinier housing.
But long after the trip is over, long after you’ve edited the photos, shared them, and eventually stopped looking at them, what stays with you is the feeling of the place.
The cold water.
The silence.
The animal deciding whether to come closer.
That’s what lasts.
The memory you leave with will always outweigh what you captured.
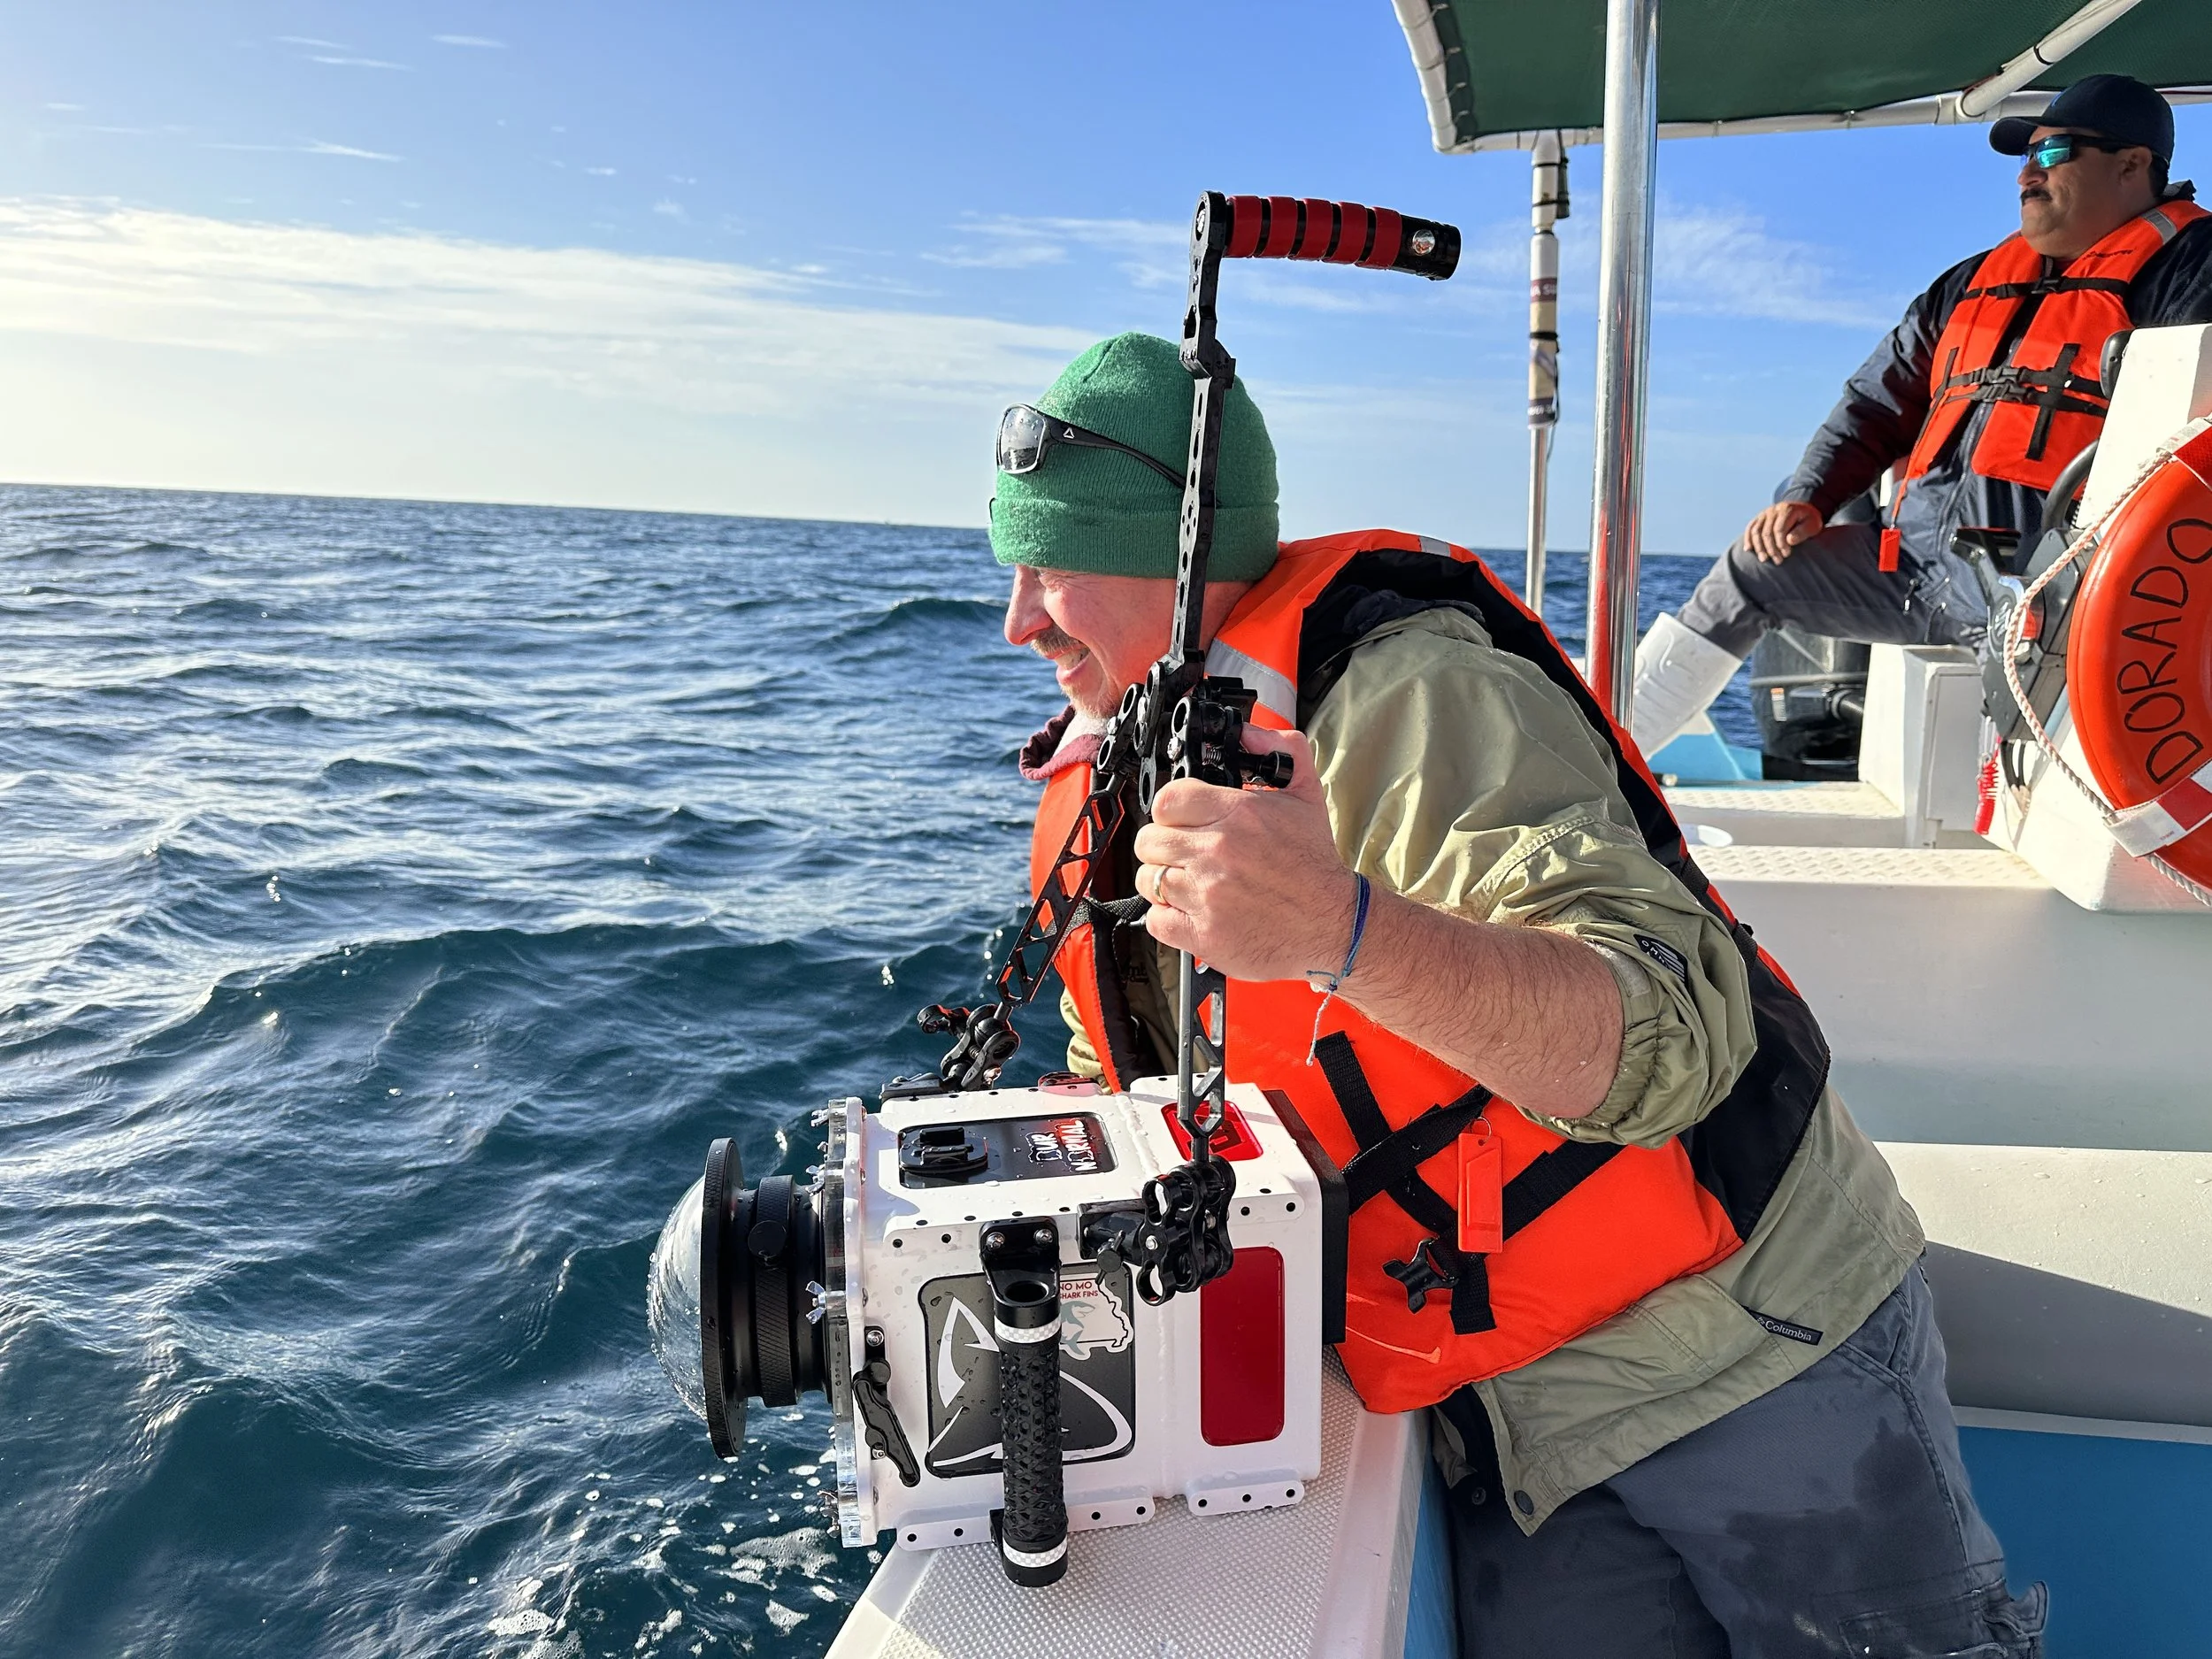
I’ve been shooting with my underwater camera, Gloria, for over ten years now. By today’s standards, she’s outdated. Slower. Louder. Limited compared to the newer mirrorless rigs guests bring along.
But I know her.
I know where her limits are.
I know what light she likes, and what light she hates.
I know what I can push, and what I shouldn’t even try.
And because of that, I can get everything out of her that she has to give.
That’s my real recommendation to you.
If your camera doesn’t produce the same technical results as the newest gear, don’t panic.
Don’t compare.
Instead, ask a better question:
What can I do to get the very best out of what I already have?
Learn your camera’s strengths.
Respect its limits.
Work with the light instead of fighting it.
When you do that, you’ll come home with images you’re proud of, and more importantly, memories that still feel alive when the photos are put away.
Because in the end, the goal isn’t perfect images.
It’s being there when something real happens.
And no camera, no matter how expensive, can do that part for you.